
How to Replace a Leaky Bathtub Spout (Thread-on vs. Slip-on)
About This Project
This guide provides comprehensive instructions for replacing a leaky bathtub spout. The process involves identifying the spout type (thread-on vs. slip-on), carefully removing the old fixture, cleaning and preparing the wall pipe, and correctly installing the new spout to ensure a watertight, leak-free seal.
Best for experienced DIYers and homeowners with some experience with basic plumbing knowledge.
Tools & Materials
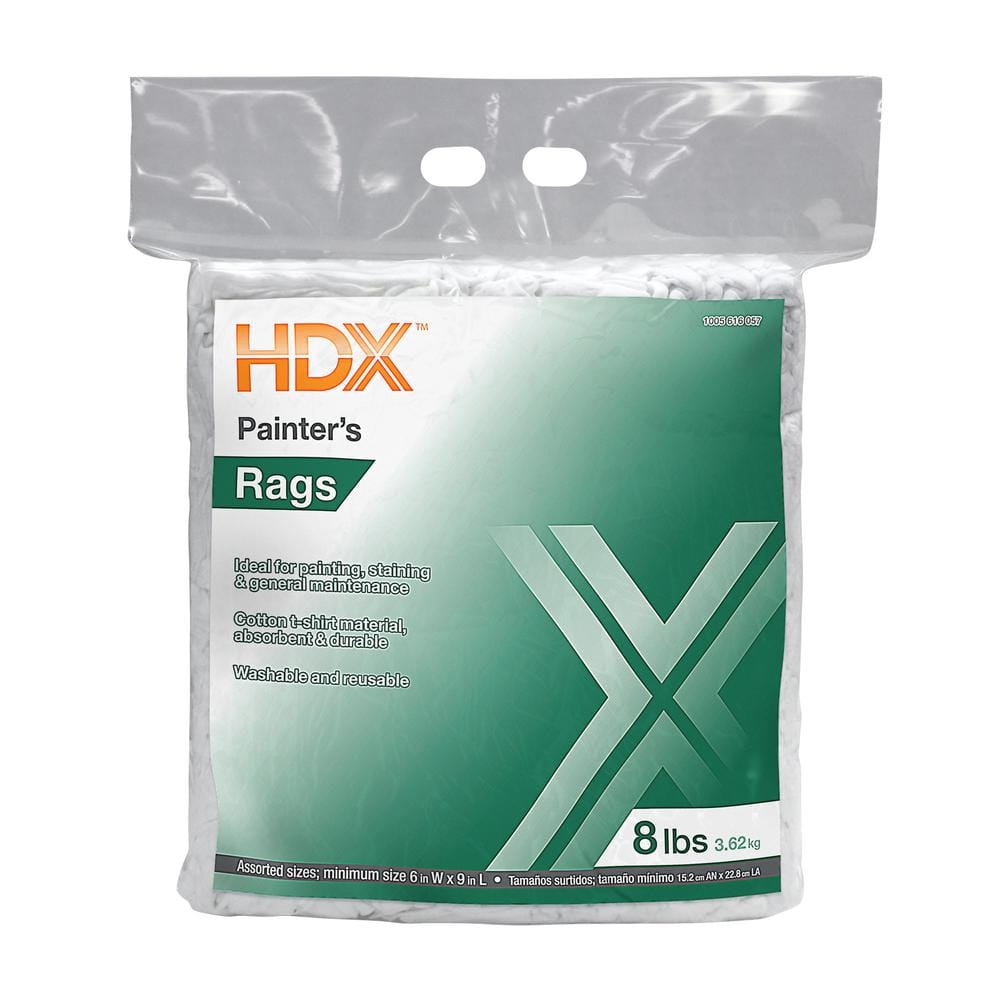
HDX 8 lb Painter 's Rags & Cloths RHDRAGS-8LBS

Hybrid Light Solar Flashlight - Hi-Vis Yellow 001397
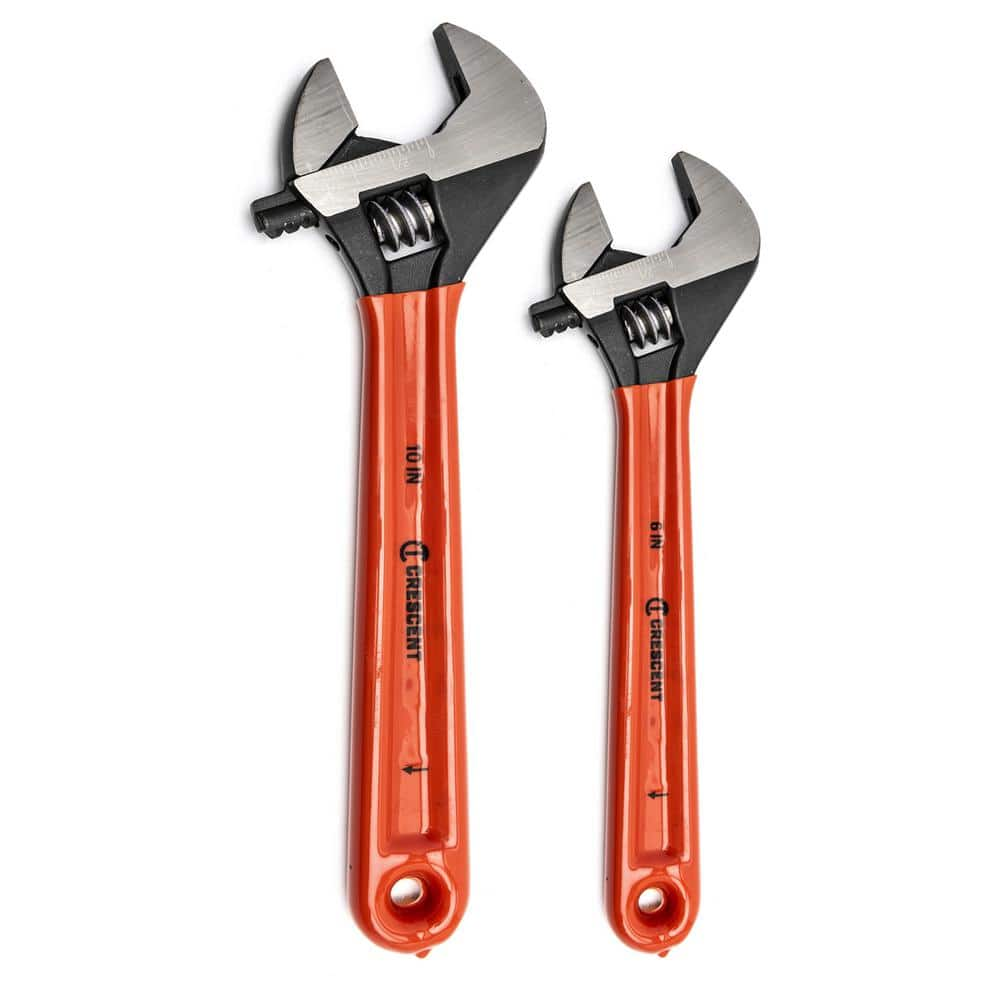
Crescent 6 in. and 10 in. Adjustable Wrench Set AT2610CVS
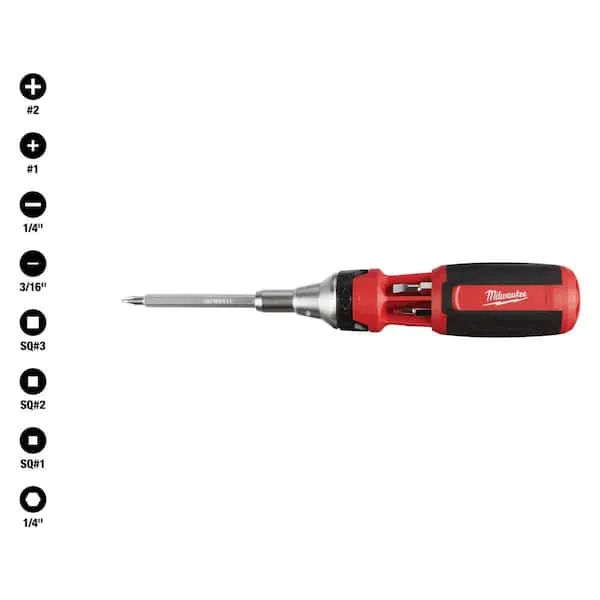
Screwdriver (Multi)
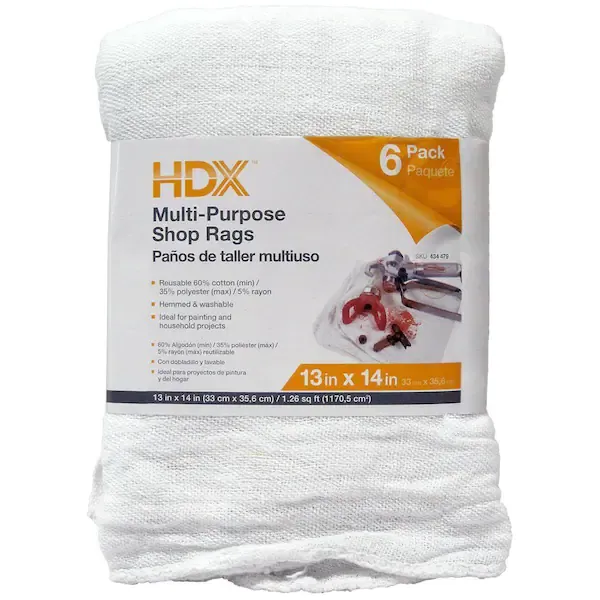
Rag
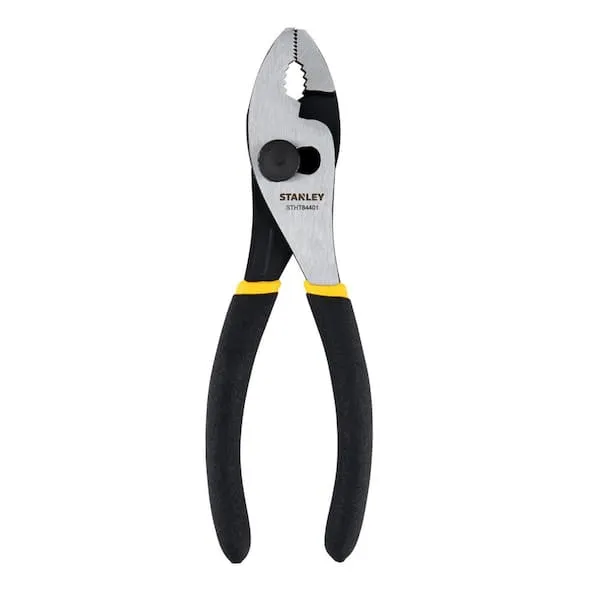
Pliers
HDX 8 lb Painter 's Rags & Cloths RHDRAGS-8LBS
Whether you're cleaning a paint area or you're cleaning a paint spill. These rags can handle it all, they are great all purpose and made up of high-quality t-shirt material that will give you low-lint
Hybrid Light Solar Flashlight - Hi-Vis Yellow 001397
The Hybrid Solar Light uses revolutionary technology that generates power from any light source, indoor lighting or sun light and stores it for later use. The Hybrid Solar Light is always collecting power
Crescent 6 in. and 10 in. Adjustable Wrench Set AT2610CVS
The Crescent 6-inch and 10-inch Adjustable Cushion Grip Wrenches feature a durable, comfortable, molded rubber cushion on their wide handles. A large knurl allows for easy adjustment and a tight-fitting
Screwdriver (Multi)
Multiple bits for versatile use.
Rag
Handy for cleaning or wiping tasks.
Pliers
Grips and manipulates objects.
Steps

Prepare the Work Area
5 minsBefore you begin, gather all necessary tools and supplies. Close the bathtub drain stopper to prevent any screws or small parts from falling down the drain. Lay a thick rag or old towel in the bottom of the tub beneath the spout to protect the surface from scratches from dropped tools. This initial setup prevents costly mistakes and makes the job go smoothly.

Identify the Spout Type
5 minsTo determine the correct removal procedure, you must first identify your spout type. Get down low and look closely at the underside of the spout, right where it meets the wall. If you see a small hole, you likely have a slip-on spout which is secured by a set screw inside that hole. You may need a flashlight to see it clearly. If there is absolutely no hole or screw on the top, bottom, or sides of the spout base, you have a thread-on (or screw-on) spout.

Remove the Old Spout
5 minsFor a SLIP-ON spout, insert the correct tool (usually an Allen wrench or a small screwdriver) into the set screw hole you located. Turn the screw counter-clockwise a few turns to loosen it. You do not need to remove the screw completely. Once loose, firmly grip the spout and pull it straight off the copper pipe. It may require some wiggling and twisting. For a THREAD-ON spout, grip the entire spout with both hands and turn it counter-clockwise. If it's too tight, insert the handles of a pair of pliers or a screwdriver into the spout opening for leverage. For very stubborn spouts, wrap a rag around it, grip it with a pipe wrench, and turn counter-clockwise. The rag protects the spout's finish in case you need to return it.

Clean and Prepare the Pipe
5 minsWith the old spout removed, you will see the pipe stub-out. Use a putty knife and a rag to meticulously clean any old plumber's putty, caulk, mineral deposits, or sealant from both the wall surface around the pipe and the pipe itself. For a thread-on installation, pay special attention to cleaning the pipe threads. A clean surface is essential for the new spout to seal correctly against the wall and prevent leaks.

Install the New Spout
5 minsNow, install the new spout. For a THREAD-ON spout, wrap the pipe's threads with 2-3 layers of Teflon tape in a clockwise direction (so it doesn't unravel as you tighten). Then, screw the new spout on by hand until it is snug and facing down. If it's not tight when facing down, give it another full turn. For a SLIP-ON spout, check if your new spout comes with a plastic adapter. If so, slide it onto the copper pipe first. Then, slide the new spout over the pipe until it sits flush against the wall. Ensure the set screw hole is facing down. Use your Allen wrench or screwdriver to tighten the set screw until it is snug. Do not overtighten, as this can dent the copper pipe.

Seal and Test for Leaks
5 minsTo create a final waterproof barrier, apply a thin, neat bead of plumber's putty or tub & tile silicone caulk around the base of the spout where it meets the wall. This prevents water from splashing behind the spout and into the wall cavity. Once sealed, turn on the water and observe the spout. Check for leaks around the base. Pull the diverter to send water to the showerhead. Check that the diverter works correctly and that water is not leaking excessively from the spout. A small drip from the spout while the shower is on can be normal, but a steady stream indicates a faulty diverter inside the new spout.
Common Problems
Do not over-tighten the spout, as this can crack the spout or damage the pipe inside the wall. Hand-tight is usually sufficient.
Solution: To avoid this issue: Be mindful of this warning and take appropriate precautions.
Turn the new spout gently by hand to start the threads. Forcing it can cause cross-threading and damage the parts.
Solution: To avoid this issue: Be mindful of this warning and take appropriate precautions.
Spout leaks because tape unwraps during tightening.
Solution: Wrap the tape in the same direction you will tighten the spout (clockwise) to prevent it from unwrapping during installation.
Apply firm but careful pressure when loosening the screw to avoid stripping it or scratching the faucet finish.
Solution: To avoid this issue: Be mindful of this warning and take appropriate precautions.
Be careful not to overtighten. The goal is to make it snug, not to crush the pipe.
Solution: To avoid this issue: Be mindful of this warning and take appropriate precautions.
It's important to correctly identify the spout type before attempting removal. Applying twisting force to a spout with a set screw can damage the copper pipe inside the wall.
Solution: To avoid this issue: Be mindful of this warning and take appropriate precautions.
Scratched or damaged spout finish when using a wrench.
Solution: If you need to use a wrench to unscrew a threaded spout, wrap the spout with a cloth or towel first to protect its finish from scratches.
Frequently Asked Questions
What is the difference between a thread-on and slip-on bathtub spout?
A thread-on spout screws directly onto a threaded pipe nipple coming from the wall. A slip-on spout slides over a copper pipe and is secured with a set screw underneath. Check your existing spout type before buying a replacement.
How do I know if my bathtub spout is leaking from the diverter or the connection?
If water drips from the spout when the shower is running, the diverter is failing. If water leaks around where the spout meets the wall, the connection or seal needs attention. Both issues require removing the spout.
What tools do I need to replace a bathtub spout?
For most spout replacements, you will need a hex key or Allen wrench (for slip-on types), pipe wrench or adjustable pliers (for thread-on types), plumbers tape, and silicone caulk for sealing.
Can I replace a bathtub spout myself without calling a plumber?
Yes, this is typically a DIY-friendly project that takes about 30 minutes. The key is identifying your spout type first and having the right replacement part.
Why does my bathtub spout leak even after I replaced it?
Common causes include: not using enough plumbers tape on threads, over-tightening which cracks the spout, pipe threads that are damaged and need replacement, or using the wrong spout type for your setup.


