
How to Replace a Frost-Free Outdoor Spigot (Sillcock)
About This Project
This guide provides comprehensive, step-by-step instructions for removing an old or faulty frost-free outdoor spigot (also known as a sillcock or hose bibb) and installing a new one. The process involves shutting off the water, disconnecting the interior plumbing, removing the old unit, installing the new spigot, and making a new watertight connection inside the home.
Best for advanced DIYers and professionals with basic plumbing knowledge and familiarity with power tools. Requires Shelter 32 in. x 42 in. Type 2 UL1618 Black Stove Board T2UL3242BL-1C and Nexgrill Heat Resistant Grilling Gloves with Silicone Grip 530-0025N and MCR Safety BearKat Safety Glasses MCSCRWBK110.
Tools & Materials

Unger 6 Gal. Heavy-Duty Plastic Bucket DB02
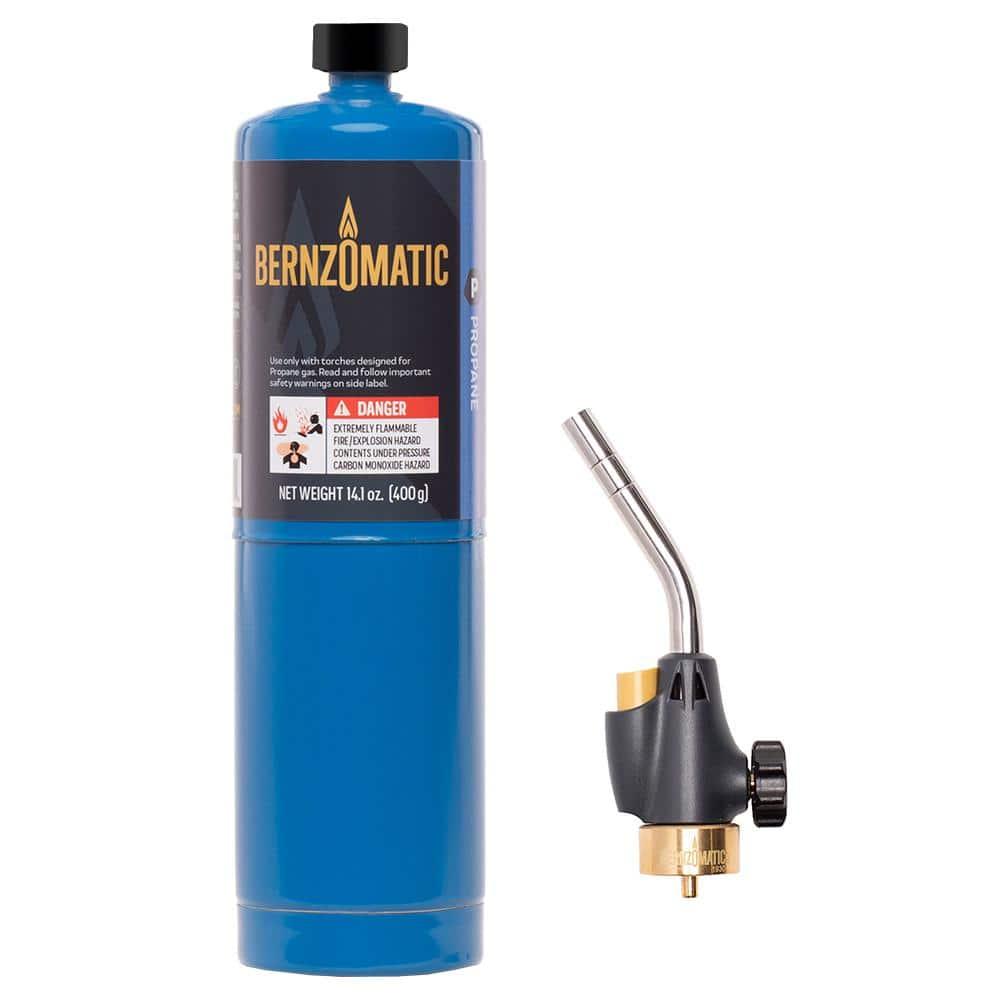
Bernzomatic Utility Torch Kit with 14.1 oz. Propane Gas Cylinder and Adjustable Flame WK2301
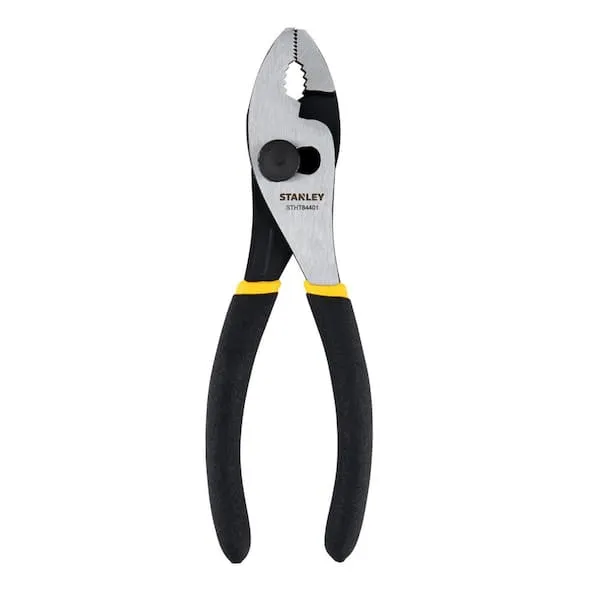
Pliers
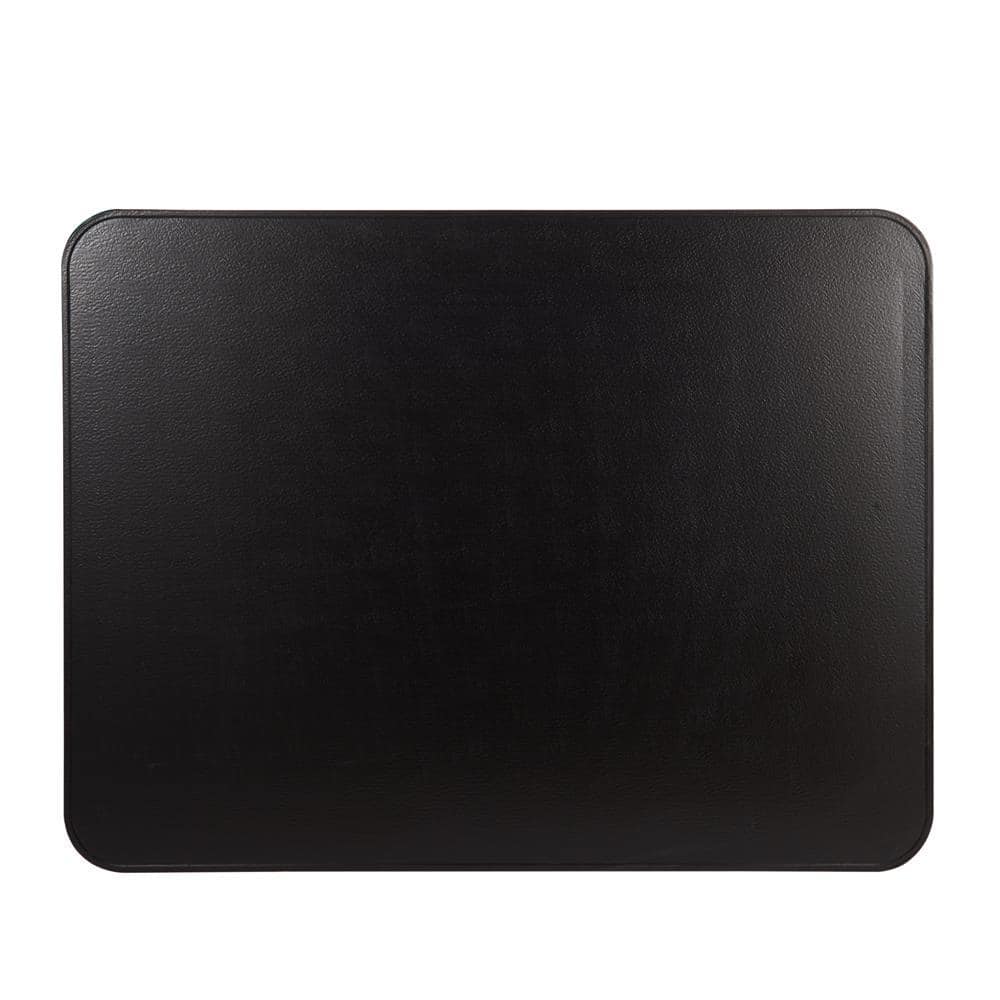
Shelter 32 in. x 42 in. Type 2 UL1618 Black Stove Board T2UL3242BL-1C
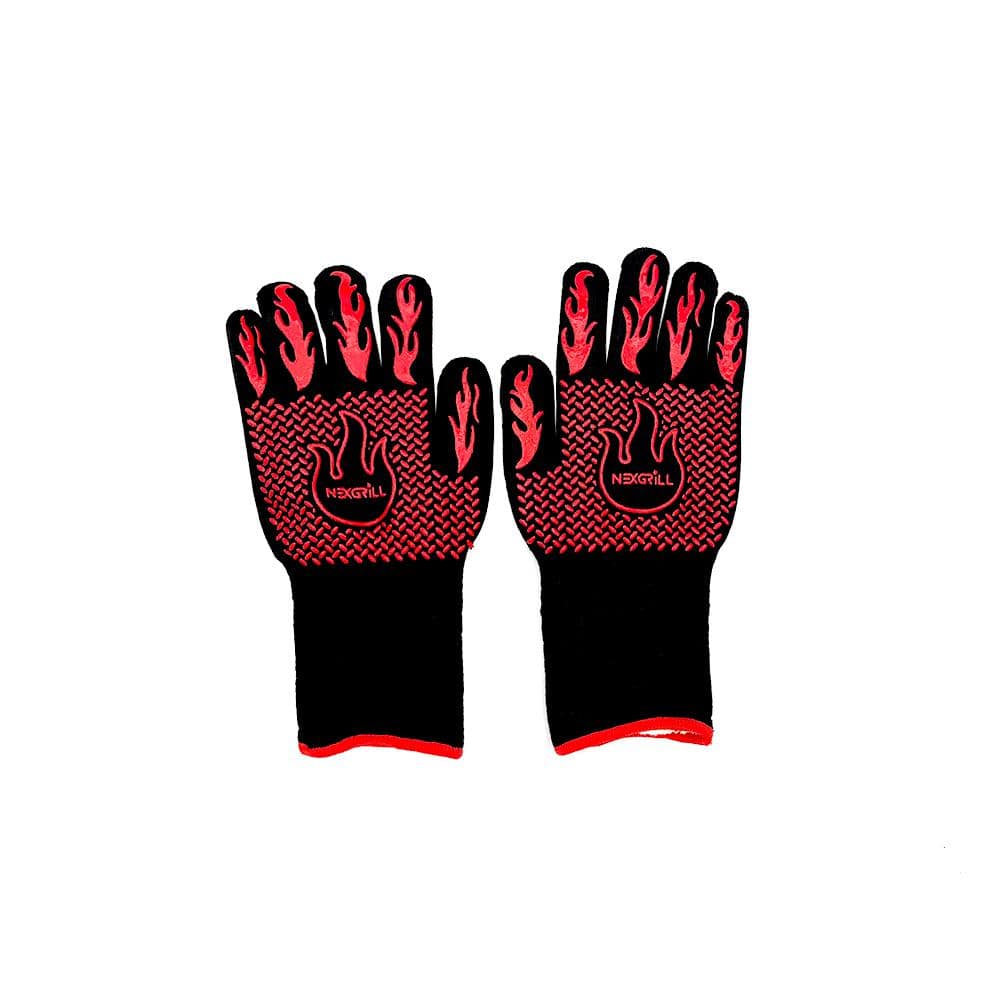
Nexgrill Heat Resistant Grilling Gloves with Silicone Grip 530-0025N
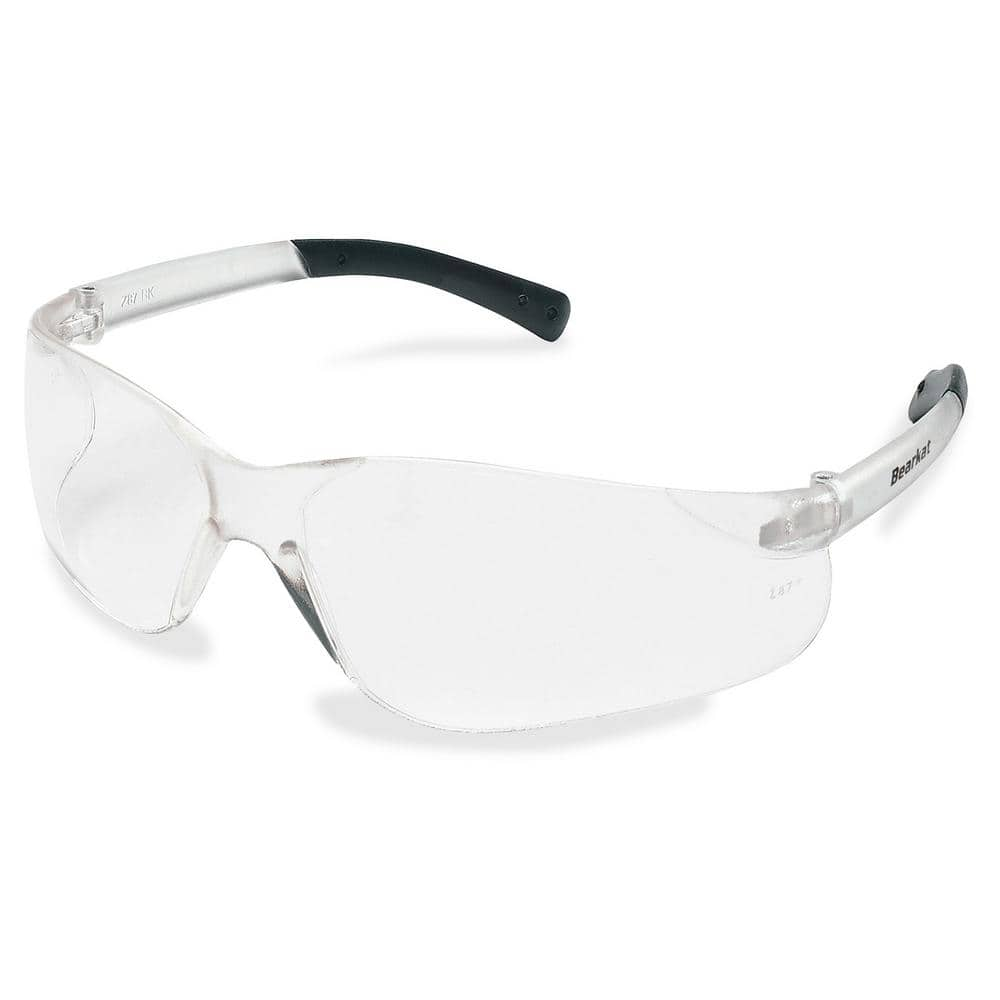
MCR Safety BearKat Safety Glasses MCSCRWBK110
Unger 6 Gal. Heavy-Duty Plastic Bucket DB02
The Unger 6-Gallon Heavy-Duty Professional Cleaning Bucket holds more than 6 Gal. of liquid. The bucket can accommodate a scrubber up to 14 in. L. This bucket features measurement marks and 2-pour spouts
Bernzomatic Utility Torch Kit with 14.1 oz. Propane Gas Cylinder and Adjustable Flame WK2301
The Bernzomatic Utility Torch Kit is your all-in-one solution for various projects. This kit includes a durable torch head with a trigger start for instant ignition. With an adjustable flame knob, you
Pliers
Grips and manipulates objects.
Shelter 32 in. x 42 in. Type 2 UL1618 Black Stove Board T2UL3242BL-1C
Shelter Type 2 Stove Boards are an essential wood burning accessory which provide non-combustible thermal and ember protection for floors and walls. Our Type 2 Stove Boards protect homes from the intense
Nexgrill Heat Resistant Grilling Gloves with Silicone Grip 530-0025N
Safely reach into the heat of your gas grill, charcoal grill, smoker or oven with Nexgrill Heat Resistant Grilling Gloves. These gloves feature a length of 14.25 in. and protect your entire arm while you work over grill flames and high heat. The exterior top half of the grill gloves are made of heat resistant silicone for temperatures up to 500°F and features a non-slip grip. Our heat resistant grill gloves protect hands when cooking, baking, or handling high-heat items.
MCR Safety BearKat Safety Glasses MCSCRWBK110
Safety glasses feature a well thought-out construction that combines the best in safety, comfort and affordability. Your vision is unobstructed by the 1-piece wraparound lens which, by its tight fit, provides for maximum safety. Flexible temples enhance your comfort during extended use. Nonslip rubber head grips are notched for a clip-on breakaway cord.
Steps

Shut Off Water Supply and Drain Pipes
15 minsLocate the main water shut-off valve for your house, which is typically found in the basement, a utility closet, or near the water meter. Turn the valve clockwise until it is fully closed. To drain the remaining water from the system, open the spigot you are replacing and also open the lowest faucet in the house (usually in the basement or a first-floor sink). Let the water run until it stops to relieve pressure and empty the pipes.

Disconnect the Old Sillcock from Interior Pipe
20 minsGo to the interior of your home (basement or crawlspace) and locate the pipe that leads to the outdoor spigot. Since we've assumed a soldered connection, you will need to heat the joint to disconnect it. Place a heat shield behind the pipe to protect the wooden sill plate or joists. Use a propane torch to evenly heat the fitting where the sillcock connects to the copper supply pipe. Do not heat the pipe itself. As the solder melts (it will appear shiny and liquid), use pliers or a gloved hand to gently twist and pull the supply pipe away from the sillcock fitting. Be cautious as the pipe will be extremely hot.
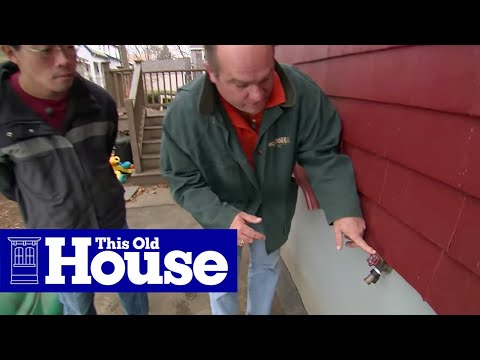
Remove Old Sillcock from Exterior Wall
10 minsMove to the exterior of the house. Locate the mounting screws that hold the spigot's flange to the wall. Use a drill or screwdriver to remove these screws. Once the screws are out, the old sillcock should be free. Firmly grip the spigot and pull it straight out of the wall. You may need to wiggle it slightly to get it through the opening.

Measure and Purchase New Sillcock
45 minsTake the old sillcock to a hardware or plumbing supply store to purchase an exact replacement. The most critical measurement is the length. Match the length of the new sillcock to the old one (assumed 8 inches). Also, ensure the connection type is the same (a female sweat/solder connection in this case) and that it is compatible with your pipe size (typically 1/2-inch or 3/4-inch copper). While there, also purchase lead-free solder and water-soluble flux paste if you don't already have them.

Prepare Pipe and New Sillcock for Soldering
15 minsProper preparation is key to a leak-free solder joint. First, clean the end of the copper supply pipe inside the house. Use a pipe cleaning brush or emery cloth to sand the outside of the pipe end until it is shiny and free of oxidation or old solder. Do the same for the inside of the new sillcock's sweat connection. After cleaning, use a small brush to apply a thin, even layer of flux paste to both the outside of the pipe and the inside of the sillcock fitting. Before inserting the new sillcock, open its handle about halfway. This prevents pressure from building up during soldering which could damage the internal seals.
Install and Solder the New Sillcock
25 minsFrom the outside, carefully slide the new sillcock through the hole in the wall until the flange is flush with the exterior siding. Ensure the spigot is oriented correctly, with the spout pointing slightly downwards for proper drainage. Go back inside. Push the flux-coated end of the supply pipe firmly into the flux-coated fitting of the new sillcock. Place your heat shield behind the joint. Using the propane torch, heat the fitting, not the pipe or the solder. After about 30-45 seconds of even heating, touch the tip of the lead-free solder to the seam where the pipe meets the fitting. If the joint is hot enough, the solder will melt and be instantly drawn into the joint, creating a silver ring. Apply solder around the entire joint until it is filled. Let the joint cool naturally for several minutes until it is cool to the touch. Do not quench it with water.

Secure and Seal the Exterior Flange
15 minsOnce the interior joint is fully cooled, return to the outside. Align the sillcock's mounting flange so it is level and properly oriented. Using new, corrosion-resistant screws, fasten the flange securely to the exterior wall. Use a drill or screwdriver for this. Do not overtighten, as this can crack the flange. After securing the spigot, apply a bead of exterior-grade silicone caulk around the top and sides of the flange where it meets the house siding. Leave the bottom of the flange un-caulked to allow any water that gets behind it to drain out.

Turn Water On and Check for Leaks
15 minsFirst, make sure the new outdoor spigot is in the closed position. Also, close any other faucets you opened to drain the system. Go to the main water shut-off valve and turn it on slowly, turning it counter-clockwise. Listen for the sound of pipes filling with water. Go immediately to the interior connection point and carefully inspect the new solder joint for any drips or leaks. Use a dry paper towel to wipe the joint, which will make even the smallest bead of water visible. Then, go outside and check the spigot itself. Slowly open the handle and let water flow for a minute to flush out any debris. Check again for leaks both inside and out while the water is running and after you shut it off.
Common Problems
Do not over-tighten the spout, as this can crack the spout or damage the pipe inside the wall. Hand-tight is usually sufficient.
Solution: To avoid this issue: Be mindful of this warning and take appropriate precautions.
Leaky connections after spigot replacement.
Solution: After assembly, run water through the sink and check all connections for leaks.
Incorrect spigot length leads to leaks or improper sealing against the wall.
Solution: Measure the depth from the valve's flange to the finished wall surface.
Do not skip the water test. It is essential to identify and fix any potential leaks before closing up the wall.
Solution: To avoid this issue: Be mindful of this warning and take appropriate precautions.
Fittings leak because plumbing tape unwraps during tightening.
Solution: Wrap the plumbing tape in the same direction you will be tightening the fitting (clockwise) to prevent it from unwrapping during installation.
Poorly cleaned copper prevents a strong solder joint.
Solution: The copper should be shiny and free of any oxidation or dirt before applying flux. A good cleaning is essential for a strong solder joint.
Do not overheat the joint, as this can burn away the flux and prevent the solder from adhering properly.
Solution: To avoid this issue: Be mindful of this warning and take appropriate precautions.
Frequently Asked Questions
How do I ensure I purchase the correct length frost-free sillcock, and what happens if it's the wrong size?
Accurately measure the distance from your home's exterior wall to the interior plumbing connection point where the spigot will attach. The new sillcock's anti-siphon valve and shut-off mechanism must reside inside the heated portion of your home to prevent freezing. An incorrectly sized sillcock compromises its frost-free functionality, risking pipe bursts in cold weather.
I've never soldered before; how difficult is this step for a beginner, and what safety precautions should I take?
Soldering copper pipes is a common plumbing skill that is manageable for beginners with proper guidance and practice. Before working on the actual installation, practice on scrap copper pipes. Always wear safety glasses and gloves, ensure good ventilation, and have a fire extinguisher or bucket of water readily available when using a propane torch.
What are the most critical steps to prevent leaks after installing the new spigot?
The most critical steps are ensuring clean pipe surfaces for soldering, making strong, complete solder joints, and properly sealing the exterior flange. Use enough flux for good solder flow, heat the joint evenly, and apply a generous bead of exterior sealant around the flange. After turning the water back on, thoroughly inspect all connections for any signs of dripping.
What are the essential safety precautions when using a propane torch for soldering, especially near walls?
Always have a fire extinguisher or a bucket of water nearby when using a torch. Protect surrounding surfaces, especially inside walls, with a heat shield or fire-resistant cloth to prevent accidental fires. Ensure adequate ventilation, wear appropriate personal protective equipment like safety glasses, and allow all soldered components to cool completely before touching.
Is the 5-hour estimated time accurate for a beginner, or should I budget more time if I'm new to plumbing?
The 5-hour estimate is reasonable for someone with basic DIY experience, but beginners new to soldering or plumbing might need more time. It's wise to budget an extra 1-2 hours for preparation, practicing new skills like soldering, and carefully checking for leaks. Rushing can lead to mistakes and rework.
Are there any alternatives to soldering for connecting the new sillcock, especially if I'm uncomfortable with a torch?
Yes, absolutely! Push-to-connect fittings (like SharkBite) or PEX crimp connections offer excellent solder-free alternatives. These methods significantly reduce the difficulty and fire risk associated with torches, though PEX crimp connections require a specific crimping tool. Ensure the alternative fittings are compatible with your existing plumbing and rated for potable water.
What should I do if the new spigot drips or the water doesn't shut off completely after installation?
First, ensure the valve handle is fully closed and check if the packing nut (if accessible) is snug, but not overtightened. If dripping persists, it may indicate debris in the valve seat from installation or a faulty internal component. For a brand-new installation, a persistent drip often points to a manufacturing defect or an issue requiring inspection of the internal valve mechanism or replacement.


