Kitchen Faucet Replacement: A Step-by-Step DIY Guide
About This Project
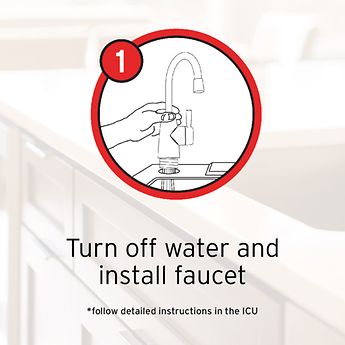
This DIY guide details the steps to replace a kitchen faucet. First, turn off the hot and cold water supply valves under the sink and release any remaining water pressure. Next, disconnect the old faucet's water supply lines using appropriate wrenches, then remove the mounting nuts. Install the new faucet by connecting the water supply lines and securing it to the sink with mounting hardware. Finally, slowly turn the water back on and check for leaks.
Best for experienced DIYers and homeowners with some experience.
Tools & Materials
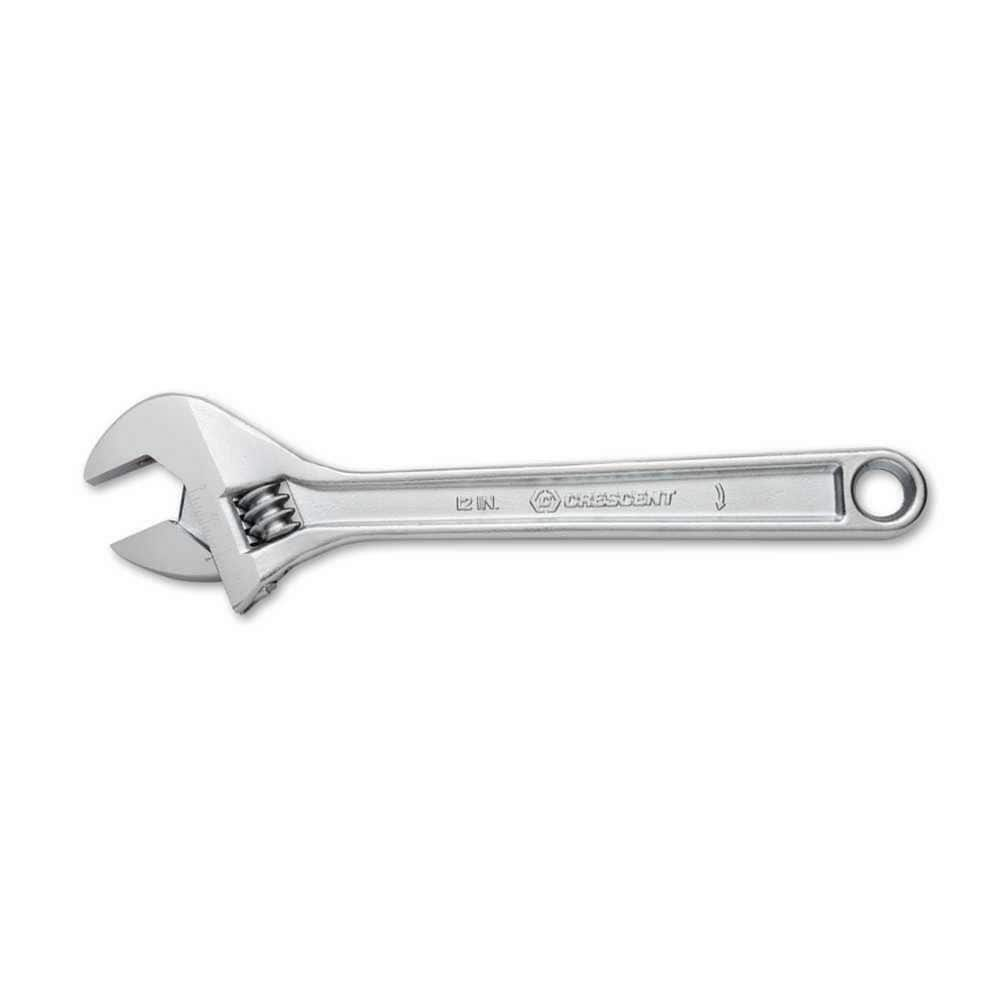
Crescent 12 in. Chrome Adjustable Wrench AC212VS
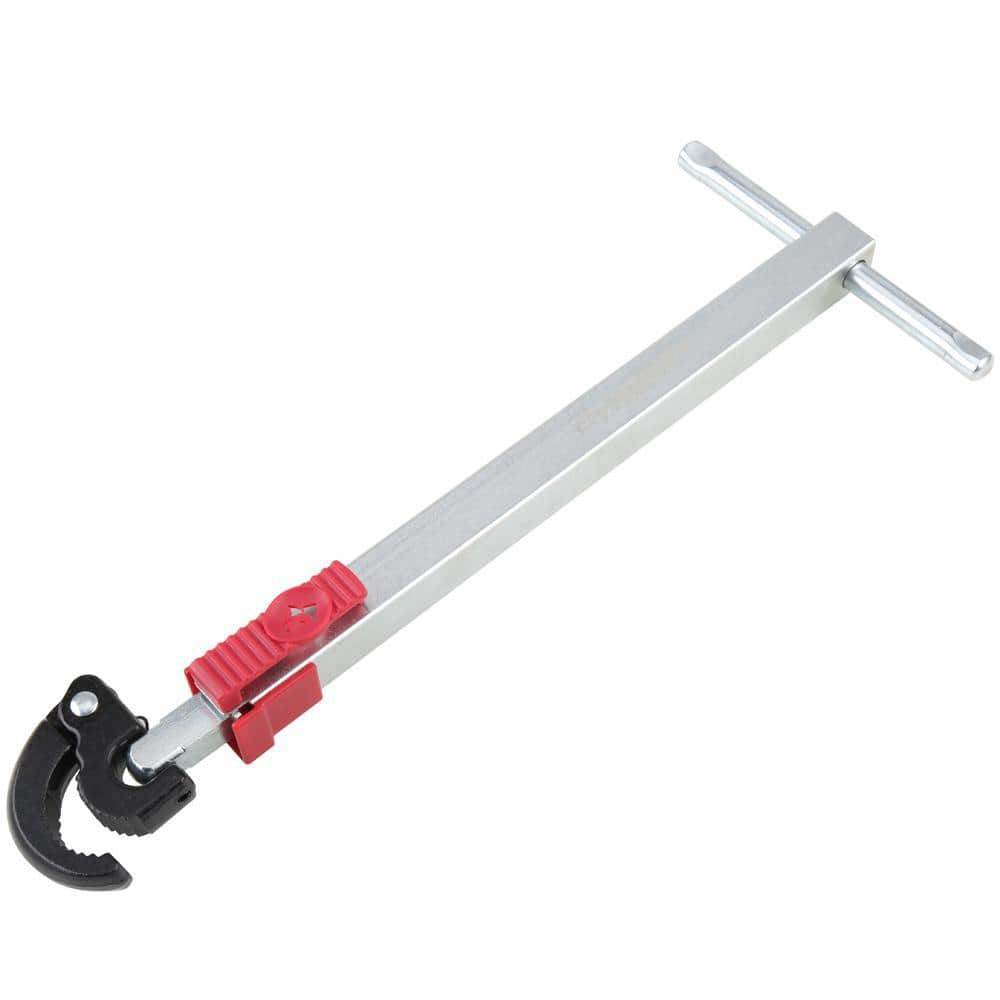
Husky 1-1/2 in. Quick-Release Telescoping Basin Wrench 80-546-111

Adjustable Wrench
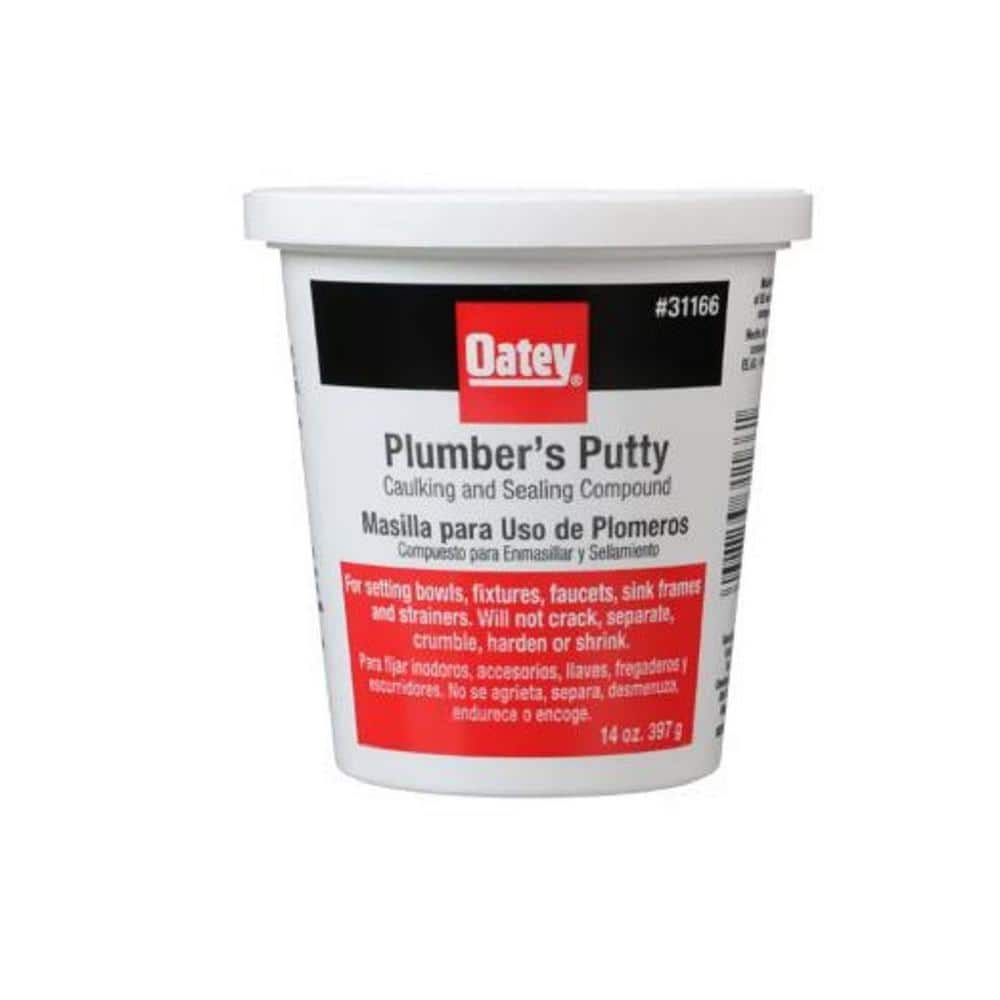
Oatey 14 oz. Plumber's Putty 311662
Crescent 12 in. Chrome Adjustable Wrench AC212VS
Since the introduction of the original Crescent wrench in the early 1900s, the Crescent brand has become synonymous with adjustable wrenches. Crescent Adjustable Wrenches feature a large knurl for easy
Husky 1-1/2 in. Quick-Release Telescoping Basin Wrench 80-546-111
Husky's Quick Release Telescoping Plumbing Basin Wrench is ideal for tightening and removing faucet and fill valve nuts. It features a versatile, multi-position telescoping range of 12-1/2 in. up to 19
Adjustable Wrench
Fits various nut and bolt sizes with its adjustable jaw.
Oatey 14 oz. Plumber's Putty 311662
The Oatey 14 oz. Plumber's Putty is an easy-to-mold setting compound designed for use with stainless-steel sealing applications such as frames, faucets and strainer baskets. Not for use on plastic, marble,
Steps

Shut Off Water Supply to the Kitchen Sink
5 minsBefore you begin, safety first! Locate the hot and cold water supply valves under your sink. Turn them clockwise to completely shut off the water supply. Turn on the faucet briefly to release any remaining water pressure in the lines. Place a bucket or absorbent towel beneath the sink to catch any drips.
Watch: Turn Off Water Supply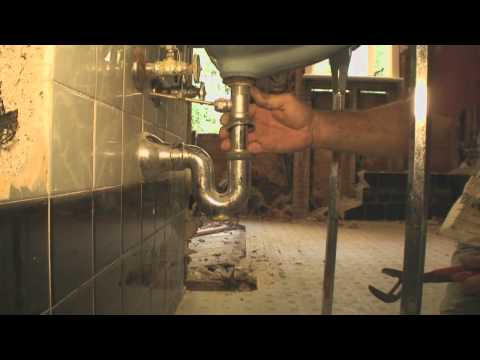
Disconnect the Old Kitchen Faucet
20 minsUsing an adjustable wrench and, if necessary, a basin wrench (for hard-to-reach nuts), carefully disconnect the water supply lines from the old faucet. Then, remove the mounting nuts securing the faucet to the sink. Take photos as you proceed to assist with reassembly.
Watch: Disconnect water supply lines
Install the New Kitchen Faucet
30 minsClean the sink surface thoroughly. Carefully follow the manufacturer's instructions for installing your new faucet. This will typically involve connecting the water supply lines (ensuring a tight seal), installing the faucet body, and securing it with the mounting hardware. Once installed, slowly turn the water supply back on and check all connections for leaks.
Watch: Install Plumbing and TestCommon Problems
Faucet won't budge due to unfamiliar mounting hardware.
Solution: Different faucets have different mounting hardware. Some may use a large single locking nut that requires a basin wrench to remove.
Faucet mounting nuts are inaccessible without specialized tools.
Solution: A basin wrench is highly recommended for reaching the faucet mounting nuts in the tight space behind the sink basin.
Faucet spins when unscrewing hose, making it difficult to disconnect.
Solution: For disconnecting the flex hose, hold the tap from above to prevent it from turning, which makes unscrewing the hose easier.
Loose connections can cause leaks after faucet installation.
Solution: Give the connections a gentle tug to ensure the tubing is properly seated and locked in place.
Mismatched faucets create an uncoordinated, unsightly kitchen.
Solution: The video recommends using a matching Kraus vessel faucet for a coordinated aesthetic.
It's critical to check for leaks immediately after turning the water on to prevent potential water damage.
Solution: To avoid this issue: Be mindful of this warning and take appropriate precautions.
Overtightening can damage the connections.
Solution: To avoid this issue: Be mindful of this warning and take appropriate precautions.
Frequently Asked Questions
What essential tools do I absolutely need for this faucet replacement, beyond a standard adjustable wrench?
While an adjustable wrench is useful, a basin wrench is highly recommended for reaching and loosening the mounting nuts under the sink in tight spaces. You'll also likely need a small bucket or towels to catch residual water, and potentially a utility knife for cutting old sealant if present. Having these tools will significantly ease the installation process.
What are the most crucial safety precautions I should take before starting to remove the old faucet?
Always start by turning off both the hot and cold water supply valves directly under the sink to prevent flooding. After shutting off the water, open the old faucet handles to release any remaining pressure in the lines. If your sink has a garbage disposal, unplug it from the wall outlet to avoid accidental activation while working underneath.
How difficult is this kitchen faucet replacement for someone with limited DIY experience, and what's a realistic time estimate?
This project is rated as beginner-friendly, and with the right tools and preparation, it can typically be completed within 2 hours. The main challenges usually involve working in tight, awkward spaces under the sink and sometimes dealing with stubborn, corroded fittings. Patience and following the steps carefully are key to a smooth installation.
What are common mistakes to avoid during installation, and how can I ensure there are no leaks after I'm done?
A common mistake is overtightening or cross-threading the water supply lines; always hand-tighten first, then use a wrench for a final quarter-turn. To prevent leaks, ensure all connections have appropriate washers or plumber's tape/sealant where indicated. After installation, slowly turn the water supply back on and meticulously check every connection for even the slightest drip, tightening carefully if needed.
My old faucet is just dripping; do I have to replace the whole thing, or can it be repaired instead?
Often, a dripping faucet can be repaired by replacing internal components like O-rings or cartridges, which can be a quicker and cheaper fix. However, if your faucet is very old, significantly corroded, or you desire an updated style or functionality, a full replacement is often the more durable and aesthetically pleasing long-term solution. Assess the faucet's overall condition and your desired outcome.
Do I need to turn off the main water supply to my entire house for this kitchen faucet replacement?
No, in most cases, you only need to turn off the dedicated hot and cold water supply valves located directly under your kitchen sink. These are usually small, quarter-turn or multi-turn valves. You would only need to consider turning off the main house supply if these individual sink valves are faulty, inaccessible, or non-existent.