Replace Your Kitchen Faucet: Step-by-Step Guide
About This Project
This project outlines the steps to replace an old kitchen faucet with a new one. It starts by emphasizing safety, instructing to turn off the water supply valves under the sink and open the faucet to drain residual pressure, preventing spills. The next step involves disconnecting the old faucet. Using an adjustable or basin wrench, the water supply lines are detached from the faucet, followed by removing the mounting nuts holding the faucet to the sink. Then the new faucet is installed. Following the manufacturer's instructions, insert the new faucet into the sink hole and secure it with mounting hardware from below. Connect the water supply lines and sprayer hose (if any). Secure all connections with plumber's putty and Teflon tape as needed. Finally, turn the water supply back on and check thoroughly for leaks. The project estimates a duration of 1-3 hours and suggests helpful tips like taking pictures of plumbing connections before disconnecting them.
Best for experienced DIYers and homeowners with some experience.
Tools & Materials
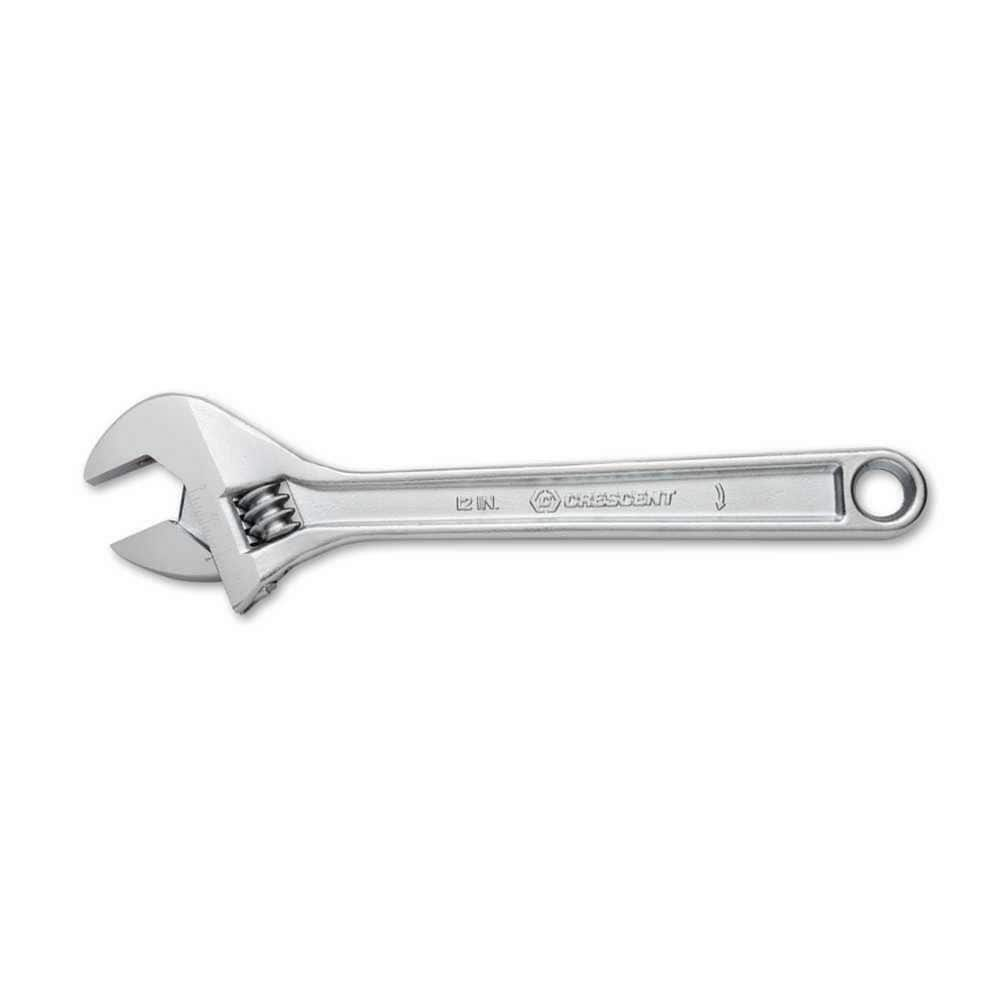
Crescent 12 in. Chrome Adjustable Wrench AC212VS
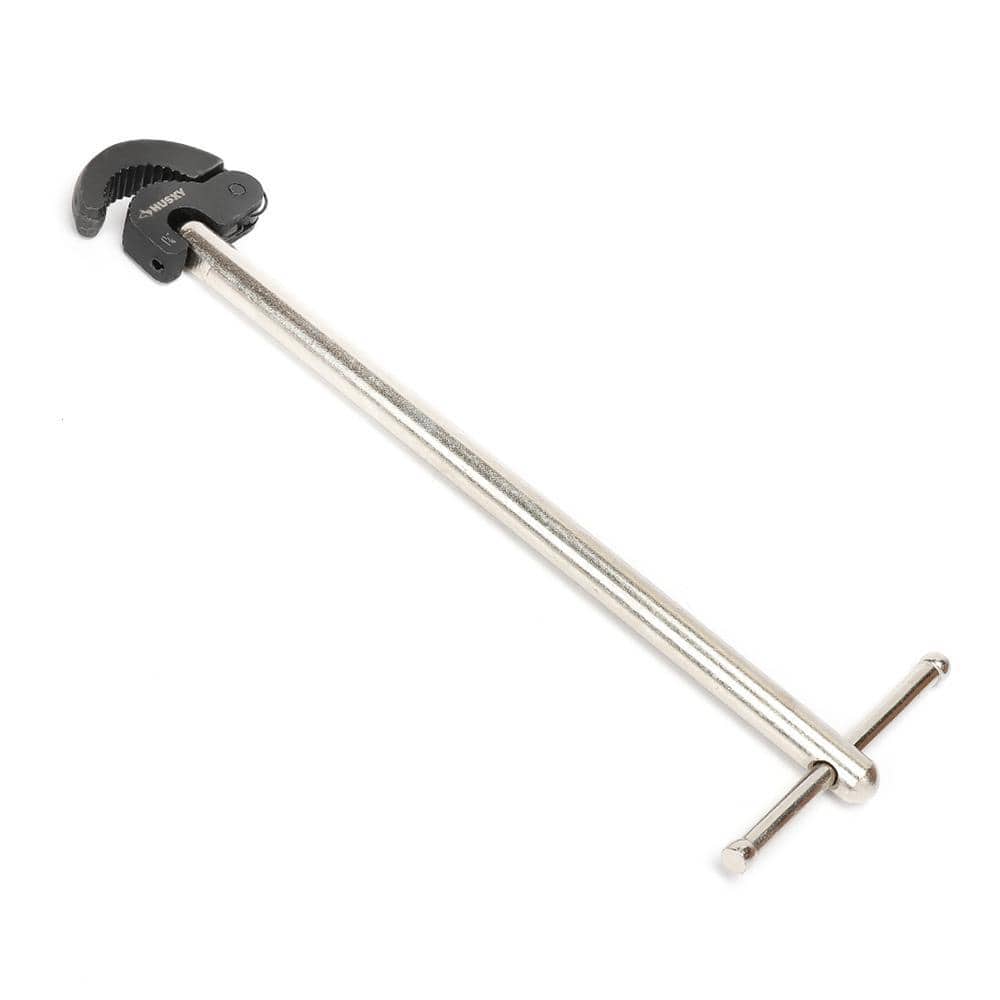
Husky Basin Wrench 16PL0127
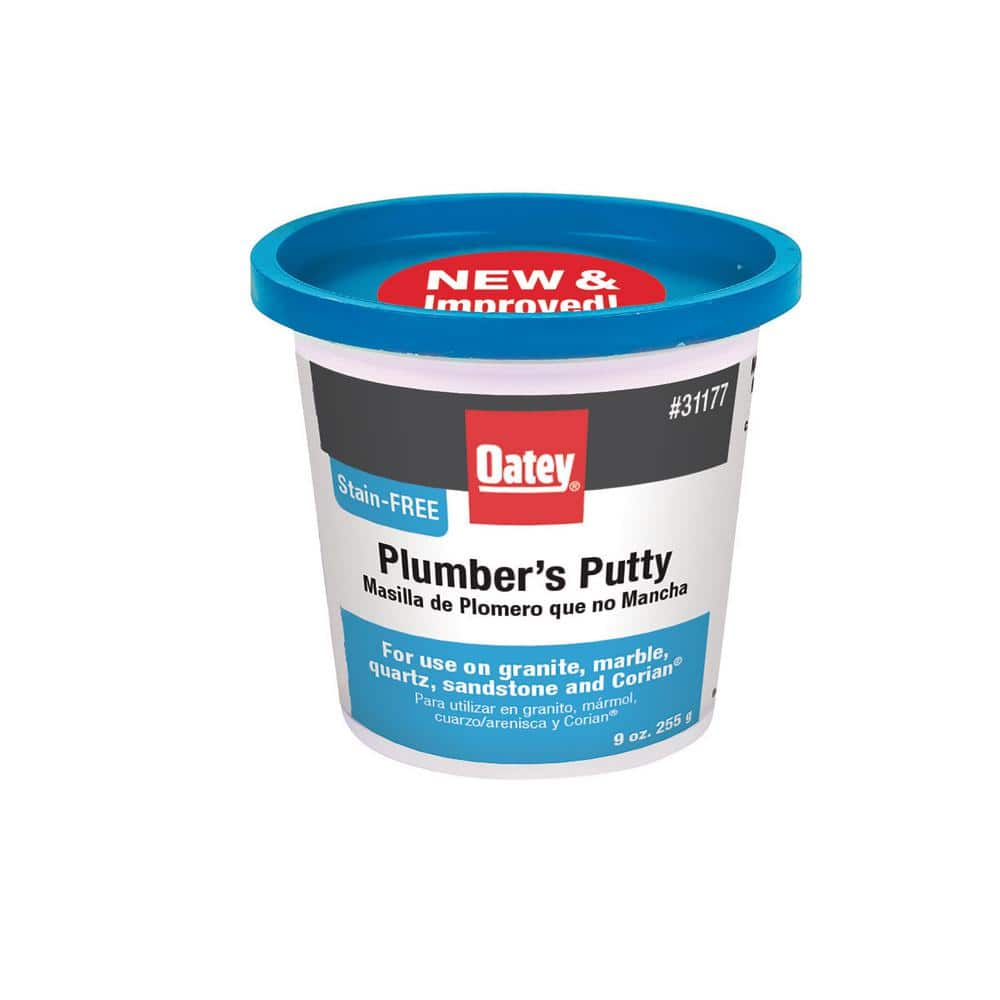
Oatey 9 oz. Stain-Free Plumber's Putty 31177
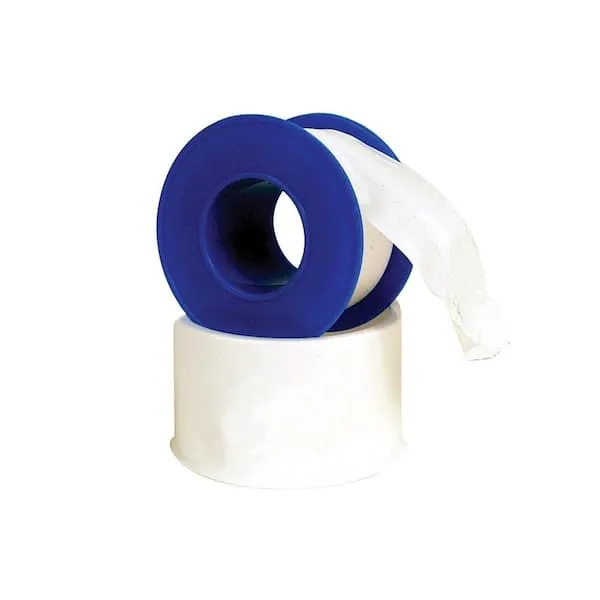
Teflon Tape
Crescent 12 in. Chrome Adjustable Wrench AC212VS
Since the introduction of the original Crescent wrench in the early 1900s, the Crescent brand has become synonymous with adjustable wrenches. Crescent Adjustable Wrenches feature a large knurl for easy
Husky Basin Wrench 16PL0127
Husky's 11 in. Basin Wrench is made from heavy-duty steel and has a reversible head for accessing faucet nuts in tight spaces. The 180 pivoting head holds its position at any angle to access hard-to-reach
Oatey 9 oz. Stain-Free Plumber's Putty 31177
For setting frames, faucets and basket strainers, use this Oatey 9 oz. Stain-Free Plumber's Putty on granite, marble, quartz, sandstone and other natural, porous materials. Will not crack or shrink. Cleans
Teflon Tape
Seals pipe threads without leaks.
Steps

Turn Off the Water Supply
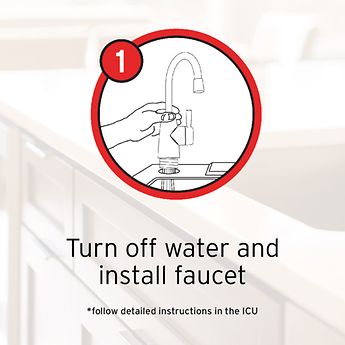
5 minsBefore you begin, safety first! Turn off the hot and cold water supply valves located under your sink. Then, turn on the faucet to release any remaining water pressure in the lines. This prevents a messy surprise during the installation process.
Watch: Shut Off Water Supply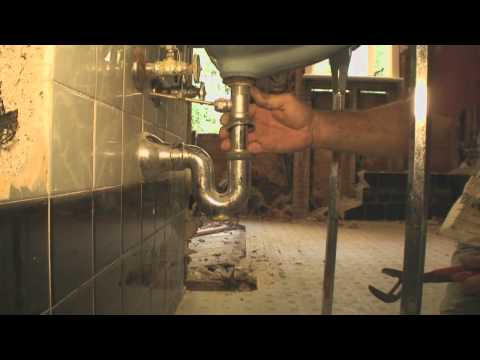
Disconnect the Old Faucet
20 minsUsing an adjustable wrench (or basin wrench for easier access), carefully disconnect the water supply lines from the old faucet. Then, use the basin wrench to remove the mounting nuts securing the faucet to the sink. Be prepared for some water to escape, even after turning off the valves.
Watch: Disconnect water supply lines
Install the New Kitchen Faucet
30 minsFollow the manufacturer's instructions for installing your new faucet. This typically involves inserting the faucet into the sink hole, securing it with the mounting hardware from underneath, connecting the water supply lines, and tightening all connections. Once done, carefully turn the water supply back on and thoroughly check for any leaks.
Watch: Mount New FaucetCommon Problems
Faucet dispenses hot water when you expect cold, and vice-versa.
Solution: Ensure the hot line from the wall connects to the 'Hot In' port and the cold line from the wall connects to the 'Cold In' port.
Overtightening the plastic fittings can cause them to crack and leak. Tighten until snug, but do not use excessive force.
Solution: To avoid this issue: Be mindful of this warning and take appropriate precautions.
Mismatched faucet styles create an uncoordinated kitchen look.
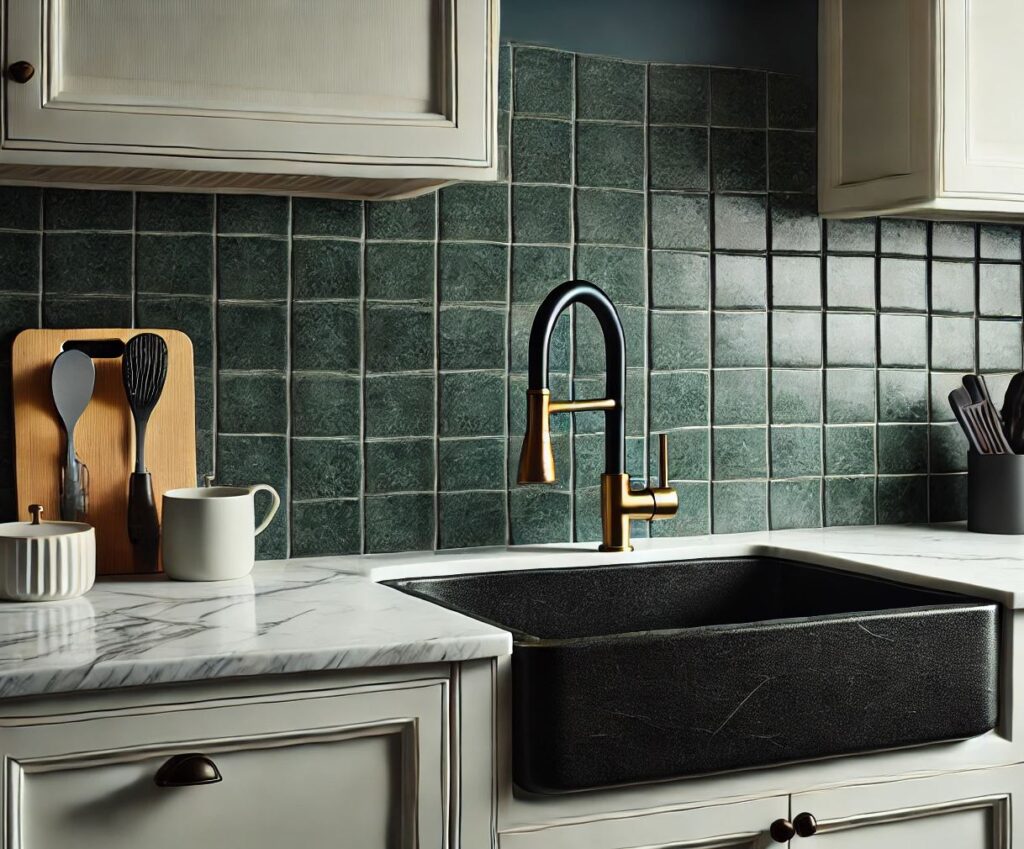
Solution: The video recommends using a matching Kraus vessel faucet for a coordinated aesthetic.
It's critical to check for leaks immediately after turning the water on to prevent potential water damage.
Solution: To avoid this issue: Be mindful of this warning and take appropriate precautions.
Always shut off the water at the shutoff valves and place a bucket or towel underneath to catch any dripping water before disconnecting the supply lines.
Solution: To avoid this issue: Be mindful of this warning and take appropriate precautions.
Be extremely careful when using a cutting tool under the sink to avoid damaging the countertop, the sink itself, or the water supply lines.
Solution: To avoid this issue: Be mindful of this warning and take appropriate precautions.
Faucet nuts are too tight or inaccessible for standard basin wrenches.
Solution: Standard basin wrenches may not fit all nuts. A larger, more robust model, like the Rigid one shown, may be necessary for better grip and leverage.
Frequently Asked Questions
What's the absolute first thing I should do before even touching my old faucet?
Always prioritize safety by turning off the hot and cold water supply valves located directly under your sink. Then, open the old faucet to drain any remaining water from the lines and relieve pressure, which helps prevent unexpected spills and makes disconnecting easier.
The project mentions an adjustable wrench and a basin wrench. Are these specialized tools, and do I really need both?
A basin wrench is highly recommended as it's specifically designed to reach and loosen the mounting nuts in tight spaces behind the sink, which a standard adjustable wrench often can't access. While an adjustable wrench handles most other connections, the basin wrench can be a lifesaver for tricky spots, especially for beginners working in confined areas.
What are the most common reasons for leaks after installing a new faucet, and how can I prevent them?
Leaks usually stem from improperly tightened connections or insufficient sealing. Ensure all supply line connections are snug but don't overtighten, and always use plumber's tape on threaded connections and plumber's putty or the manufacturer's gasket under the faucet base to create a watertight seal.
How long should this project realistically take for a beginner, and are there any tips to make it go smoother?
For a beginner, plan for 1-3 hours, but it could take longer if you encounter rusty nuts or tight spaces. A great tip is to take photos of the existing plumbing connections before disconnecting anything; this visual reference can be invaluable when connecting the new faucet's lines in the correct order.
When should I use plumber's putty versus silicone sealant, or Teflon tape for sealing connections?
Plumber's putty is typically used under the base of the faucet and any pop-up drain flanges to prevent water from seeping through the sink deck. Teflon tape (also known as plumber's tape) is specifically for threaded pipe connections to help create a tighter seal and prevent leaks. Silicone sealant might be an alternative to putty for the faucet base for a more permanent seal, but generally isn't used on threaded connections.
My old faucet's mounting nuts are incredibly corroded and won't budge. What should I do?
Corroded nuts are a common challenge. Try applying penetrating oil and letting it sit for a while, then use a basin wrench with good leverage. In stubborn cases, you might need to carefully cut the nuts or the old supply lines with a small hacksaw or specialized cutting tool, always being mindful of the surrounding plumbing and protecting yourself.