How to Install a New Kitchen Faucet: A Step-by-Step DIY Guide
About This Project
This project outlines the steps to install a new kitchen faucet. It begins by turning off the water supply under the sink and disconnecting the old faucet's water lines. Next, the old faucet is removed by loosening the mounting nuts. The new faucet is then installed, typically secured with mounting nuts and connected to the water supply lines, using plumber's putty or silicone sealant where necessary. Finally, the water supply is turned back on, and the new faucet is tested for leaks and proper functionality.
Best for experienced DIYers and homeowners with some experience.
Tools & Materials

Adjustable Wrench

Unger 6 Gal. Heavy-Duty Plastic Bucket DB02
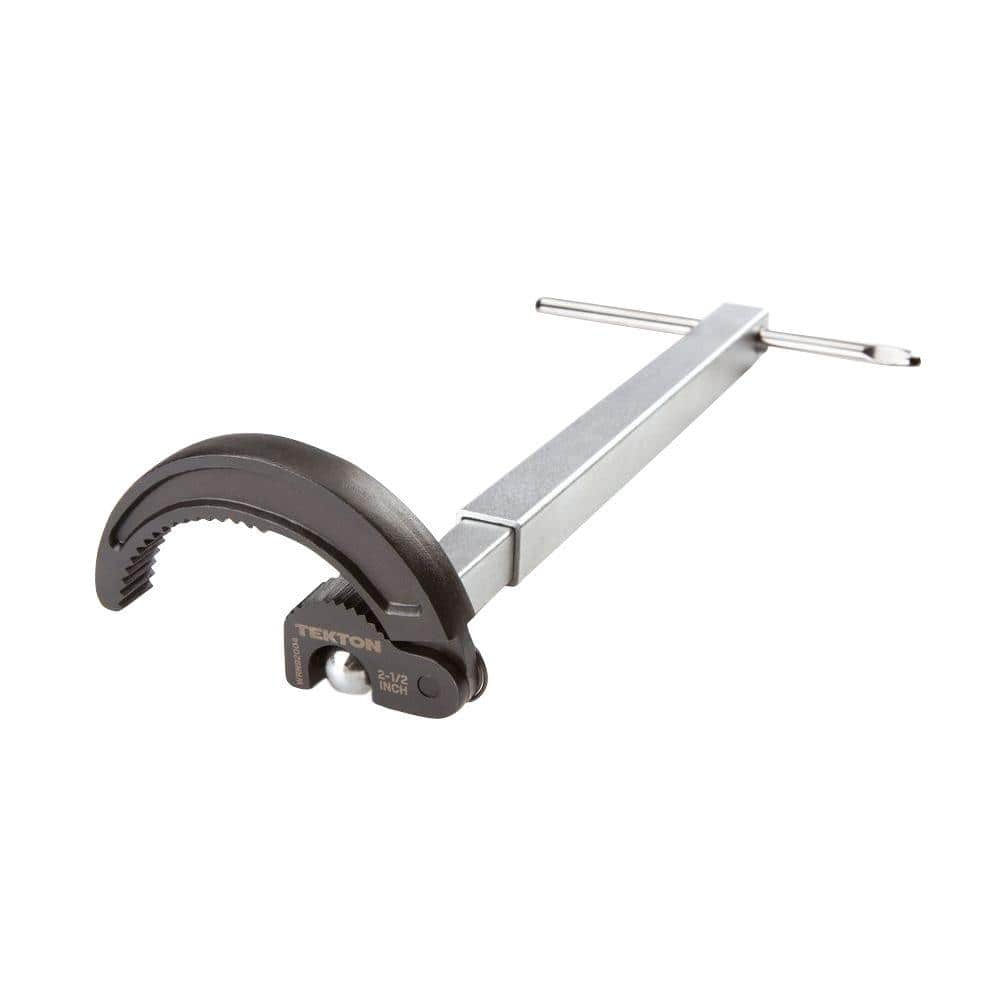
TEKTON 10 in. to 17 in. Telescoping 7/8 - 2-1/2 in. Basin Wrench WRN92004
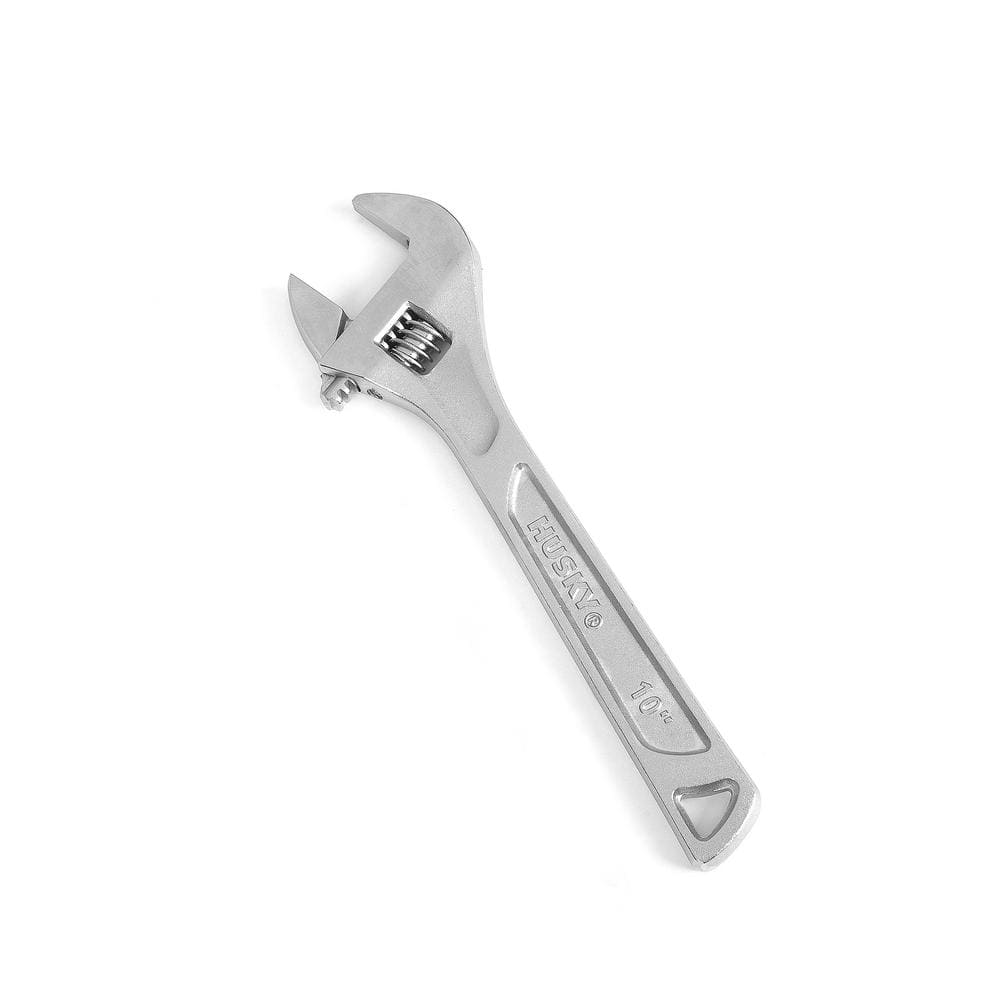
Husky 10 in. Adjustable Wrench 90932
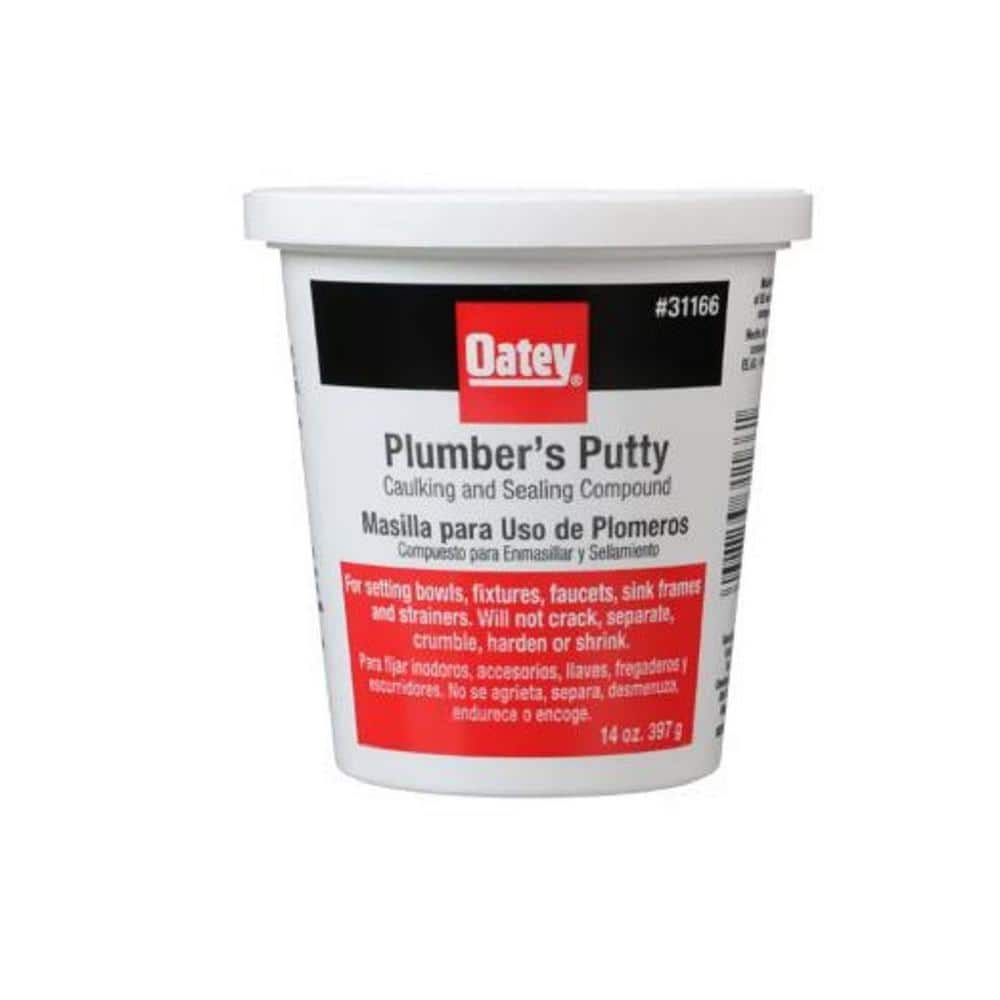
Oatey 14 oz. Plumber's Putty 311662
Adjustable Wrench
Fits various nut and bolt sizes with its adjustable jaw.
Unger 6 Gal. Heavy-Duty Plastic Bucket DB02
The Unger 6-Gallon Heavy-Duty Professional Cleaning Bucket holds more than 6 Gal. of liquid. The bucket can accommodate a scrubber up to 14 in. L. This bucket features measurement marks and 2-pour spouts
TEKTON 10 in. to 17 in. Telescoping 7/8 - 2-1/2 in. Basin Wrench WRN92004
Uniquely designed for easy, one-handed operation in confined areas, the TEKTON Telescoping Basin Wrench takes the frustration out of under-sink work. Ideal for larger nuts and retaining collars on faucets,
Husky 10 in. Adjustable Wrench 90932
The Husky 10 in. Adjustable Wrench features a durable, comfortable handle. A large knurl allows for easy adjustment and a tight-fitting hex jaw design reduces slippage and tightly grips the fastener for
Oatey 14 oz. Plumber's Putty 311662
The Oatey 14 oz. Plumber's Putty is an easy-to-mold setting compound designed for use with stainless-steel sealing applications such as frames, faucets and strainer baskets. Not for use on plastic, marble,
Steps

Shut Off the Kitchen Sink's Water Supply
5 minsLocate the hot and cold water supply valves under your sink. Turn them fully clockwise to shut off the water. Then, turn on the faucet to release any remaining water pressure. This crucial step prevents a messy water spillage during the rest of the installation.
Watch: Shut Off Water Supply
Disconnect the Old Faucet's Water Supply Lines
15 minsCarefully disconnect the water supply lines from the old faucet using an adjustable wrench. Place a bucket underneath to catch any remaining water. Remember to note which line is hot and which is cold for easier reconnection later.
Watch: Prepare Work Area and Remove Old Faucet

Install the New Kitchen Faucet
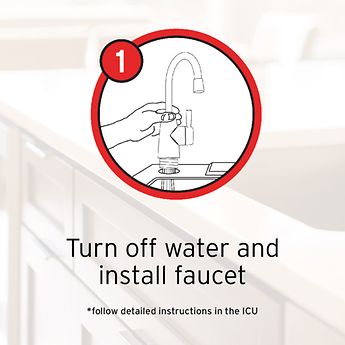
30 minsInstall the new faucet according to the manufacturer's instructions. This usually involves securing it to the sink with mounting nuts, connecting the water supply lines, and applying plumber's putty or silicone sealant as needed. Take your time and double-check all connections.
Watch: Mount New Faucet
Test for Leaks and Verify Functionality
10 minsSlowly turn the water supply valves back on and carefully check for any leaks around the faucet and supply line connections. Tighten any loose connections or reapply sealant as needed. Thoroughly test the new faucet to ensure everything is working correctly.
Watch: Final ChecksCommon Problems
Be extremely careful when using a cutting tool under the sink to avoid damaging the countertop, the sink itself, or the water supply lines.
Solution: To avoid this issue: Be mindful of this warning and take appropriate precautions.
Basin wrench too small, can't get a grip on faucet nuts.
Solution: Standard basin wrenches may not fit all nuts. A larger, more robust model, like the Rigid one shown, may be necessary for better grip and leverage.
Be aware that the area under the old faucet base is likely to be dirty and may require cleaning.
Solution: To avoid this issue: Be mindful of this warning and take appropriate precautions.
Can't reach or tighten faucet nuts in confined under-sink spaces.
Solution: Use a basin wrench for easier access in tight spaces.
Ensure the water is completely off before disconnecting any plumbing. Test by turning on the faucet; no water should flow.
Solution: To avoid this issue: Be mindful of this warning and take appropriate precautions.
Make sure the water is completely shut off to avoid water damage.
Solution: To avoid this issue: Be mindful of this warning and take appropriate precautions.
Water spills into the cabinet when disconnecting the old faucet.
Solution: Having a bucket ready is essential to keep the cabinet dry.
Frequently Asked Questions
What specialized tools should I definitely have for removing the old faucet and installing the new one, especially if I'm a beginner?
A basin wrench, like the TEKTON WRN92004, is crucial for reaching and loosening nuts in tight spaces under the sink. An adjustable wrench is also essential for connecting supply lines. Additionally, having a bucket like the Unger DB02 will help catch any residual water.
What's the very first thing I need to do to ensure safety and prevent water damage before starting the faucet replacement?
Always start by shutting off the hot and cold water supply valves directly under the sink. If those don't work or don't exist, you'll need to turn off the main water supply to your house. Once the water is off, open the old faucet to relieve any remaining pressure in the lines.
How can I prevent leaks after installing the new faucet, which seems to be a common issue for DIYers?
Ensure all connections, especially the supply lines, are hand-tightened first, then given a quarter to half turn with an adjustable wrench for a snug fit. Use plumber's putty or silicone sealant around the base of the new faucet as directed by the manufacturer to create a watertight seal with the sink deck.
This project is rated "beginner" with an estimated time of 3 hours. Is that realistic, or should I budget more time if it's my first time?
While rated beginner, 3 hours is an estimate for someone with basic DIY experience and no major issues. If it's your first time or if you encounter seized or hard-to-reach nuts on the old faucet, plan for 4-6 hours. Take your time, read all instructions carefully, and don't rush the process.
My old faucet's mounting nuts are corroded or in a very awkward spot, making them impossible to loosen. What's the best way to deal with this?
First, try spraying a penetrating oil onto the nuts and letting it soak for 15-30 minutes, then attempt with the basin wrench again. If that fails, you might need a mini hacksaw or an oscillating tool with a metal cutting blade to carefully cut through the mounting nuts or shanks, but proceed with extreme caution to avoid damaging the sink.
The guide mentions plumber's putty or silicone sealant for sealing. Are these interchangeable, and when should I use one over the other?
Both create a seal, but silicone sealant offers a more permanent, waterproof bond and is generally preferred for porous surfaces like granite or composite sinks. Plumber's putty is easier to remove and is ideal for stainless steel sinks, but it can stain some natural stone. Always check your specific faucet and sink material for manufacturer recommendations.