Air Duct Cleaning
About This Project
This project outlines the process of cleaning air ducts in a home to improve air quality. It involves accessing the ductwork, removing debris, and sanitizing the system.
Tools & Materials
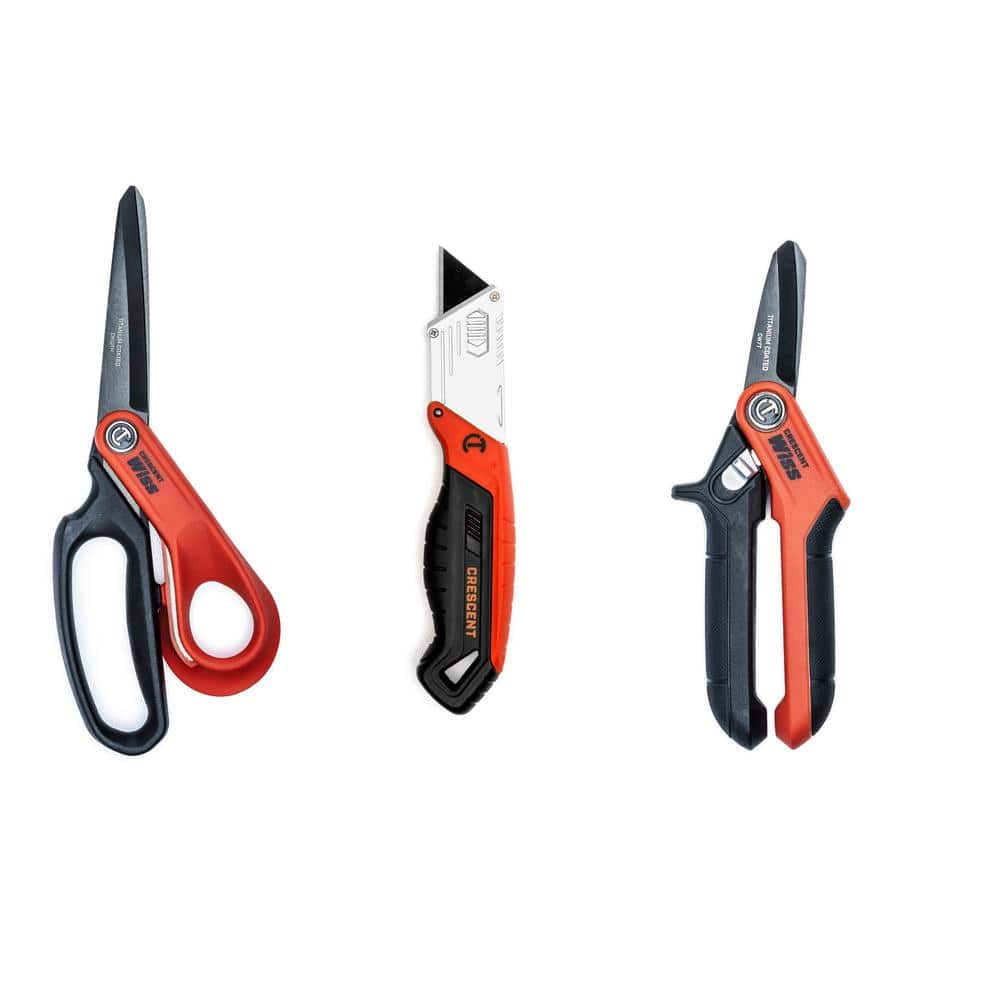
Crescent Pro Cutting Scissors, Utility Scissors and Folding Utility Knife Tool Set (3-Piece) CW7T10TMKF2CMB
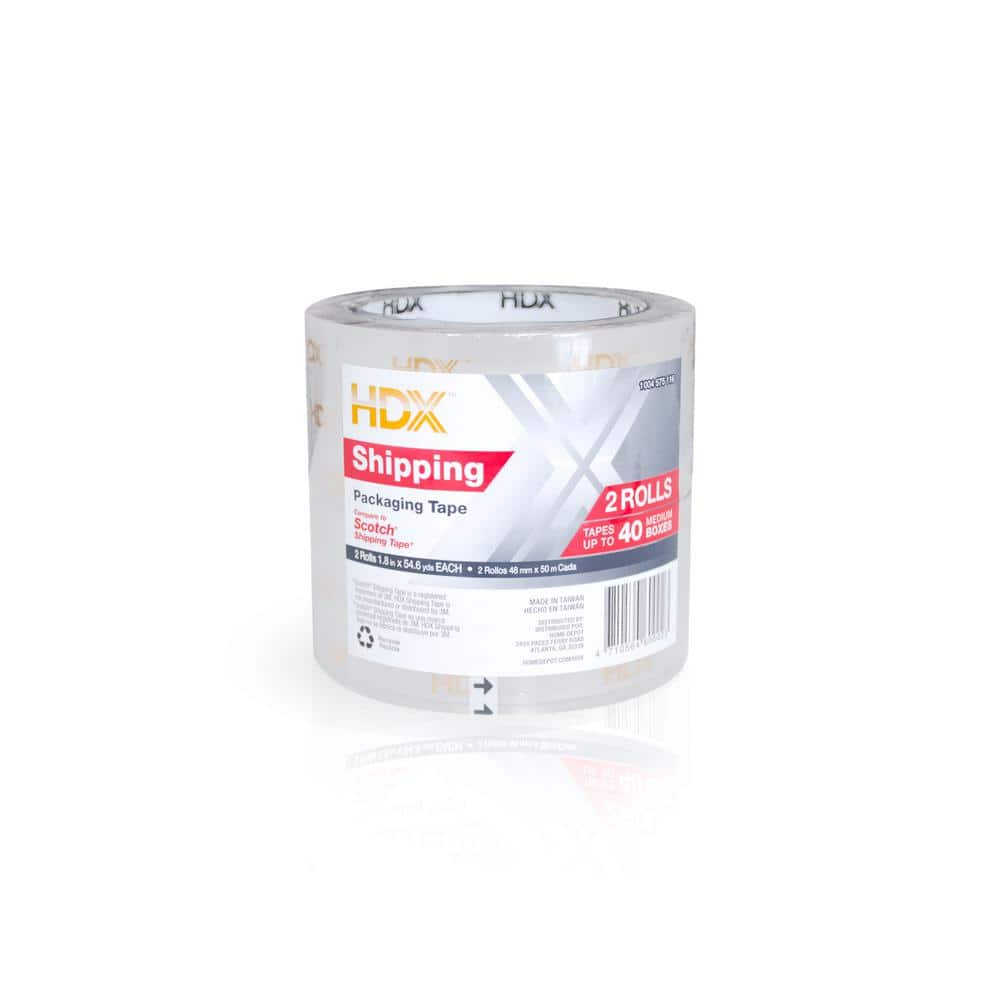
HDX 1.88 IN X 54.6 YD TAPE (2-PACK) F123Q048502PK
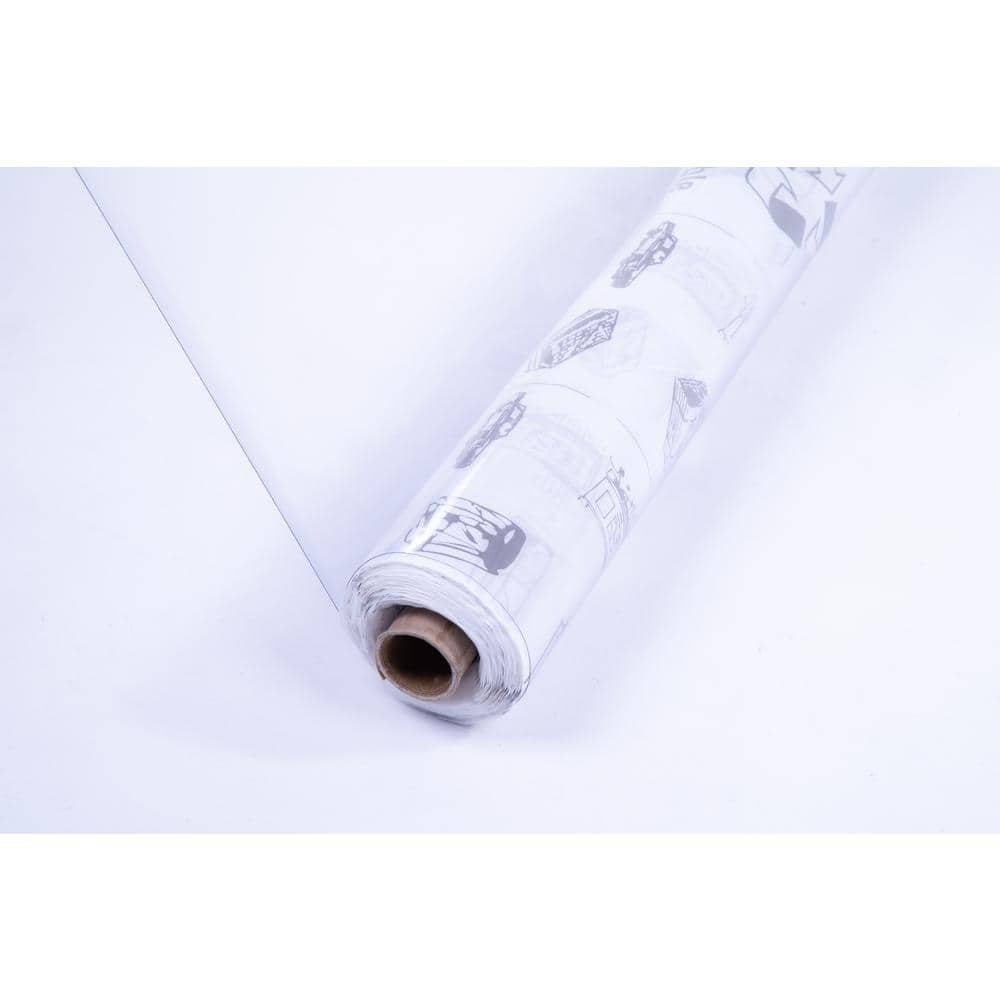
Vinyl-It 4-1/2 ft. x 45 ft. Clear 20-Gauge Plastic Sheeting 10020
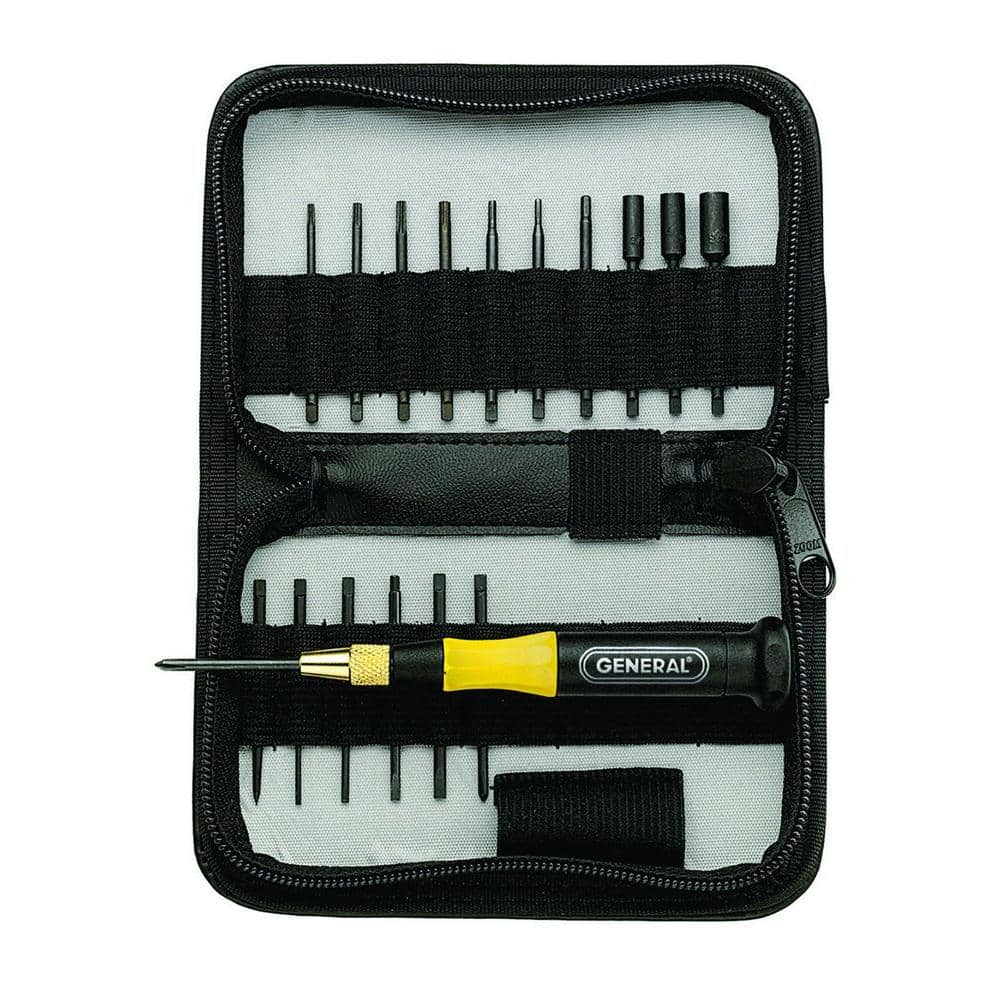
General Tools Screwdriver Set (18-Piece) 63518

Defiant 2000 Lumens LED Slide-to-Focusing Aluminum Flashlight 90706
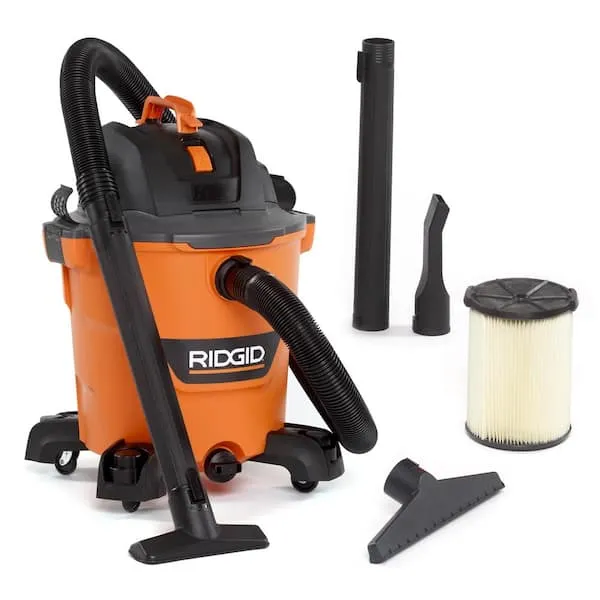
Shop Vacuum
Crescent Pro Cutting Scissors, Utility Scissors and Folding Utility Knife Tool Set (3-Piece) CW7T10TMKF2CMB
The Pro Cutting Scissor and Knife Tool Set includes the Quick Change Folding Utility Knife, the 7 in. Utility Shear and the 10 in. HD Tradesmen Shop Shears. The Crescent Wiss Quick-Change Utility Knife
HDX 1.88 IN X 54.6 YD TAPE (2-PACK) F123Q048502PK
High performance crystal clear packaging tape seals mailroom shipments tight. With special acrylic adhesive which provides weather resistant and wide range of operation temperature. Suitable for all your
Vinyl-It 4-1/2 ft. x 45 ft. Clear 20-Gauge Plastic Sheeting 10020
This 45 ft. roll of 20-Gauge Multipurpose Vinyl from Vinyl-It is a must-have for all DIY enthusiasts. Ideal indoors or out, it is perfect for covering tables and furniture to keep them protected from children, pets and general wear-and-tear. Also a great solution to temporarily patch broken windows, it can additionally serve as a heavy-duty drop cloth to offer protection during moving, renovations or painting projects.
General Tools Screwdriver Set (18-Piece) 63518
General Tools has grown to become the recognized industry leader for specialty hand tools and instruments. The General Tools 18-Piece Screwdriver Set features a diversified assortment of extended-shaft
Defiant 2000 Lumens LED Slide-to-Focusing Aluminum Flashlight 90706
This Defiant 2000-Lumens LED Slide-to-Focusing Aluminum Flashlight features high- powered LED chips to emit up to 2000-Lumens of light, illuminating your work area and beyond. Its tough aluminum material
Shop Vacuum
Cleans workshop mess efficiently.
Steps

Seal Vents and Close-Off Return Air Grilles
30 minutesUsing heavy-duty tape, seal all supply air vents in each room. For return air grilles, use plastic sheeting and tape to completely cover them. This step is crucial for preventing dust from spreading throughout the house during the cleaning process.
Watch: Prepare and Seal All Ductwork Openings
Access Main Air Handler Unit
15 minutesIdentify the location of your home's main air handler unit. This unit houses the blower motor and is the central point of the duct system. You may need to remove an access panel to get to the internal components.
Watch: Locate and Access Indoor Air Handler
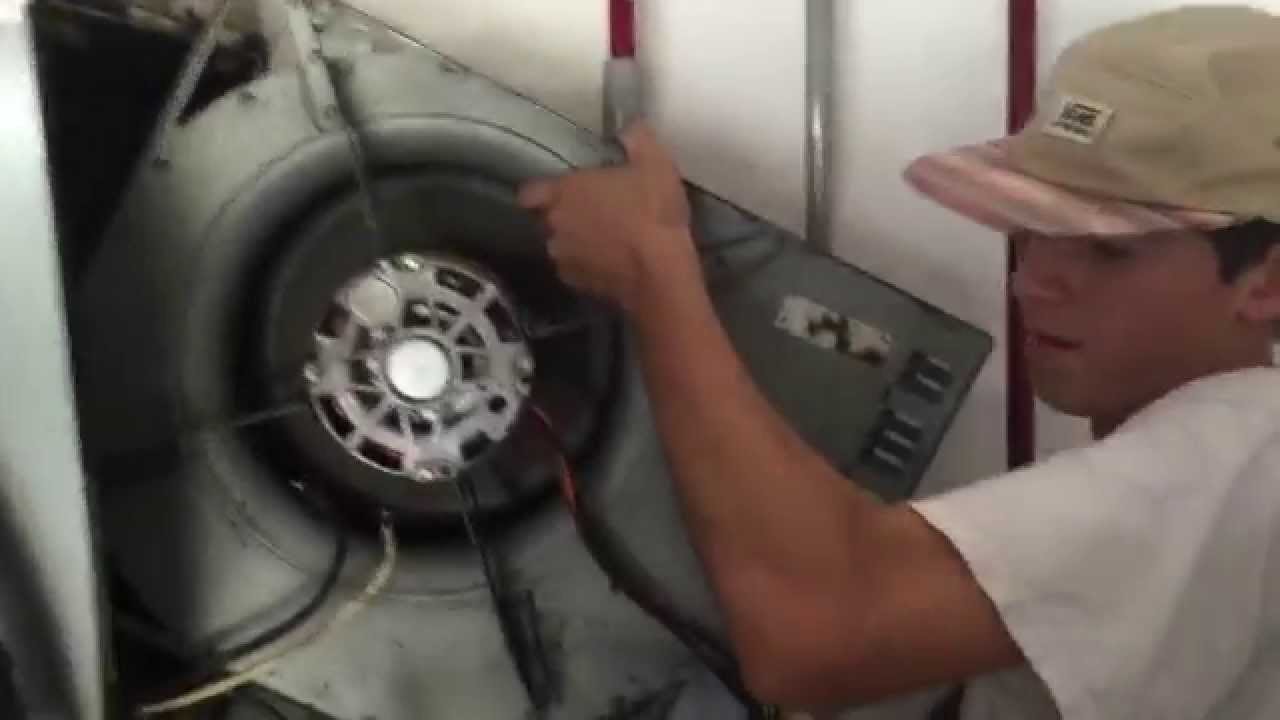
Clean Blower Motor and Housing
45 minutesCarefully remove the blower motor assembly if possible. Use a brush and vacuum cleaner with a crevice tool to thoroughly clean the fan blades, motor housing, and surrounding area. This is often the dirtiest part of the system.
Watch: Clean the Blower Wheel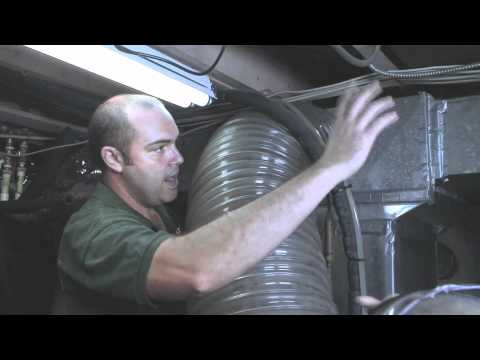
Inspect and Clean Main Ductwork
60 minutesUsing a powerful shop vacuum with an extension hose, insert the hose into the main supply and return ducts. Move the hose back and forth to dislodge and remove as much dust, dirt, and debris as possible. For very stubborn debris, a rotary brush attachment can be used.
Watch: Connect Vacuum System and Prepare Agitation Tool
Clean Branch Ducts and Vents
90 minutesAccess each branch duct run from a vent opening. Use a vacuum with a crevice tool or a specialized duct brush to clean the interior of these smaller ducts. For supply vents, clean the registers and louvers thoroughly.
Watch: Clean Branch Ductwork (Air Wash & Brush)Sanitize Ductwork (Optional)
30 minutesIf desired, use an EPA-approved antimicrobial spray or fogger specifically designed for HVAC systems. Follow the product's instructions carefully, ensuring proper ventilation and dwell time. This step helps eliminate odors and prevent microbial growth.
Watch: Apply Sanitizing Fog and Final System Treatment
Reassemble and Test System
30 minutesCarefully reassemble the blower motor assembly and any removed panels. Reinstall all vent covers and ensure they are securely fastened. Turn the power back on at the breaker box and run the HVAC system for a few minutes to ensure it is operating correctly and to circulate any residual dust out of the system.
Watch: Reassemble and Test the Blower UnitCommon Problems
Dust and debris escape into your home despite sealing vents, making your house even dirtier.
Solution: Identify any gaps or loose sections in your plastic sheeting and tape. Reinforce seals with additional tape, ensuring all edges are firmly pressed down. For stubborn leaks, apply a second layer of plastic sheeting. Use a damp cloth or a HEPA-filtered vacuum to immediately clean any dust that has escaped.
Prevention: When sealing vents and grilles, use high-quality HVAC foil tape for a stronger seal than standard painter's tape. Ensure plastic sheeting overlaps by at least 6 inches at seams and is securely taped all around the perimeter of the vent opening, creating a truly airtight barrier.
Risk of electrical shock or damaging the HVAC system when accessing the air handler or blower motor.
Solution: If you feel any tingling or suspect a live wire, immediately stop what you're doing. Ensure the power is OFF at both the thermostat and the main electrical breaker for your HVAC unit. Use a non-contact voltage tester (available at hardware stores) to confirm no power is present before touching any wires or components again. If a fuse blows or the system doesn't start after reassembly, recheck all connections and ensure no wires are pinched.
Prevention: ALWAYS turn off the power to your HVAC system at the thermostat AND the dedicated circuit breaker in your electrical panel before opening any access panels. Tag the breaker with a note 'DO NOT TURN ON - WORKING' to prevent accidental power restoration by others.
Shop vacuum loses suction or isn't effectively removing debris from inside the ducts.
Solution: First, check if the vacuum's canister is full and empty it. Next, inspect and clean or replace the vacuum filter, as a clogged filter significantly reduces suction. Then, check all connections along the hose (at the vacuum, extension hose, and attachment) to ensure they are tight and there are no air leaks. Finally, if suction is still poor, remove the hose and check for clogs by looking through it or by carefully pushing a broom handle through.
Prevention: Start with an empty shop vacuum and a clean filter. Use the largest diameter hose and attachment that fits your ductwork for better airflow. Work in smaller sections and frequently check and empty the vacuum canister to maintain optimal suction.
Stripping screw heads on access panels or vents, making them difficult to remove or re-secure.
Solution: If a screw head is starting to strip, stop immediately. Try using a slightly larger screwdriver bit that can still get some grip, or place a wide rubber band over the screw head before inserting your screwdriver for better traction. If fully stripped, you may need a screw extractor kit or, as a last resort, carefully drill out the screw head (being mindful of what's underneath).
Prevention: Always use the correct size and type of screwdriver bit (Phillips, flathead, square) that perfectly fits the screw head. Apply firm, steady downward pressure while turning slowly. If a screw is stuck, try turning it a tiny bit tighter first to 'break' the seal, or use a penetrating oil for rusted screws.
Rotary brushes or cleaning tools get stuck or damage the inside of the ductwork.
Solution: If a brush gets stuck, gently pull and twist it in the opposite direction it was inserted. Avoid forcing it, as this can cause further damage. If it's still stuck, try to access the duct from another opening (e.g., a vent downstream) to push it out. If damage occurs (e.g., a small puncture in metal ductwork), it can often be patched with HVAC foil tape. For flexible ducts, be very gentle as they can tear easily.
Prevention: Use the inspection camera to visualize the duct path and identify potential obstacles or tight turns before inserting brushes. Use an appropriately sized brush for the duct diameter. For flexible ducts, use the vacuum hose and crevice tool primarily, or a very soft brush, and avoid aggressive pushing or twisting.
Lingering chemical odors or ineffective sanitization after using disinfectant spray.
Solution: If chemical odors persist, open all windows and doors, and run your HVAC fan (set to 'Fan On' without heating or cooling) for several hours to help circulate and vent the air. If the previous musty smell returns, it indicates the source (mold/mildew) was not fully cleaned or there's a recurring moisture problem. You may need to re-clean the affected area more thoroughly or investigate for water leaks.
Prevention: Ensure ducts are thoroughly cleaned and dry before applying sanitizer. Use a product specifically designed and approved for HVAC systems, and follow the manufacturer's instructions carefully regarding application amount and ventilation times. Avoid over-spraying, which can lead to excessive moisture and lingering odors. Always ensure good ventilation during and after application.
Frequently Asked Questions
Many specialized tools are listed, do I really need all of them, especially the endoscope camera?
Yes, tools like the endoscope camera (borescope) are highly recommended to effectively inspect and ensure thorough cleaning, especially in hard-to-reach areas of your ductwork. The shop vacuum with a long extension hose is crucial for debris removal, and proper sealing materials are essential for containing dust.
What are the most important safety precautions for this project, and is it truly beginner-friendly despite being a 2-day job?
Wear appropriate personal protective equipment like an N95 mask, gloves, and eye protection to avoid inhaling dust and irritants. While the steps are straightforward for a beginner, the project is labor-intensive and time-consuming, requiring patience and attention to detail over two days.
What are the most common mistakes DIYers make when cleaning air ducts, and how can I avoid them?
Common mistakes include inadequate sealing of vents, not thoroughly cleaning the blower motor, and failing to remove all debris from branch ducts. To avoid these, meticulously follow the sealing steps, use your endoscope to verify cleanliness, and ensure your vacuum has strong suction with appropriate attachments.
The sanitization step is optional; how do I decide if it's necessary, and are there alternative products to use?
Sanitization is recommended if you've had mold issues, pets, or strong odors in your home, as it helps eliminate bacteria and fungi. If opting for sanitization, always choose an HVAC-approved disinfectant spray. Ensure good ventilation during and after application, and follow the product's instructions carefully.
Cleaning air ducts takes two full days. What should I do to prepare my home and family for this disruption?
Plan to clear furniture and sensitive items away from vents and the main air handler area to create working space. Consider temporarily relocating pets or individuals with respiratory sensitivities due to the dust and cleaning agents. Inform family members that the HVAC system will be off for an extended period.
How can I verify that my air ducts are actually clean after completing the project?
After cleaning, use your endoscope camera to re-inspect different sections of the main and branch ductwork for any remaining dust or debris. You should also notice a significant improvement in your home's air quality and potentially reduced dust accumulation on surfaces, indicating a successful clean.