Septic System Installation
About This Project
This project outlines the high-level steps for installing a new septic system for a residence. It covers site evaluation, system design, obtaining permits, excavation, tank and drainfield installation, and final inspection.
Tools & Materials
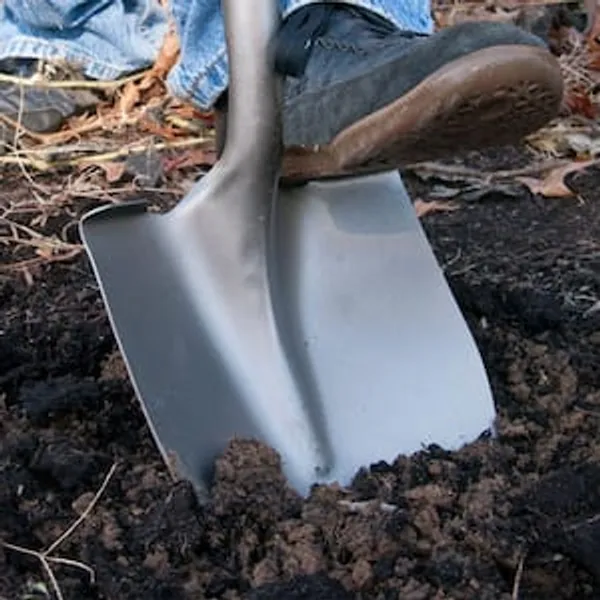
Shovel
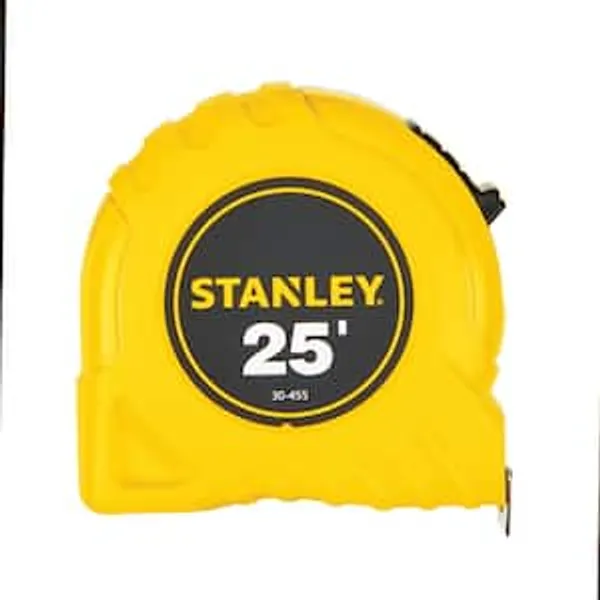
25 ft. Tape Measure
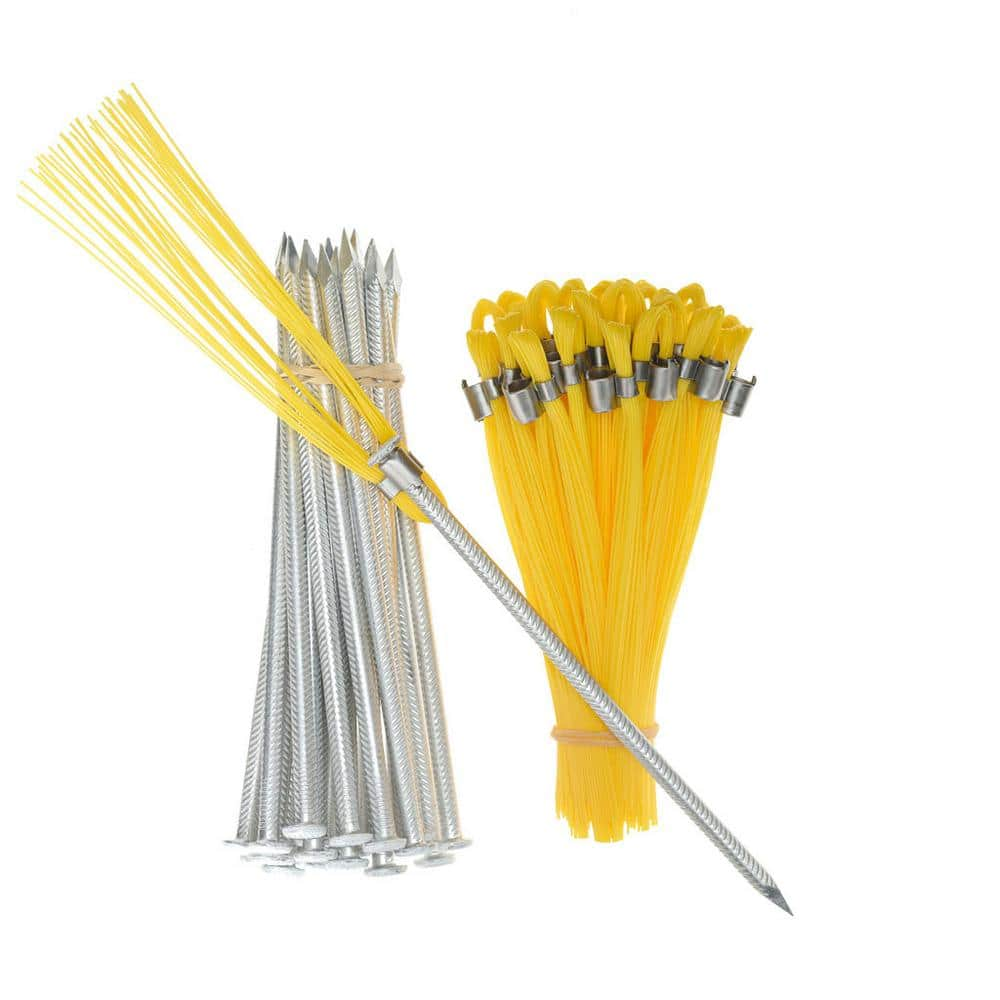
Trail Chasers 6 in. Yellow Ground Markers - Whiskers and Stakes (25-Pack) TEHYK25

Soil Test Kit
Backyard Discovery Hillcrest All Cedar Wood Children's Swing Set Playset with Elevated Clubhouse Balcony Rockwall Swings Slide and Trapeze 1808058BCOM

3/16 in. x 2 ft. x 4 ft. Chalkboard/Whiteboard 7012145
Shovel
Digs, lifts, and moves with ease.
25 ft. Tape Measure
Measure with precision and ease.
Trail Chasers 6 in. Yellow Ground Markers - Whiskers and Stakes (25-Pack) TEHYK25
The Original Trail Chasers GROUND MARKERS - Easy to Deploy, Easy to Move and Easy to Retrieve. Perfect for marking hiking trails, hunting locations, survey points, ground hazards, garden layouts, landscape
Soil Test Kit
Reveals soil's pH, nutrients, and minerals.
Backyard Discovery Hillcrest All Cedar Wood Children's Swing Set Playset with Elevated Clubhouse Balcony Rockwall Swings Slide and Trapeze 1808058BCOM
It's easy to picture the scenes from the California coastline while playing on the Hillcrest. The large upper fort comprises a quaint barn-styled clubhouse and balcony, while the 2-level lower deck will
3/16 in. x 2 ft. x 4 ft. Chalkboard/Whiteboard 7012145
This product features dry erase board on 1 side and chalkboard on the other. Great for projects at home, work or in the classroom. Offers flexibility for a variety of DIY projects.
Steps

Site Evaluation and Soil Testing
480 minutesAssess the property for potential leach field locations, considering setbacks from wells, property lines, and water bodies. Perform soil percolation tests (perc tests) to determine the soil's absorption rate. This is crucial for designing a drainfield that meets local regulations and functions effectively.
Watch: Perform a Soil Test (Perc Test)Septic System Design
360 minutesDevelop a detailed plan for the septic tank size, type, and location, as well as the drainfield layout (e.g., trench, bed, mound). The design must account for the number of bedrooms, anticipated wastewater flow, and soil percolation rates. A professional engineer or designer may be required by local regulations.


Excavation
480 minutesUsing heavy equipment, dig the hole for the septic tank to the specified depth and dimensions. Excavate trenches or areas for the drainfield, ensuring proper slope and dimensions as per the design. Be mindful of underground utilities and any marked property lines.
Watch: Excavate Trenches and Tank Hole for New System
Septic Tank Installation
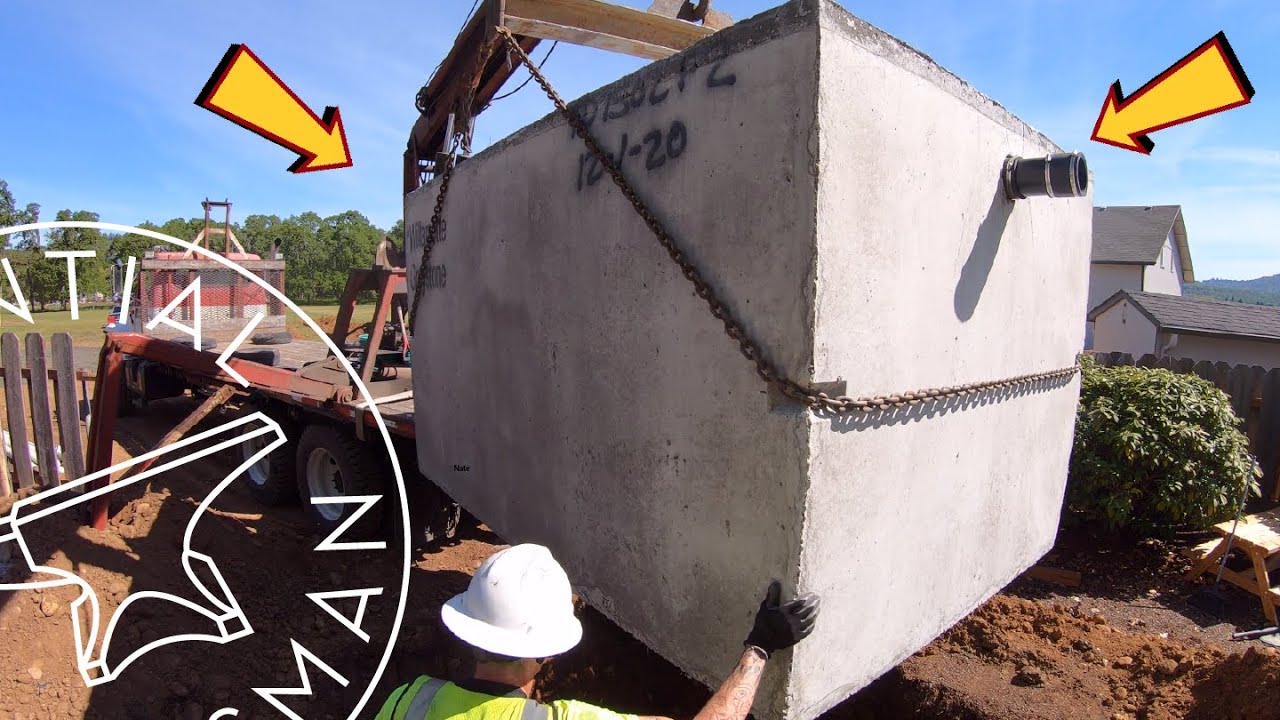
240 minutesCarefully lower the septic tank into the excavated pit. Ensure the tank is set on a stable, level base (often compacted gravel or sand). Connect inlet and outlet pipes according to the design, ensuring watertight seals. Backfill around the tank once it is properly positioned and connected, compacting the soil in layers.
Watch: Installing the Septic Tank and Connections
Drainfield Installation
720 minutesLay perforated pipes in the excavated trenches or bed, ensuring the correct slope. Cover pipes with washed gravel, maintaining the specified depth. Wrap the gravel and pipes with geotextile fabric to prevent soil from clogging the system. Ensure proper distribution of effluent from the tank to the drainfield.
Watch: Installing Perforated Pipes and Washed Rock
Connect Inlet and Outlet Piping
180 minutesEnsure a watertight connection between the septic tank outlet and the first section of the drainfield pipe or distribution box. Similarly, connect the plumbing from the residence to the septic tank inlet. Use appropriate fittings and sealants to prevent leaks and infiltration.
Watch: Connect House to Septic Tank and Install Internal Components
Backfilling and Final Grading
360 minutesCarefully backfill around the septic tank and over the drainfield pipes with suitable soil. Compact the soil in layers to prevent settling. The final grade should direct surface water away from the tank and drainfield to prevent saturation and potential contamination. Ensure the final cover depth over the drainfield meets local code requirements.
Watch: Inspection, Backfilling, and GradingFinal Inspection and System Startup
120 minutesOnce construction is complete, contact the local health department or building inspector to schedule a final inspection. The inspector will verify that the system was installed according to the approved plans and local codes. After passing inspection, the system can be put into service. Avoid heavy loads or landscaping directly over the drainfield.
Watch: Inspection, Backfilling, and GradingCommon Problems
During excavation, trench walls collapse, or you accidentally hit an underground utility line (e.g., gas, electric, water, sewer). This is extremely dangerous, can cause serious injury or death, and can lead to costly repairs and project delays.
Solution: 1. If trench walls show signs of collapse or have already collapsed, immediately evacuate the trench and do not re-enter. 2. If you hit a utility line (smell of gas, exposed wires, sudden pipe break, or water gushing), stop all work immediately. 3. For gas leaks or electrical hazards, call emergency services (e.g., 911 in the US) immediately. 4. Notify your local utility companies and follow their instructions. 5. Do not attempt to repair damaged utilities yourself. Consult with a professional excavator or engineer to reassess trench stability or utility damage.
Prevention: 1. ALWAYS call 811 (or your local equivalent) a few days before digging to have all underground utility lines marked on your property. This is a crucial safety step. 2. Use the 'Trail Chasers 6 in. Yellow Ground Markers - Whiskers and Stakes' to clearly mark where utilities are located, and use 'Cordova Pro Pack 3 in. x 1000 ft. Red Danger Barricade Tape' to cordon off dangerous areas. 3. Hand dig carefully when working within several feet of marked utility lines. 4. For trenches deeper than 5 feet, ensure they are properly shored, sloped, or benched according to safety standards to prevent cave-ins. Never work alone in a deep trench.
Your septic system design is rejected by the local health department or permitting office, or the system fails final inspection due to non-compliance with local regulations. This means wasted time, effort, and potentially having to redo significant parts of the project.
Solution: 1. Carefully review the specific reasons for denial or failure provided by the authorities. 2. Consult with a licensed septic system designer or engineer who is familiar with local codes to revise your plans. 3. Make any necessary adjustments to your site, materials, or installation methods based on the revised plan. 4. Re-submit the corrected plans and permit applications for approval. Do not proceed with construction until all required permits are officially approved.
Prevention: 1. Before starting any design or work, obtain and thoroughly understand all local septic system regulations, codes, and permit requirements from your local health department or environmental agency. 2. Hire a qualified local septic system designer and have 'Site Evaluation and Soil Testing' professionally done using a kit like 'SOILKIT Soil Testing Kit with Lab Results TL--006' before finalizing any design. 3. Keep all permit documents organized in a 'Permit Pouch 12 in. x 18 in. Large Permit Pouch' and ensure they are accessible throughout the project.
The septic tank is installed unevenly, or it gets cracked/damaged during the lowering process. An unlevel tank can lead to poor flow, improper waste treatment, and premature system failure. A cracked tank will leak untreated effluent into the ground.
Solution: 1. If the tank is only slightly off-level and not yet backfilled, carefully use a pry bar and stable shims (like compacted gravel or blocks) to gently lift and level the tank. Use a 'Level' to check both directions. 2. If the tank is significantly off-level or has been partially backfilled, you may need to carefully re-excavate around it and use heavy equipment (like the 'RANGER 2-Ton Folding Shop Crane RSC-2TF 5150105' if capable, or professional machinery) to lift, re-level the base, and reset it. 3. If the tank is cracked or structurally damaged, it cannot be reliably repaired for long-term use and must be replaced entirely.
Prevention: 1. Prepare a perfectly level, firm, and compacted base (often gravel or sand) for the septic tank before lowering it. Use your 'Level' and '25 ft. Tape Measure' to ensure the base is flat and at the correct elevation. 2. Use appropriate lifting equipment, such as a strong crane or excavator with proper rigging, to gently and evenly lower the 'Norwesco 1000 Gal. 2 MH 2 CPT Septic Tank' into its excavation. 3. Have multiple people guide the tank into place to prevent it from swinging or striking the trench walls, which can cause damage.
The drainfield pipes ('Advanced Drainage Systems 4 in. x 100 ft. Singlewall Perforated Drain Pipe') are not sloped correctly, or the 'SAKRETE All-Purpose 60 lb. Gravel' and 'VEVOR 10 ft. x 100 ft. Garden Weed Barrier Fabric' are improperly installed. This can cause effluent to pool, clog the system prematurely, or not be treated effectively, leading to system failure.
Solution: 1. If caught before backfilling, carefully adjust the bedding material (gravel) under the drainfield pipes to achieve the specified gentle slope (usually 1/8 to 1/4 inch per foot). Use a 'Level' to verify accuracy. 2. Ensure the 'SAKRETE All-Purpose 60 lb. Gravel' or 'Yard Elements 25 Cu. Ft. of Small 3/4 in. Clean Crushed Gravel' is uniformly distributed to the required depth around and over the pipes. 3. Repair or replace any torn 'VEVOR 10 ft. x 100 ft. Garden Weed Barrier Fabric' (geotextile) to prevent soil from entering and clogging the gravel. 4. If the system is already backfilled and failing, professional diagnosis and excavation may be necessary to repair or replace the affected drainfield sections.
Prevention: 1. Strictly follow your approved septic system design plan for pipe slope and gravel specifications. 2. Use string lines and a 'Level' to establish accurate grades across the entire drainfield trench before laying pipes. 3. Carefully install the 'VEVOR 10 ft. x 100 ft. Garden Weed Barrier Fabric' (geotextile) over the gravel and pipes, overlapping seams and ensuring no tears, to effectively separate soil from the gravel bed. 4. Double-check all measurements and slopes thoroughly before adding the final backfill.
During backfilling, heavy machinery or improperly placed fill material causes damage to the septic tank, drainfield pipes, or inspection ports. Also, improper final grading can lead to surface water pooling over the drainfield, saturating the soil and harming the system, or directing water toward your house foundation.
Solution: 1. If damage is suspected during backfilling (e.g., you hear a crunch, or an area sinks unexpectedly), stop immediately. Carefully uncover the area to inspect for cracks, breaks, or crushed components. Repair or replace any damaged parts before continuing. 2. For improper grading, use a 'Shovel' or the 'Agri-Fab Sleeve Hitch Scraper Box 45-0265' to re-grade the area around the septic system. Create a gentle slope away from the house and over the drainfield to encourage surface water runoff and prevent pooling.
Prevention: 1. Backfill slowly and carefully, especially around the septic tank and drainfield pipes. Use finer, loose soil first, hand-tamping around sensitive components. 2. Avoid driving heavy equipment directly over the septic tank or drainfield unless the system is specifically designed for such loads and has adequate protective cover. 3. Plan your final grading to create a slight mound over the septic tank and drainfield area. This helps shed rainwater and prevents saturation of the soil treatment area. 4. Clearly mark the locations of the septic tank lids and drainfield inspection ports before final backfilling to ensure they are accessible for future maintenance and inspections.
Frequently Asked Questions
Why can't I receive DIY guidance or FAQs for septic system installation?
Septic system installation is classified under the life-safety-defeat risk category. This is due to significant risks including potential trench collapse during excavation, which can cause immediate death or serious injury, and the severe public health and environmental hazards associated with improper waste disposal, such as groundwater contamination. For your safety, public health, and compliance with local regulations, this project requires the expertise and licensure of a qualified professional. Please consult with licensed professionals and local authorities.