
Garbage Disposal Installation & Replacement: A Complete DIY Guide
About This Project
This DIY guide details how to install or replace a garbage disposal. First, disconnect the old unit: turn off the power and water supply, detach the dishwasher hose and discharge pipe, and remove the mounting ring. Next, install the mounting assembly, including the new mounting ring, fiber gasket, and backup ring with plumber's putty. Third, connect the new disposal, attaching the dishwasher drain line and discharge pipe, making sure connections are secure. Finally, test the new disposal. Turn on the water slowly, check for leaks, and run the disposal with cold water, listening for any unusual sounds.
Best for experienced DIYers and homeowners with some experience. Requires access to electrical panel.
Tools & Materials
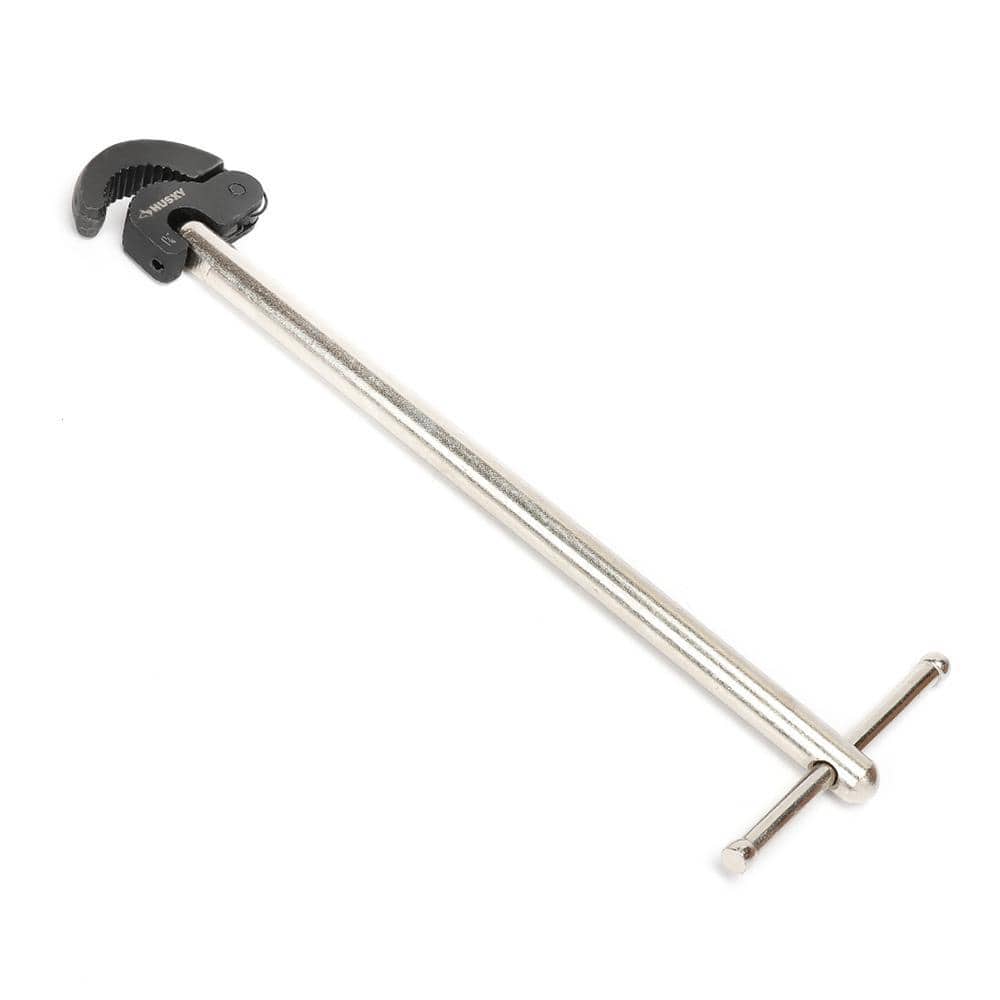
Husky Basin Wrench 16PL0127
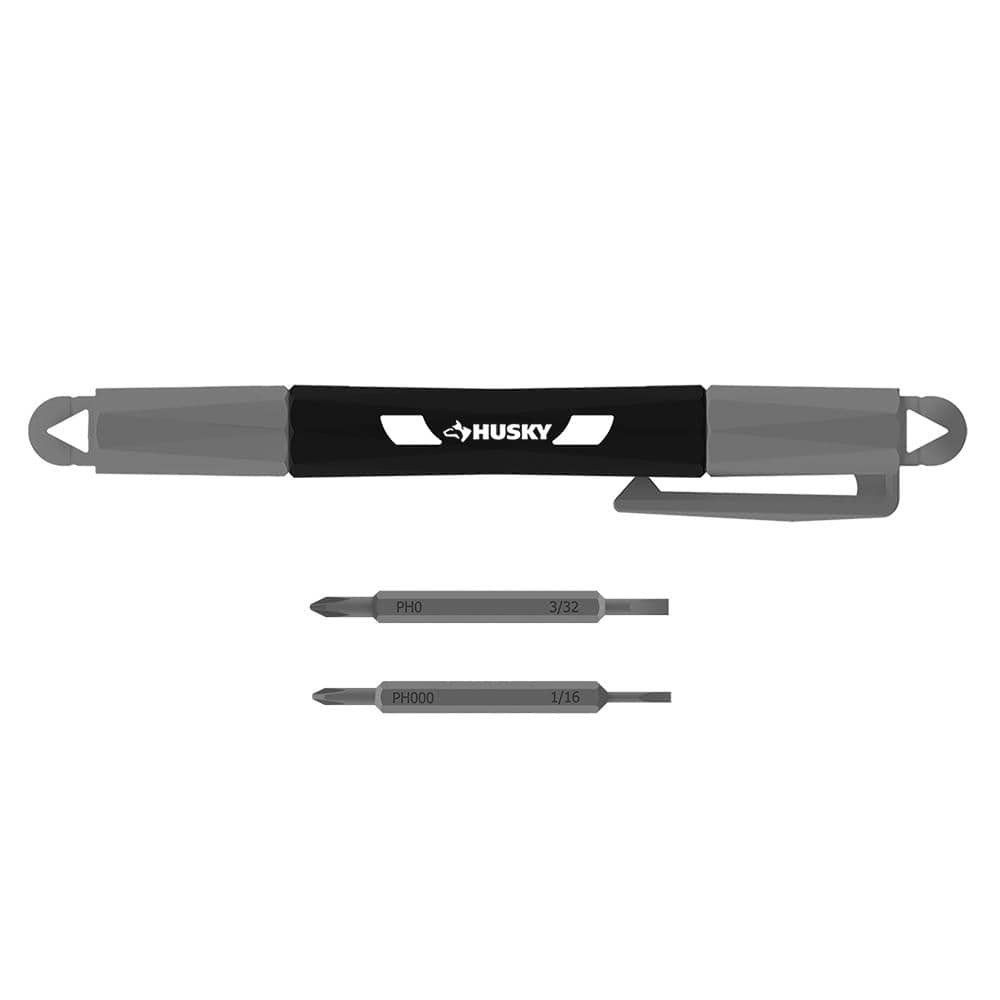
Husky Pocket Screwdriver (4 in 1) 632360012

Tub O' Towels Heavy-Duty Cleaning Wipes, Individually Wrapped, 15-Pack Pouch TW01-15
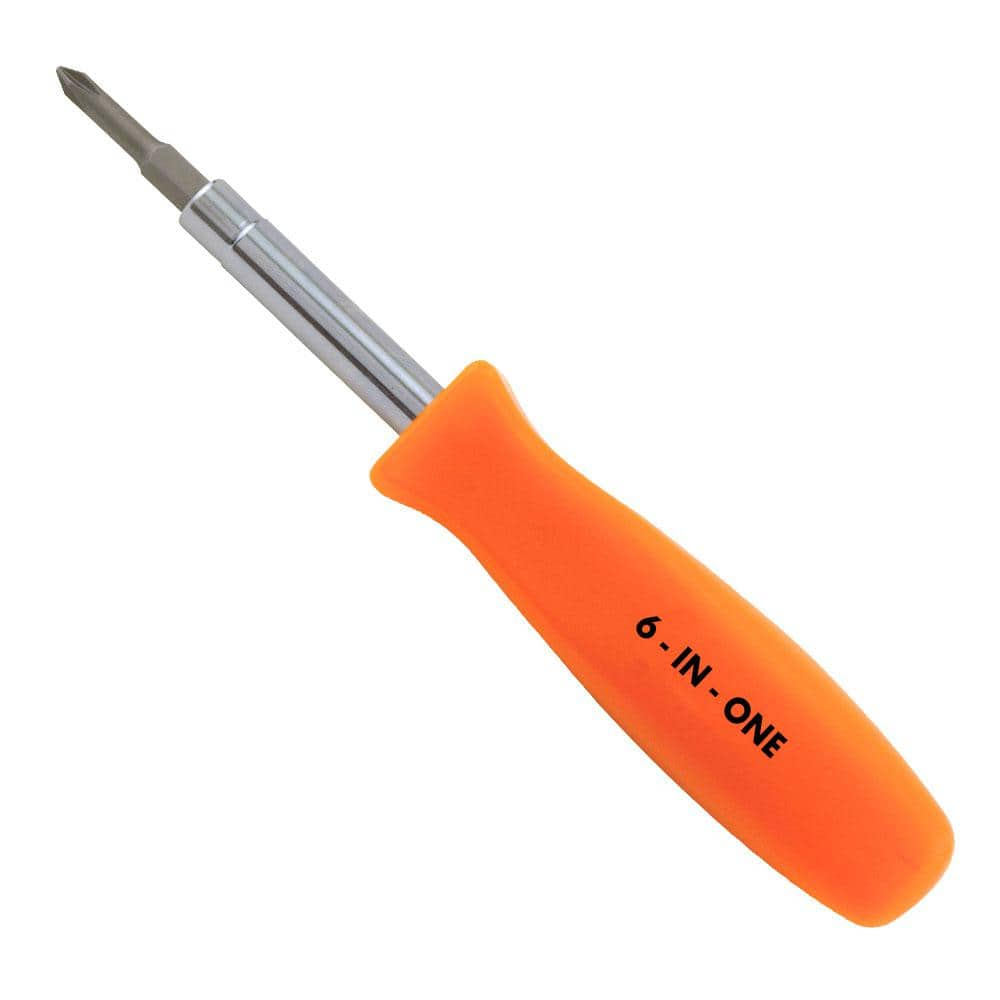
HDX 3-1/4 in. 6-in-1 Screwdriver 120SD12D
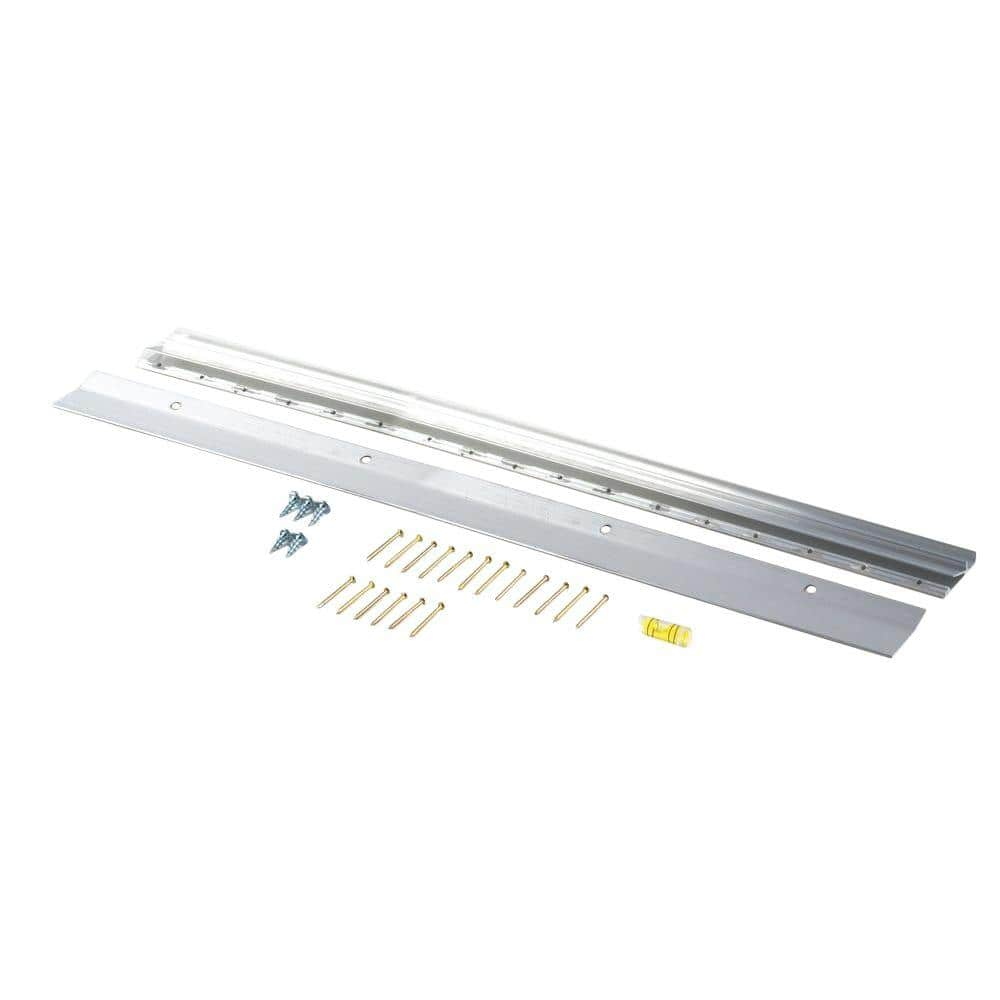
SIMPLE MOUNT 18 in. Apartment Hanger APT-18
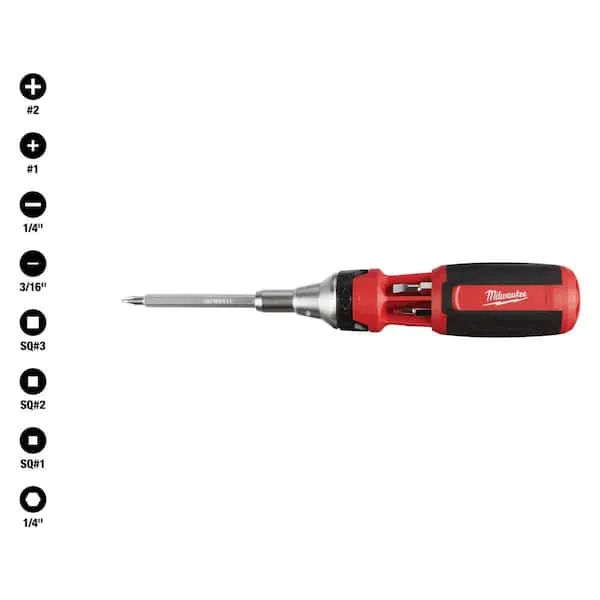
Screwdriver (Multi)
Husky Basin Wrench 16PL0127
Husky's 11 in. Basin Wrench is made from heavy-duty steel and has a reversible head for accessing faucet nuts in tight spaces. The 180 pivoting head holds its position at any angle to access hard-to-reach
Husky Pocket Screwdriver (4 in 1) 632360012
The Husky 4-in-1 Pocket Screwdriver features 4 different tips (2 double ended bits) in 1 tool, includes #0 and #000 Phillips plus 1/16 in. and 3/32 in. Slotted tips. This tools is designed for precision
Tub O' Towels Heavy-Duty Cleaning Wipes, Individually Wrapped, 15-Pack Pouch TW01-15
Tub O' Towels Heavy-duty Cleaning Wipes-pack a powerful punch of cleaning solution to tackle the toughest messes. These on-the go disposable cleaning wipes come completely solution soaked to break down
HDX 3-1/4 in. 6-in-1 Screwdriver 120SD12D
The HDX 3-1/4 in. 6-in-1 Screwdriver features double-sided bits with the four most common screwdriver tip styles, including a #1 Phillips bit, a #2 Phillips bit, a 3/16 in. flathead bit and a 1/4 in. flathead bit. Both ends of the shaft can be used as 1/4 in. nut drivers when the bits are removed, offering convenient, versatile use. The high-visibility orange handle makes the handy tool easy to find on a job site or in a toolbox.
SIMPLE MOUNT 18 in. Apartment Hanger APT-18
Light but strong, the Apartment Hanger hangs pictures, mirrors and heavier wall decor quickly and securely with no damage to walls. Interlocking aircraft-grade aluminum brackets provide tremendous strength,
Screwdriver (Multi)
Multiple bits for versatile use.
Steps

Disconnect the Old Garbage Disposal
30 minsBefore you begin, prioritize safety! Turn off the power to the garbage disposal at the circuit breaker. Then, shut off the water supply valves beneath your sink. Carefully disconnect the dishwasher drain hose (if applicable) and the discharge pipe from the disposal. Use a basin wrench to loosen and remove the mounting ring from the sink flange. Support the disposal as you loosen it to prevent it from falling, then carefully lower it.
Watch: Prepare Work Area and Ensure Safety
Install the Mounting Assembly
15 minsFollow your disposal manufacturer's instructions to install the new mounting ring, fiber gasket, and backup ring onto the sink flange. Ensure a clean and even application of plumber's putty for a secure and leak-proof seal.
Watch: Install New Mounting Assembly
Connect and Secure the New Garbage Disposal
30 minsConnect the dishwasher drain line (if applicable) to the disposal inlet and attach the discharge pipe to the disposal outlet. Double-check that all connections are snug and leak-free. Refer to the wiring diagram to connect the electrical wires correctly. Carefully rotate the disposal into the mounting ring until it clicks into place.
Watch: Install new garbage disposal
Common Problems
Electrical issues or no power
Solution: If you detect leaks, immediately turn off the water supply and check the connections.
Prevention: Double-check the power is off before handling any wiring.
Water leaking after installation
Solution: If you detect leaks, immediately turn off the water supply and check the connections.
Prevention: Ensure all connections are secure to prevent leaks.
Frequently Asked Questions
What are the most critical safety precautions I must take before starting this project?
Always turn off the power to the garbage disposal circuit at your electrical panel first to prevent electrical shock. Additionally, shut off the water supply to your sink to avoid unexpected leaks when disconnecting the old unit. Double-check both power and water are off before touching any wires or pipes.
Do I really need a special basin wrench for this installation, or can I use regular tools?
While some might manage with pliers and screwdrivers, a basin wrench (like the Husky 16PL0127) is highly recommended. Its specialized design allows you to easily reach and loosen the old mounting nuts in the tight space under the sink. This tool significantly simplifies the removal process and saves a lot of frustration.
What are the most common reasons for leaks after installing a new garbage disposal?
Leaks commonly occur if the plumber's putty around the sink flange wasn't applied correctly, creating an imperfect seal with the sink basin. Another frequent cause is improperly tightened or sealed connections at the discharge pipe or the dishwasher drain hose. Ensure all connections are secure and sealed properly during assembly.
What should I do if my new garbage disposal doesn't turn on after installation?
First, recheck the circuit breaker to confirm the power is on for that outlet. Then, verify all electrical connections are secure and the wire nuts are properly twisted and connected. Many disposals also have a small red reset button on the bottom; try pressing this before troubleshooting further.
Where exactly should I use plumber's putty during the installation process?
Plumber's putty is essential for creating a watertight seal between the sink flange and the sink basin itself. Roll a thin, even rope of putty and apply it around the underside edge of the sink flange before inserting it into the drain opening from above the sink. This prevents water from seeping through the drain hole.
Is the 4-hour estimated time realistic for a beginner, and what might make it take longer?
Four hours is a reasonable estimate for a beginner, assuming you have all the necessary tools and materials readily available. It might take longer if you encounter stubborn, corroded old connections, unexpected wiring differences, or need to troubleshoot a minor leak or electrical issue. Patience and careful attention to detail are key for a successful first-time installation.


:max_bytes(150000):strip_icc()/leaking-garbage-disposal-2718868-hero-4da643e1102d4368b91a18864ef5778c.jpg)