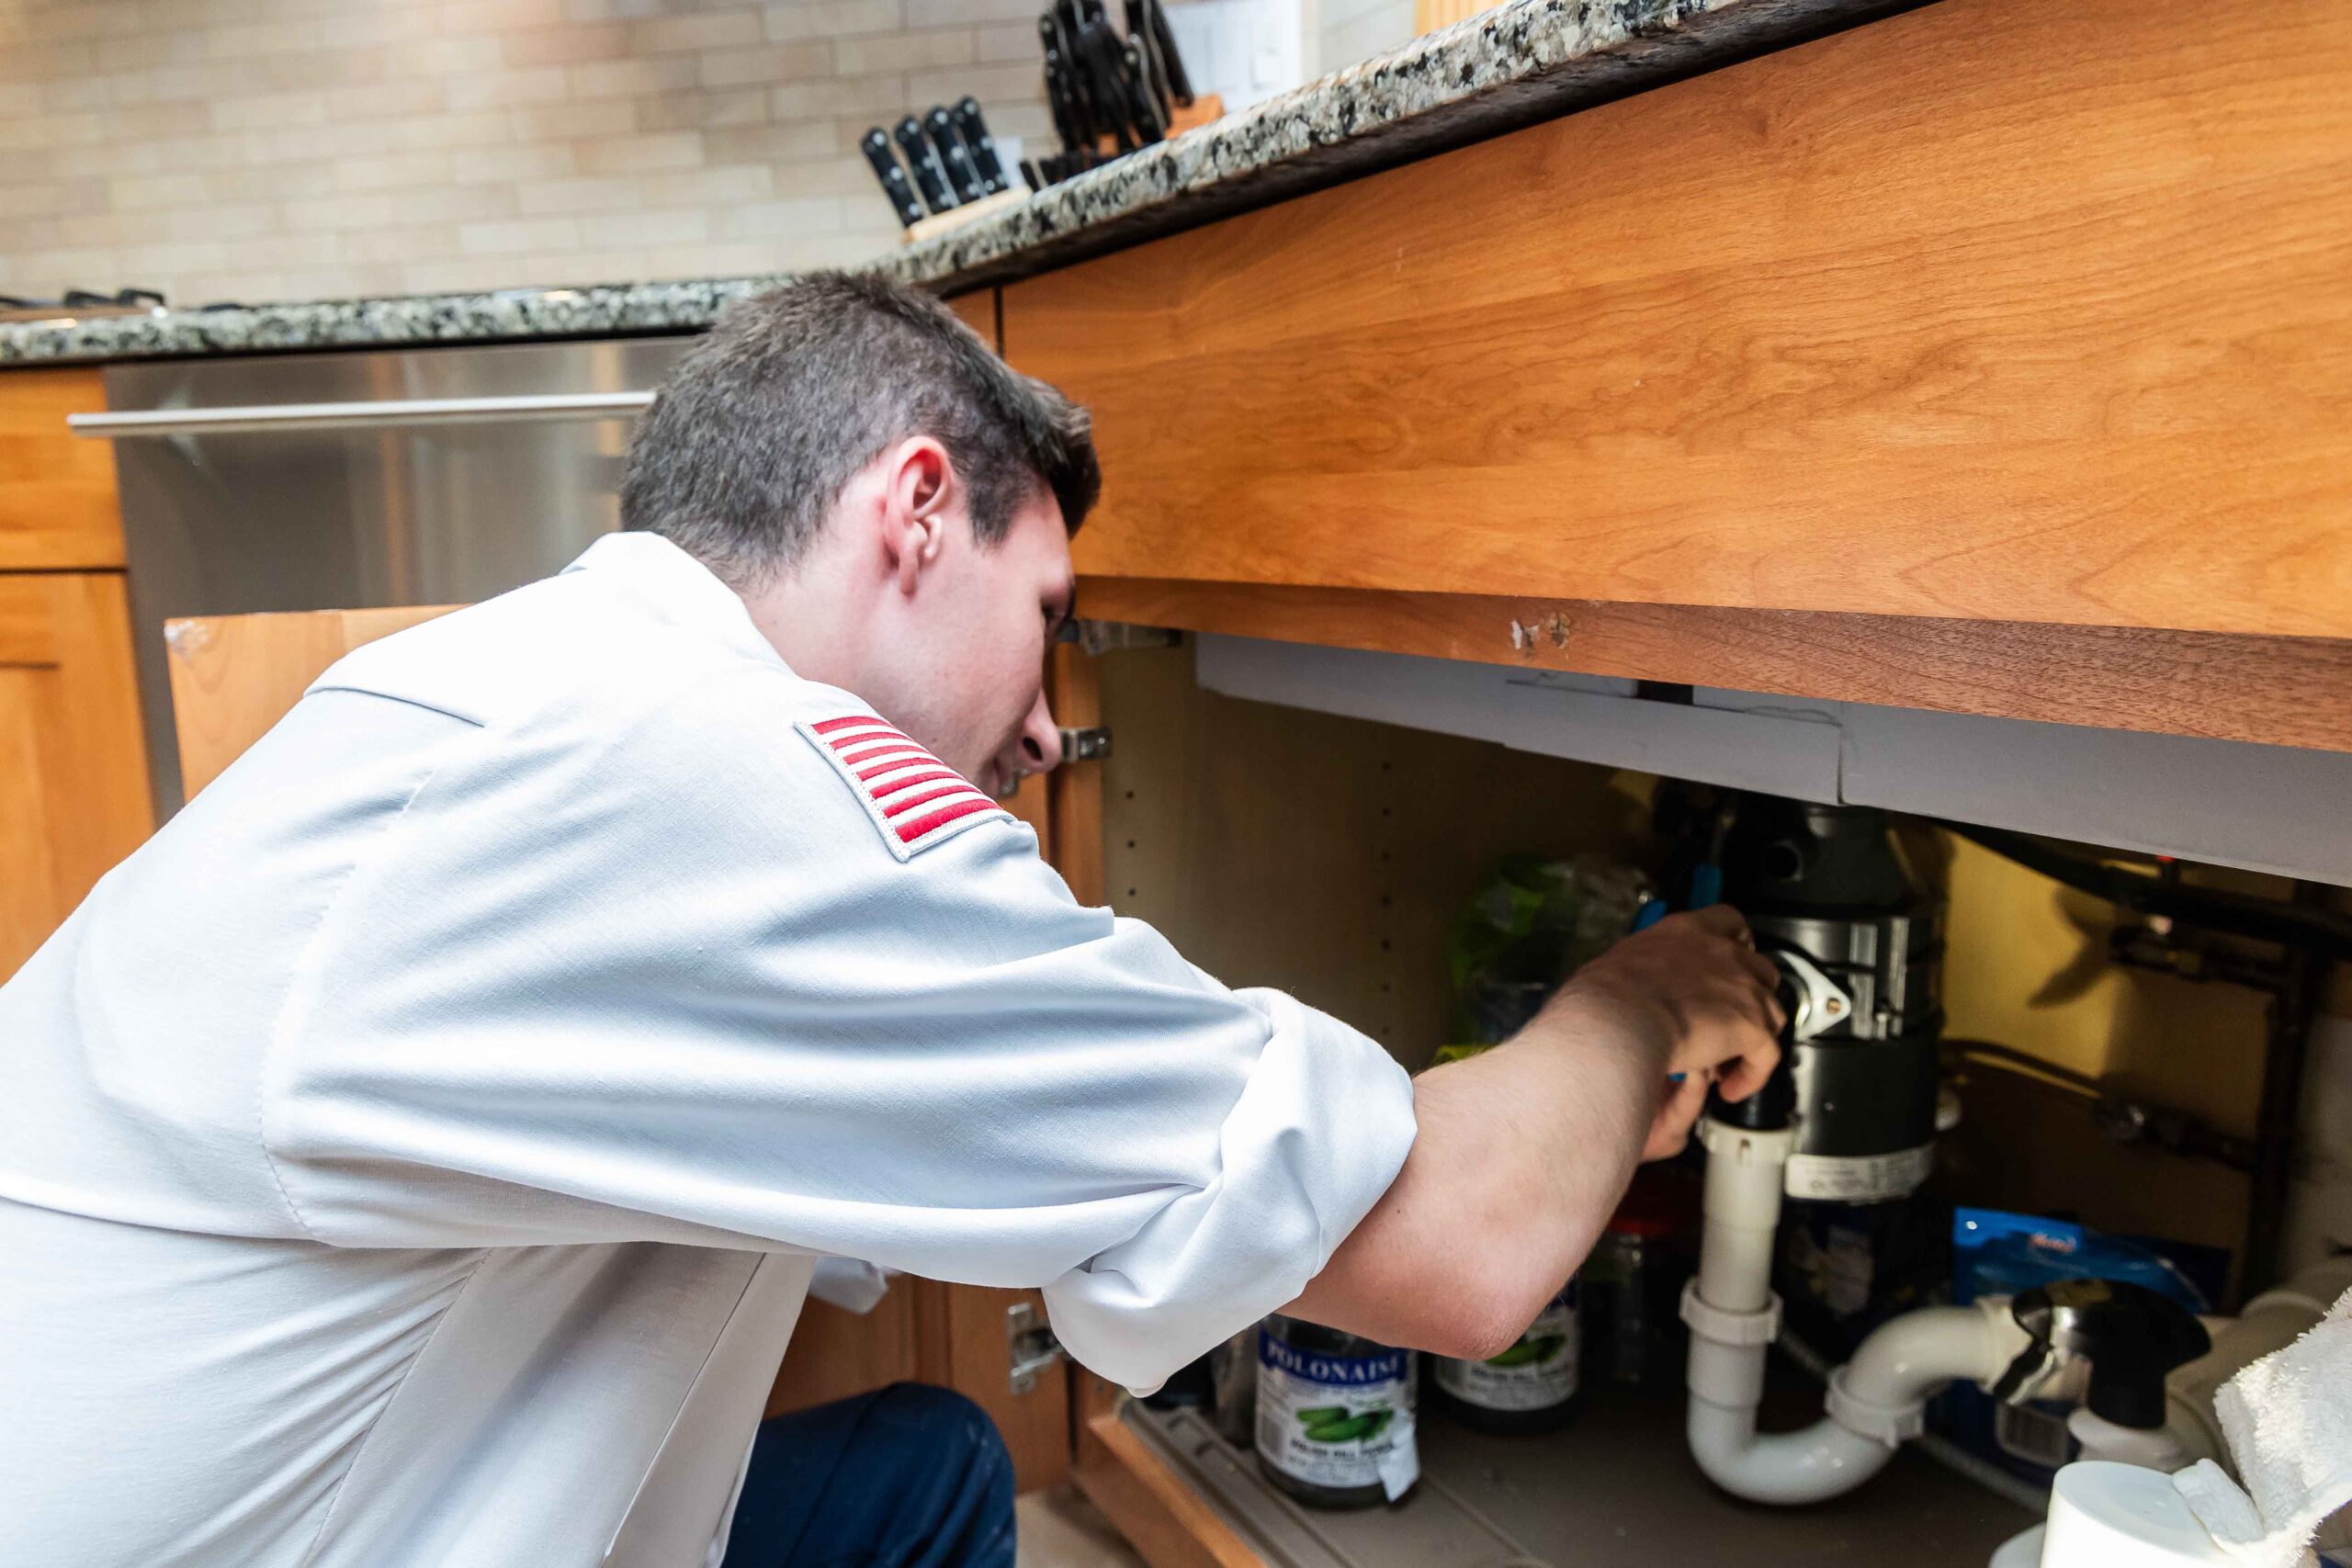
Replace Your Garbage Disposal: Easy Guide
About This Project
This project details the process of replacing an old garbage disposal unit with a new one. It involves five main steps: 1. **Disconnect Power Supply: Safety First:** Turn off the power at the breaker box, double-check it's off, and disconnect the disposal from the power outlet or electrical panel. 2. **Disconnect Plumbing: Drain and P-Trap Removal:** Put a bucket under the P-trap, disconnect the dishwasher drain line (if any) and then the P-trap itself. 3. **Remove the Old Garbage Disposal:** Loosen the mounting ring with a garbage disposal wrench or flathead screwdriver, carefully lower the old unit, and clean the sink flange. 4. **Install the New Garbage Disposal:** Following the manufacturer's instructions, mount the new disposal, connect the plumbing and electrical components, ensuring a watertight seal. 5. **Test the New Garbage Disposal:** Turn the power and water back on, run the disposal, and check for proper function and any leaks or unusual sounds.
Best for experienced DIYers and homeowners with some experience.
Tools & Materials
Diagonal Cutting Pliers

Unger 6 Gal. Heavy-Duty Plastic Bucket DB02
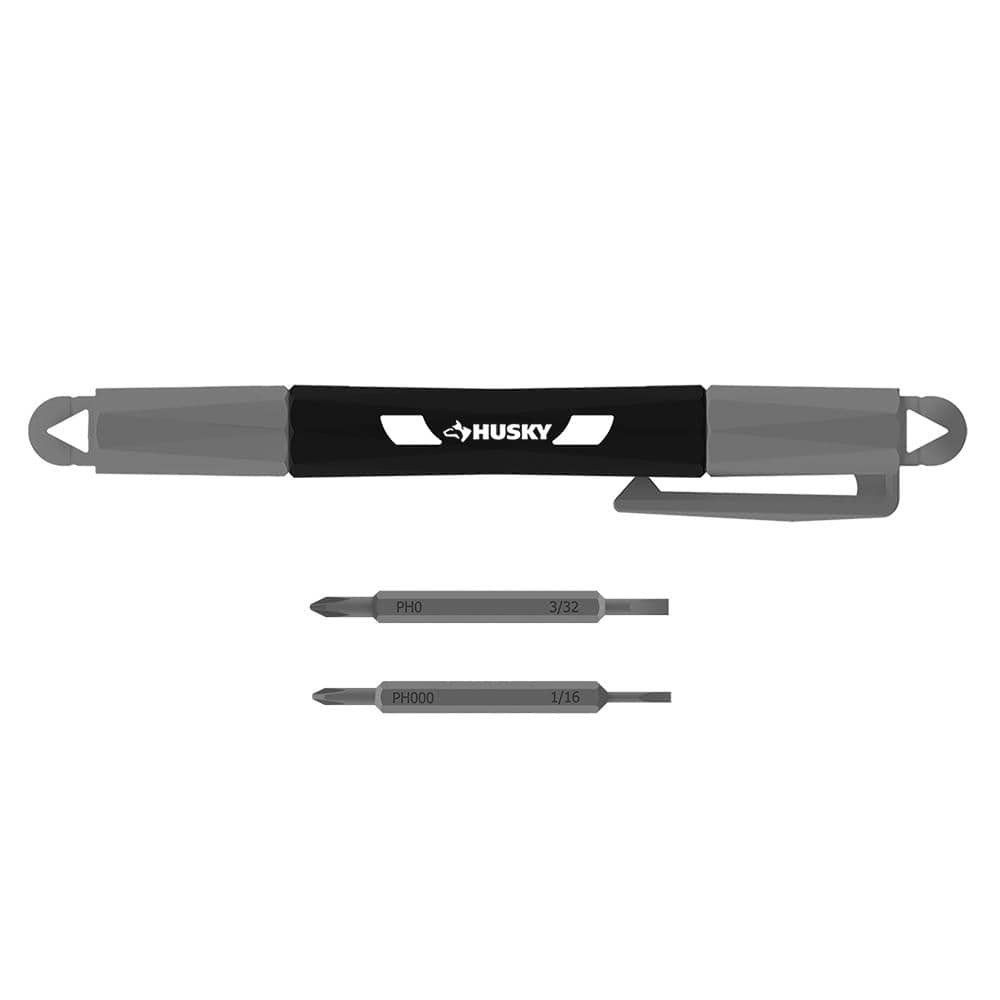
Husky Pocket Screwdriver (4 in 1) 632360012
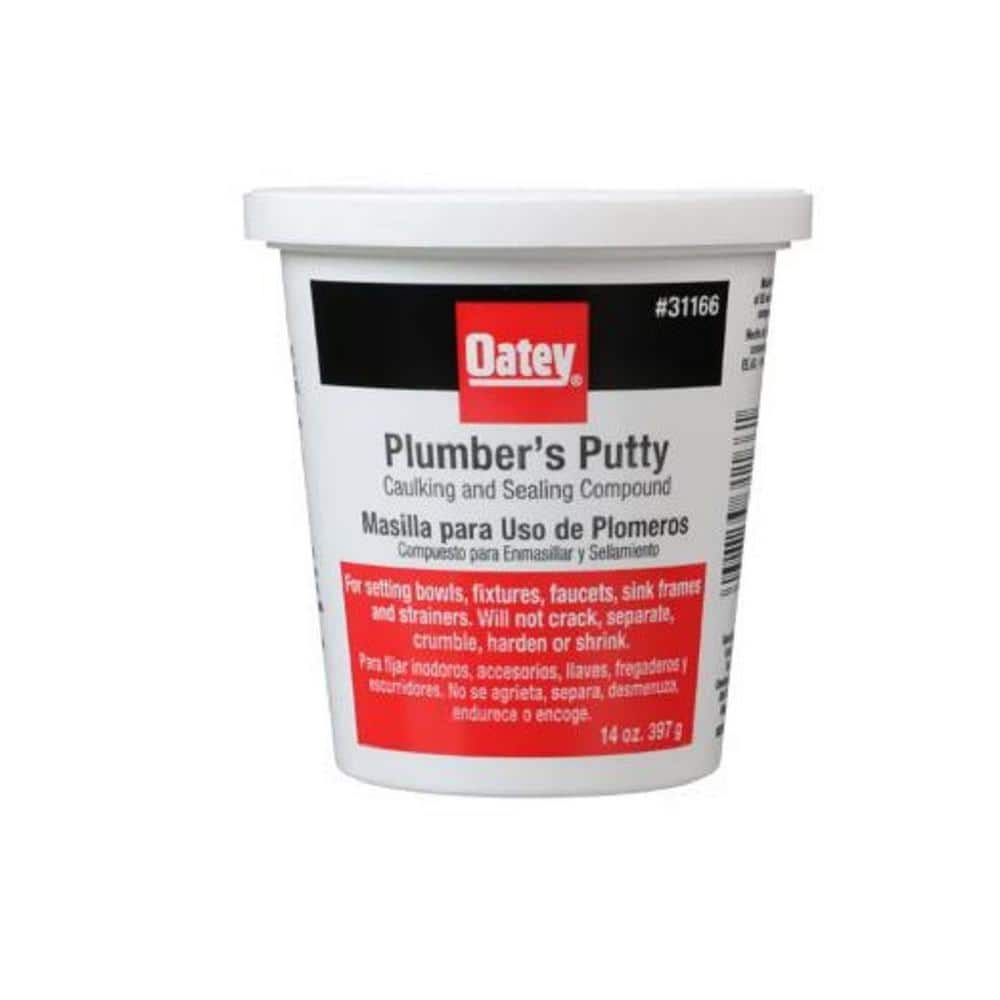
Oatey 14 oz. Plumber's Putty 311662
Diagonal Cutting Pliers
Cut through metal, plastic, and rubber
Unger 6 Gal. Heavy-Duty Plastic Bucket DB02
The Unger 6-Gallon Heavy-Duty Professional Cleaning Bucket holds more than 6 Gal. of liquid. The bucket can accommodate a scrubber up to 14 in. L. This bucket features measurement marks and 2-pour spouts
Husky Pocket Screwdriver (4 in 1) 632360012
The Husky 4-in-1 Pocket Screwdriver features 4 different tips (2 double ended bits) in 1 tool, includes #0 and #000 Phillips plus 1/16 in. and 3/32 in. Slotted tips. This tools is designed for precision
Oatey 14 oz. Plumber's Putty 311662
The Oatey 14 oz. Plumber's Putty is an easy-to-mold setting compound designed for use with stainless-steel sealing applications such as frames, faucets and strainer baskets. Not for use on plastic, marble,
Steps

Disconnect Power Supply: Safety First
5 minsBegin by prioritizing safety. Turn off the power to the disposal at the breaker box. Then, double-check that the power is off by attempting to turn the disposal on. Finally, disconnect the disposal from the power outlet under the sink. If it's hardwired, turn off the corresponding breaker in your electrical panel.
Watch: Shut Off Power
Disconnect Plumbing: Drain and P-Trap Removal
15 minsPosition a bucket under the P-trap to catch any residual water. Carefully disconnect the dishwasher drain line (if applicable) from the disposal using adjustable pliers. Then, disconnect the P-trap from the disposal and drain line, ensuring a slow and controlled release of any remaining water.
Watch: Disconnect Plumbing

Install the New Garbage Disposal
30 minsCarefully follow the manufacturer's instructions for installing the new disposal. Connect the plumbing and electrical components, ensuring all connections are secure and leak-free. Use plumber's putty or silicone sealant to ensure a watertight seal around the mounting flange.
Watch: Reinstall Disposal Unit
Common Problems
This is a crucial safety step. Do not skip it.
Solution: To avoid this issue: Be mindful of this warning and take appropriate precautions.
Failure to disconnect power can result in severe injury. This is the most important step.
Solution: To avoid this issue: Be mindful of this warning and take appropriate precautions.
Failure to disconnect the power can lead to serious injury.
Solution: To avoid this issue: Be mindful of this warning and take appropriate precautions.
Failure to disconnect the power can result in serious injury or death. If you are unsure, consult a professional electrician.
Solution: To avoid this issue: Be mindful of this warning and take appropriate precautions.
Failure to shut off power at both the switch and the breaker can result in serious electrical shock and injury.
Solution: To avoid this issue: Be mindful of this warning and take appropriate precautions.
Accidentally turning power back on during disposal replacement.
Solution: Place tape or a physical object over the wall switch as a visual reminder that the power is off and should not be turned back on.
Can't see under the sink to work properly.
Solution: An LED bucket is shown, which helps illuminate the dark cabinet space.
Frequently Asked Questions
How do I ensure the power is completely off before I start working on the electrical connections?
Always turn off the power at your home's main electrical panel or breaker box for the kitchen circuit. It's crucial to double-check it's off by trying to turn on the disposal switch or using a non-contact voltage tester on the wires before touching any electrical components.
Do I really need a special garbage disposal wrench, or can I use other tools for removal?
While a dedicated garbage disposal wrench makes loosening the mounting ring easier, a sturdy flathead screwdriver can often be used. Insert the screwdriver into one of the mounting lugs and tap it with a hammer to rotate the ring counter-clockwise. However, the specialized wrench provides better leverage and reduces the risk of slipping.
Is this project truly beginner-friendly, and is the 3-hour estimate accurate for someone with no experience?
Yes, this project is considered beginner-friendly as it involves straightforward disconnection and reconnection steps, requiring patience more than advanced skills. The 3-hour estimate is reasonable for a first-timer, but allowing for up to 4-5 hours is wise in case you encounter stubborn old connections or unexpected plumbing configurations.
What are the most common reasons for leaks after installing a new garbage disposal, and how can I prevent them?
Leaks commonly occur at the sink flange due to insufficient or poorly applied plumber's putty, or at the drainpipe connections if they aren't tightened correctly. Ensure you apply a generous, even bead of plumber's putty under the sink flange, and hand-tighten all plumbing connections before giving them a final snug turn with pliers, being careful not to overtighten and crack plastic pipes.
The project mentions plumber's putty. Is it absolutely essential, and can I use silicone caulk instead?
Yes, plumber's putty is absolutely essential for creating a watertight seal between the disposal's sink flange and the sink opening. Do not use silicone caulk as an alternative; it cures much harder, making future removal or adjustments significantly more difficult. A generous, even rope of plumber's putty ensures a proper, pliable seal.
My new disposal isn't turning on after installation. What should I check first?
First, confirm that the power is fully restored at your breaker box and that the wall switch is in the 'on' position. Next, check the small red reset button usually located on the bottom or side of the disposal unit; it may have tripped during installation or initial testing. If it still doesn't work, re-verify your electrical connections are secure and correctly wired.


:max_bytes(150000):strip_icc()/leaking-garbage-disposal-2718868-hero-4da643e1102d4368b91a18864ef5778c.jpg)