
How to Install a New Garbage Disposal: A Step-by-Step DIY Guide
About This Project
This DIY guide demonstrates how to install a new garbage disposal unit. The process involves four main steps: First, for safety, disconnect the power to the disposal at the circuit breaker and shut off the water supply lines. Second, remove the old garbage disposal unit. Third, install the new garbage disposal flange, ensuring a watertight seal. Finally, connect the plumbing, restore power, and test the new unit for proper operation.
Best for experienced DIYers and homeowners with some experience. Requires access to electrical panel.
Tools & Materials

Channellock 10 in. Tongue and Groove Plier 430
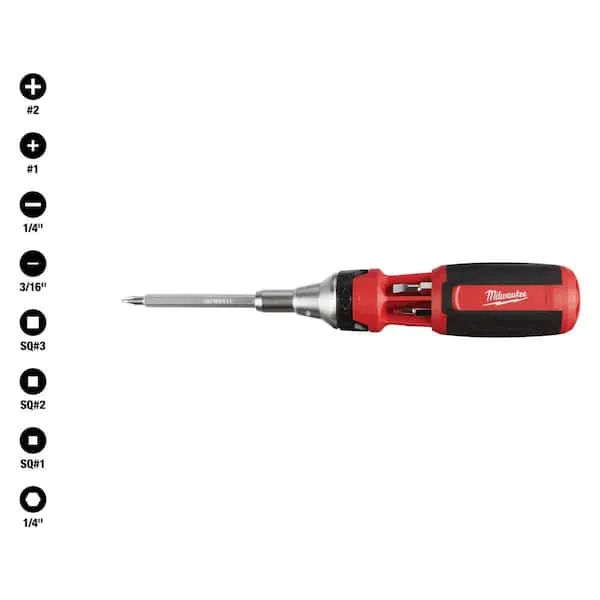
Screwdriver (Multi)

Unger 6 Gal. Heavy-Duty Plastic Bucket DB02
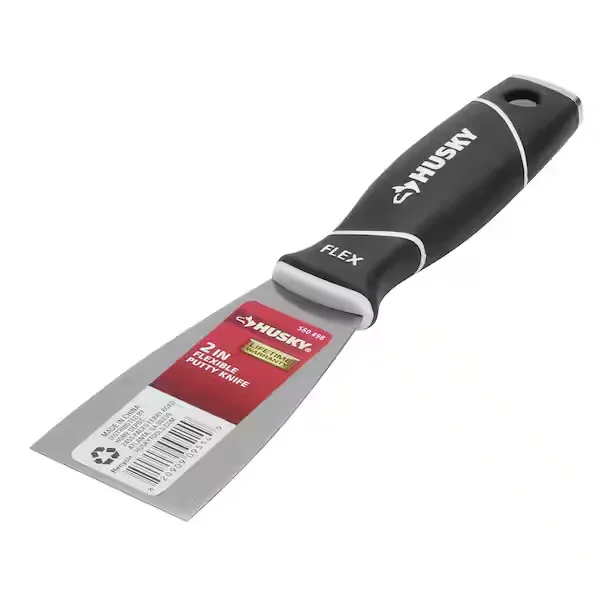
Putty knife
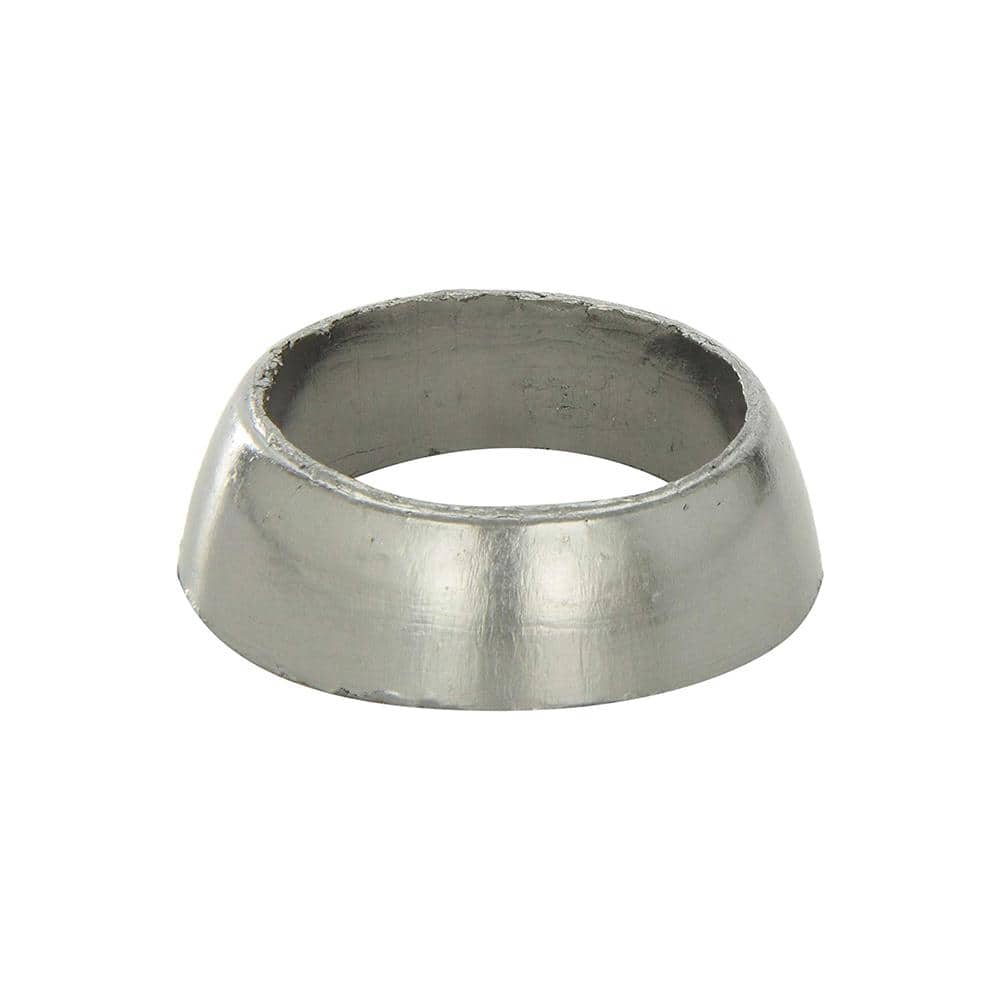
Walker Gasket 31360
Channellock 10 in. Tongue and Groove Plier 430
The Channellock 10 in. Straight Jaw Tongue and Groove Pliers are constructed with high-carbon steel and fashioned with laser heat-treated teeth for strong, nonslip jaw action. Undercut tongue-and-groove
Screwdriver (Multi)
Multiple bits for versatile use.
Unger 6 Gal. Heavy-Duty Plastic Bucket DB02
The Unger 6-Gallon Heavy-Duty Professional Cleaning Bucket holds more than 6 Gal. of liquid. The bucket can accommodate a scrubber up to 14 in. L. This bucket features measurement marks and 2-pour spouts
Putty knife
Spreads putty with its flat blade.
Walker Gasket 31360
Walker delivers optimal OE-style fit, appearance, and dependability in aftermarket emissions control parts. Walker, with our worldwide OE partnerships and manufacturing facilities, possesses the technical
Steps

Disconnect Power and Water Supply Safely
15 minsBefore starting, prioritize safety! Turn off the power to the garbage disposal at the circuit breaker. Then, shut off the water supply lines to your sink. Place a bucket beneath the sink's P-trap to catch any remaining water. This prevents spills and ensures a clean work area.
Watch: Disconnect Plumbing
Remove the Old Garbage Disposal Unit
30 minsDisconnect the dishwasher drain line (if applicable). Carefully loosen and remove the P-trap using channel-lock pliers. Then, disconnect the discharge pipe from the disposal. Detach the mounting ring by rotating it counter-clockwise. Support the disposal's weight while loosening and removing the mounting bolts. Gently lower and remove the old unit.
Watch: Disconnect and Remove Old Disposal
Install the New Garbage Disposal Flange
45 minsClean the sink flange thoroughly using a putty knife. Apply a fresh mounting gasket to the cleaned flange. Securely attach the new garbage disposal to the mounting assembly, following the manufacturer's instructions precisely. This step ensures a watertight seal.
Watch: Reinstall Mounting Bracket
Connect Plumbing, Restore Power, and Test
30 minsReconnect the dishwasher drain line, P-trap, and discharge pipe, ensuring secure connections. Slowly turn the water supply back on and carefully check for leaks. Once leak-free, restore power to the garbage disposal and test its operation thoroughly.
Watch: Plumbing ConnectionsCommon Problems
Electrical issues or no power
Solution: Double-check all connections and follow the installation steps carefully.
Prevention: Ensure the power is completely off by testing the switch.
Water leaking after installation
Solution: Follow the manufacturer's instructions carefully.
Prevention: Inspect all connections carefully for leaks.
Frequently Asked Questions
What are the most crucial safety steps I need to take before starting to install a new garbage disposal?
Always start by turning off the power to the disposal at your home's circuit breaker and confirming it's off with a non-contact voltage tester. Additionally, shut off both the hot and cold water supply lines under the sink to prevent any accidental leaks during the process.
The project is listed as 'beginner' with a 4-hour estimate; what might make it take longer or be more challenging for a novice?
Old, corroded plumbing can make removing the old unit difficult if bolts are seized or pipes are brittle. Ensuring a watertight seal when installing the new flange and correctly aligning the drain pipes can also be tricky for beginners, potentially extending the project duration.
What's the most common mistake beginners make when installing the new garbage disposal flange, and how can I avoid it?
A common mistake is not applying enough plumber's putty or not tightening the flange assembly evenly, leading to leaks around the sink opening. Apply a generous, even bead of putty around the flange's rim and tighten the mounting screws incrementally and alternately to ensure uniform pressure.
Are there any specific tools or materials not listed that might make this beginner-level project easier or safer?
While not explicitly listed, a non-contact voltage tester is crucial for safety to confirm power is off. Plumber's putty is essential for creating a watertight seal for the new flange, and a flashlight or headlamp will greatly improve visibility in the cramped under-sink area.
My old disposal had a dishwasher hookup; how do I ensure my new disposal properly connects to it?
Most new garbage disposals have a 'knockout plug' inside the dishwasher inlet port. Before connecting your dishwasher drain hose, you must remove this plug using a hammer and a screwdriver to punch it out from the inside. Failure to do so will cause your dishwasher to drain improperly.
Beyond the cost of the new disposal unit, what other potential expenses should I budget for in this DIY project?
In addition to the disposal itself, budget for plumber's putty (essential for the flange seal) and potentially new PVC drain pipe sections if your existing plumbing doesn't align perfectly with the new unit or is worn. You might also need new electrical connectors if the old ones are damaged.
After installation, if I notice a leak, where should I check first for the most common sources of drips?
First, inspect the flange seal at the sink opening for drips. Then, check all plumbing connections: the main drainpipe where it connects to the disposal, and the dishwasher inlet plug if applicable. Often, a connection just needs to be snugged a bit more or resealed with plumber's putty.

:max_bytes(150000):strip_icc()/leaking-garbage-disposal-2718868-hero-4da643e1102d4368b91a18864ef5778c.jpg)