:max_bytes(150000):strip_icc()/leaking-garbage-disposal-2718868-hero-4da643e1102d4368b91a18864ef5778c.jpg)
Replace Your Garbage Disposal: Step-by-Step Guide
About This Project
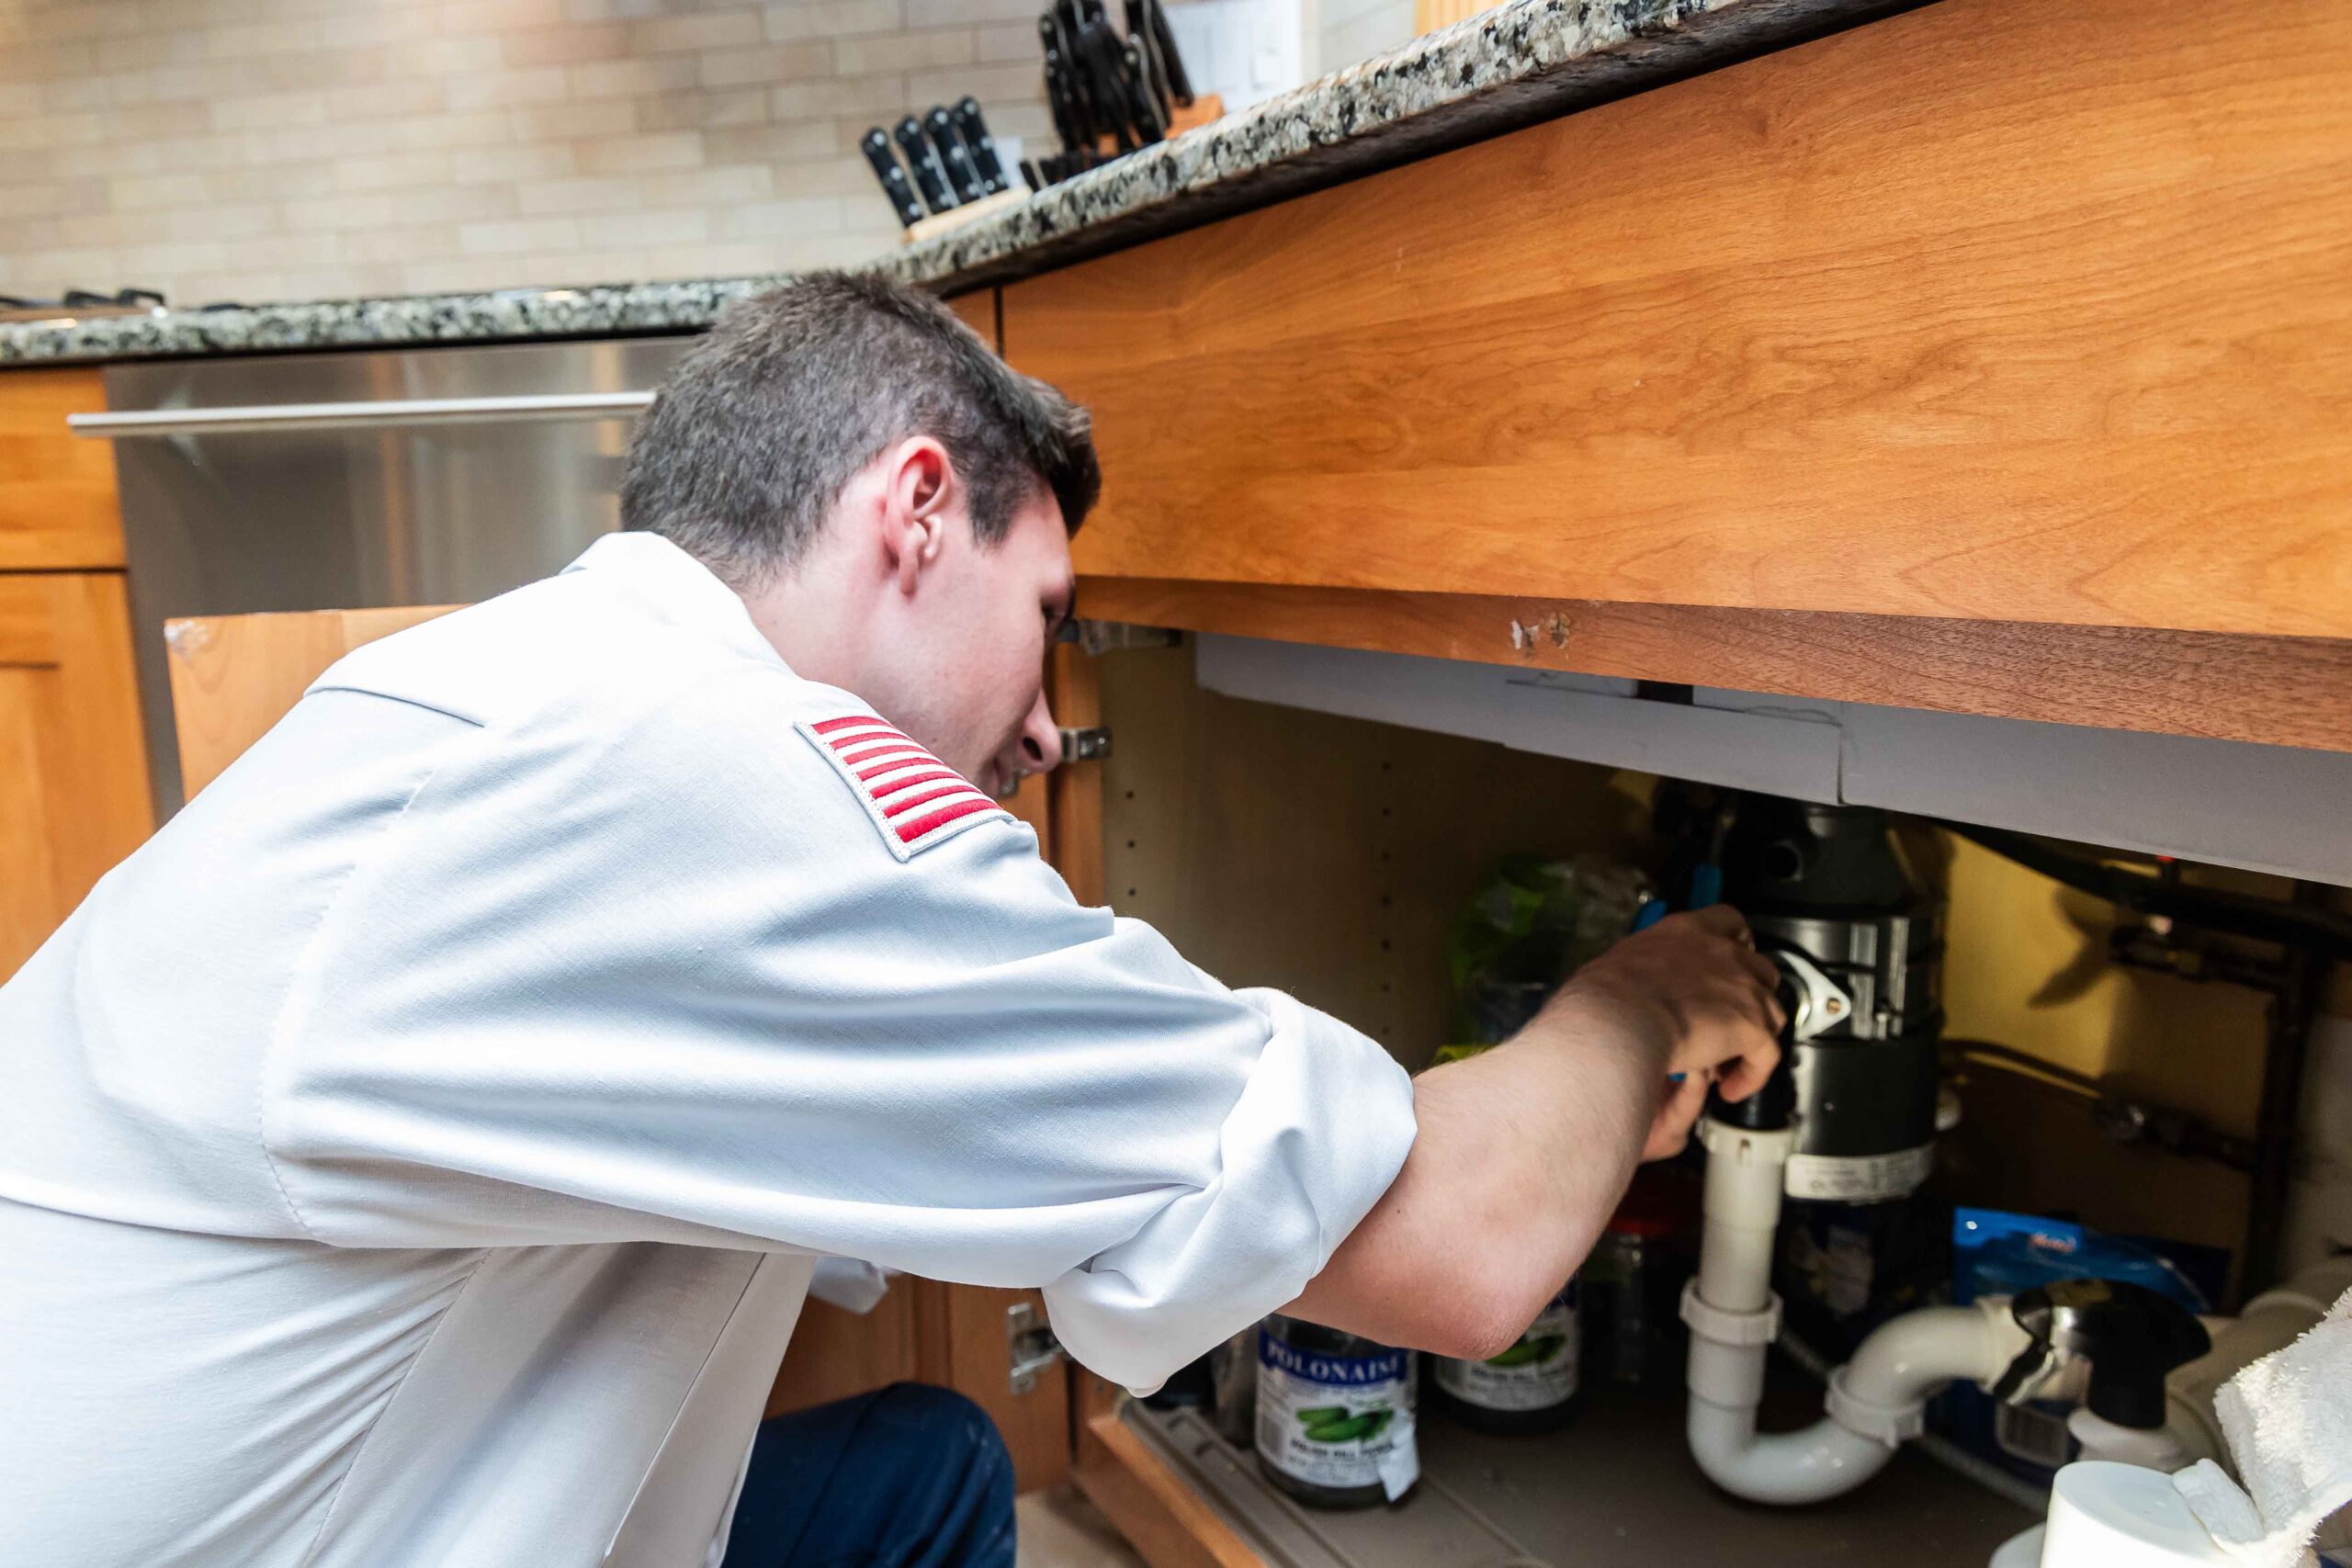
This DIY guide provides step-by-step instructions for replacing a garbage disposal. 1. **Disconnect Power:** Turn off the power at the breaker, then unplug the disposal from the outlet under the sink. Double check that the power is off. 2. **Disconnect Plumbing:** Place a bucket under the P-trap to catch water. Disconnect the P-trap from the drainpipe and disposal. Disconnect the discharge pipe from the disposal as well. 3. **Remove the Old Garbage Disposal:** Rotate the mounting ring counter-clockwise to loosen it from the sink flange. Carefully lower and remove the old unit. 4. **Install the New Garbage Disposal:** Following the manufacturer's instructions, install the new disposal unit and reverse the removal steps. Ensure a secure fit. 5. **Test and Finalize:** Turn the power back on to the disposal. Run water and check all connections for leaks. Tighten any loose fittings and retest.
Best for experienced DIYers and homeowners with some experience.
Tools & Materials
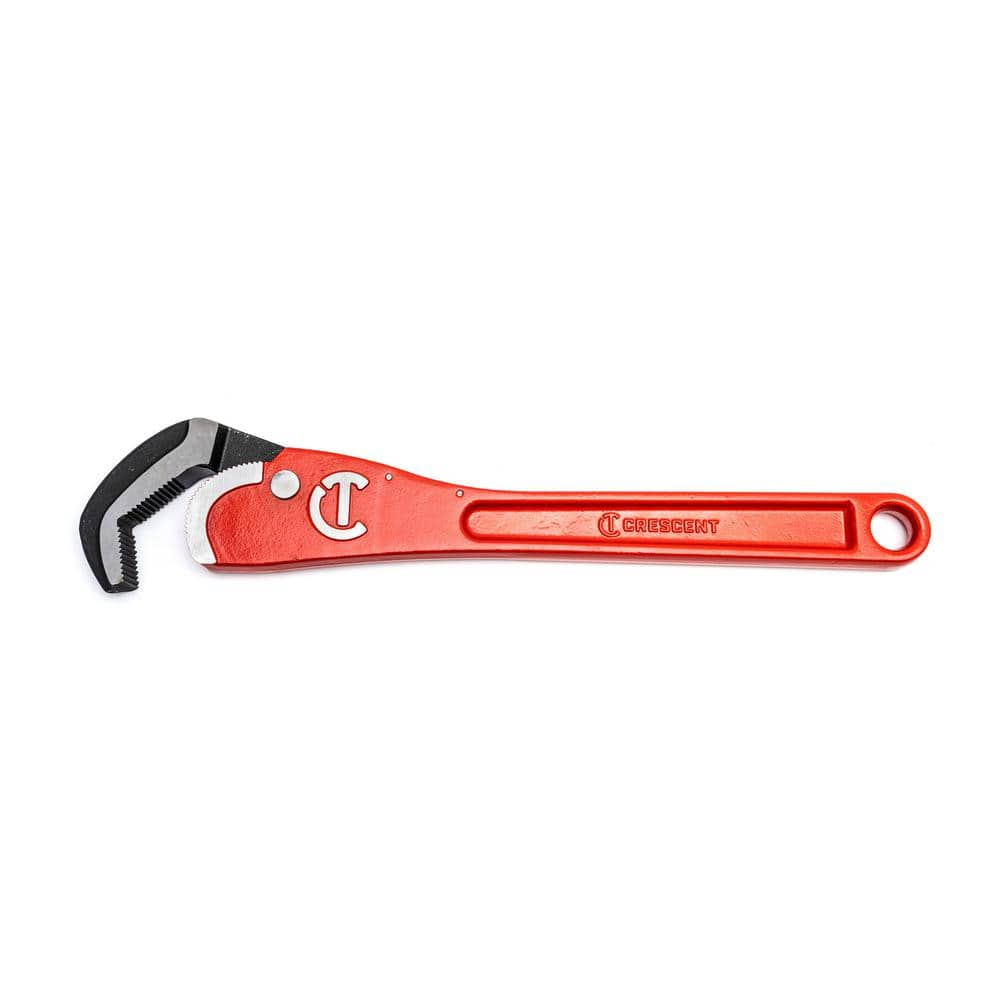
Crescent 16 in. Self Adjusting Pipe Wrench CPW16S

Unger 6 Gal. Heavy-Duty Plastic Bucket DB02
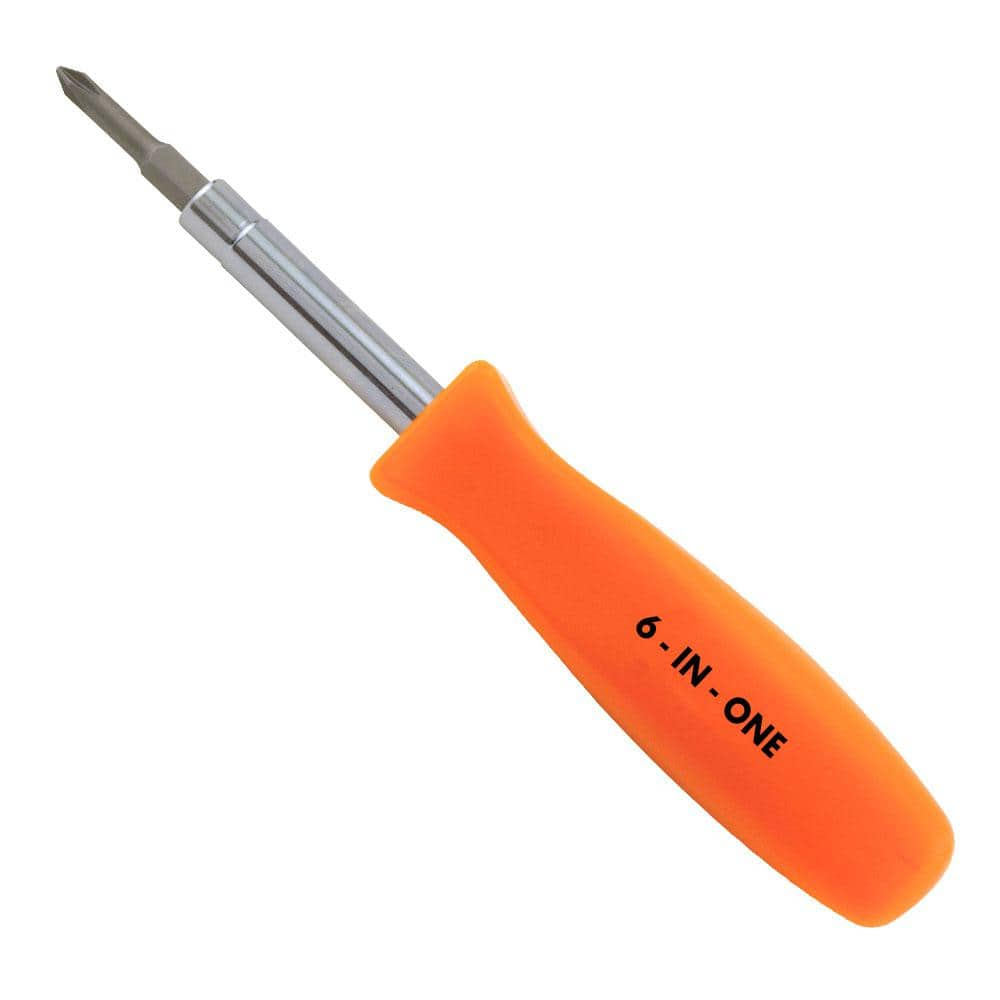
HDX 3-1/4 in. 6-in-1 Screwdriver 120SD12D
Crescent 16 in. Self Adjusting Pipe Wrench CPW16S
The Crescent Self-Adjusting Pipe Wrench features a unique head design that instantly grips and releases pipes and other types of fasteners with a fast ratcheting action. It is ideal for most surfaces including black iron, galvanized, PVC, and copper pipes, as well as nuts, bolts, and couplings. The spring-loaded head features a quick-grip and quick-release function that allows the wrench to be used with one hand.
Unger 6 Gal. Heavy-Duty Plastic Bucket DB02
The Unger 6-Gallon Heavy-Duty Professional Cleaning Bucket holds more than 6 Gal. of liquid. The bucket can accommodate a scrubber up to 14 in. L. This bucket features measurement marks and 2-pour spouts
HDX 3-1/4 in. 6-in-1 Screwdriver 120SD12D
The HDX 3-1/4 in. 6-in-1 Screwdriver features double-sided bits with the four most common screwdriver tip styles, including a #1 Phillips bit, a #2 Phillips bit, a 3/16 in. flathead bit and a 1/4 in. flathead bit. Both ends of the shaft can be used as 1/4 in. nut drivers when the bits are removed, offering convenient, versatile use. The high-visibility orange handle makes the handy tool easy to find on a job site or in a toolbox.
Steps

Disconnect Power: Safety First!
10 minsPrioritize safety! Begin by turning off the power to the garbage disposal at your home's circuit breaker. Next, disconnect the power cord from the disposal unit located beneath your sink. Double-check the power is off before proceeding.
Watch: Disconnect Power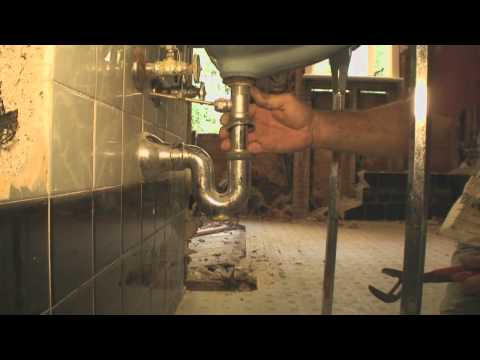
Disconnect Plumbing: Prepare for Removal
20 minsPosition a bucket beneath the P-trap to collect any residual water. Use a pipe wrench or slip-joint pliers to carefully disconnect the P-trap from both the drainpipe and the garbage disposal. Similarly, disconnect the discharge pipe from the disposal.
Watch: Disconnect drain pipe


Common Problems
Unsanitary water and debris can spill out during disposal removal.
Solution: Wear protective gloves, as the trapped water and debris can be unsanitary.
If the plastic slip nuts are too tight to loosen by hand, you can use channel-lock pliers, but apply gentle pressure to avoid cracking them.
Solution: To avoid this issue: Be mindful of this warning and take appropriate precautions.
Be prepared for water to spill as soon as the seals are broken. Loosen the nuts slowly.
Solution: To avoid this issue: Be mindful of this warning and take appropriate precautions.
Water spills onto the floor when removing the P-trap.
Solution: Place a bucket or towel under the P-trap to catch any water that may spill.
Nuts are difficult to remove completely with pliers alone.
Solution: The nuts only need to be loosened with the pliers. You can usually unscrew them the rest of the way by hand, which gives you better control.
Failure to disconnect the power can lead to serious injury.
Solution: To avoid this issue: Be mindful of this warning and take appropriate precautions.
Failing to turn off the power can lead to serious injury. Always double-check that the unit is de-energized.
Solution: To avoid this issue: Be mindful of this warning and take appropriate precautions.
Frequently Asked Questions
Is replacing a garbage disposal truly a beginner project, and what might make it take longer than 3 hours?
While rated beginner, unexpected issues like rusted pipes or a stubborn old mounting ring can extend the time significantly. Having the right tools, a clear workspace, and pre-reading your new disposal's manual will help keep it on schedule. If you encounter major plumbing issues or complex electrical wiring, consider calling a professional.
Beyond the listed tools, are there any other materials or tools I might need for a smooth installation, like plumber's putty?
Yes, plumber's putty is essential for creating a watertight seal for the new sink flange. Electrical tape might be needed for secure wire connections if your new disposal requires hardwiring. A good flashlight will also be invaluable for working in the dark cabinet under the sink.
What crucial safety precautions, beyond turning off the power, should I absolutely follow during this replacement?
Always double-check the power is off at the disposal outlet and the breaker before starting. Wear safety glasses to protect from debris and sturdy gloves, especially when handling tools or old components. Be mindful of the disposal's weight; it can be heavier than expected, so support it properly to avoid injury.
My new disposal is leaking after installation. What are the most common leak points I should check first?
The most common leak points are the mounting ring connection to the sink flange, the discharge pipe connection to the disposal, and the dishwasher inlet plug (if applicable). Ensure all bolts are tightened securely, the plumber's putty has a good seal, and hose clamps are firm. Avoid overtightening plastic fittings, as they can crack.
Do all new garbage disposals fit the existing sink flange, or do I need to check for compatibility with my sink?
Most garbage disposals use a standard 3-bolt mounting system compatible with common sink openings, so you can often reuse the existing flange. However, it's always best to verify the specifications of your new disposal against your existing sink opening or your old disposal's mounting type to ensure compatibility. Some brands may use slightly different systems.
What is the typical cost range for a new garbage disposal unit, and how much can I save by doing the DIY installation?
New garbage disposals generally range from $80-$300 or more, depending on motor size, brand, and features. A professional installation can add an extra $100-$250 or more to that cost. By doing it yourself, you can save significantly on labor fees, making it a very cost-effective DIY project.