Dryer Repair
About This Project
This project outlines the general steps for diagnosing and repairing common dryer issues, such as a dryer not heating, not tumbling, or making unusual noises. It covers safety precautions, basic troubleshooting, and identification of potential faulty components.
Tools & Materials
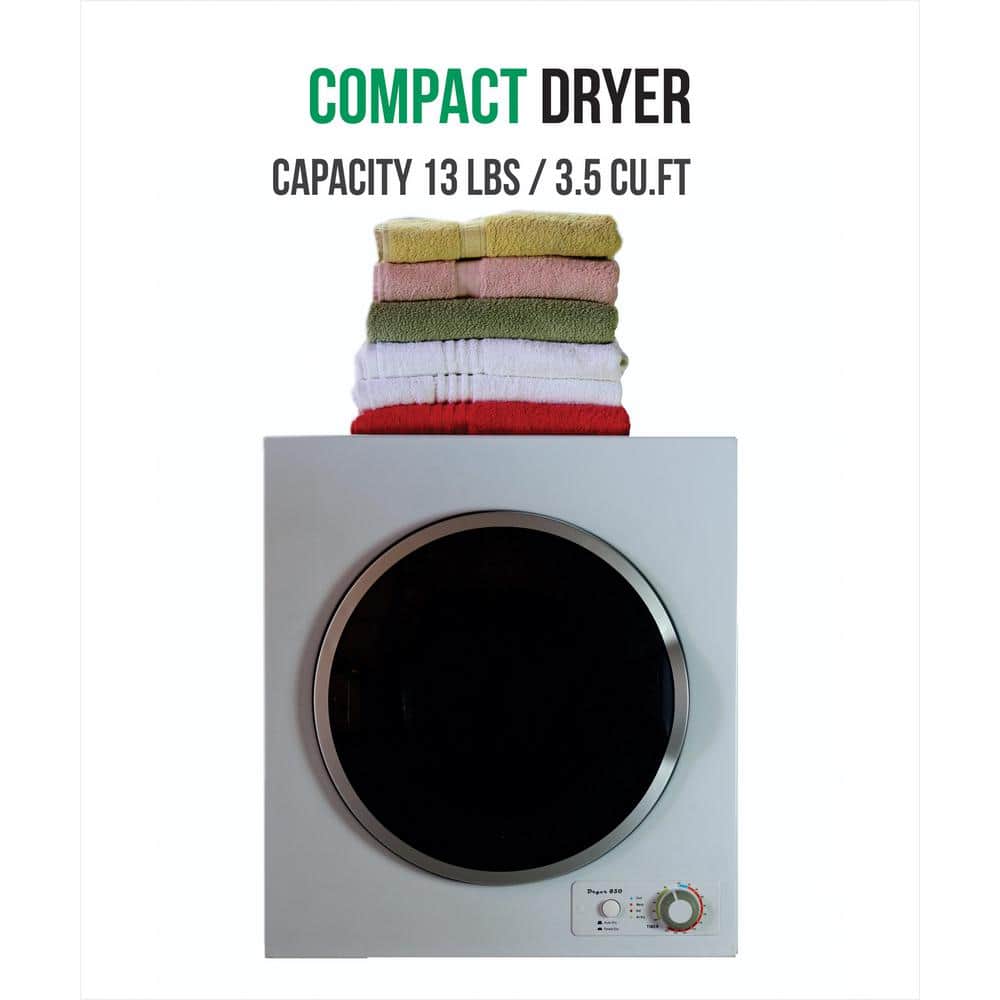
Deco 3 cu. ft Compact Electric Dryer with High Speed Turbo Fan and Automatic Wrinkle Guard DD 850
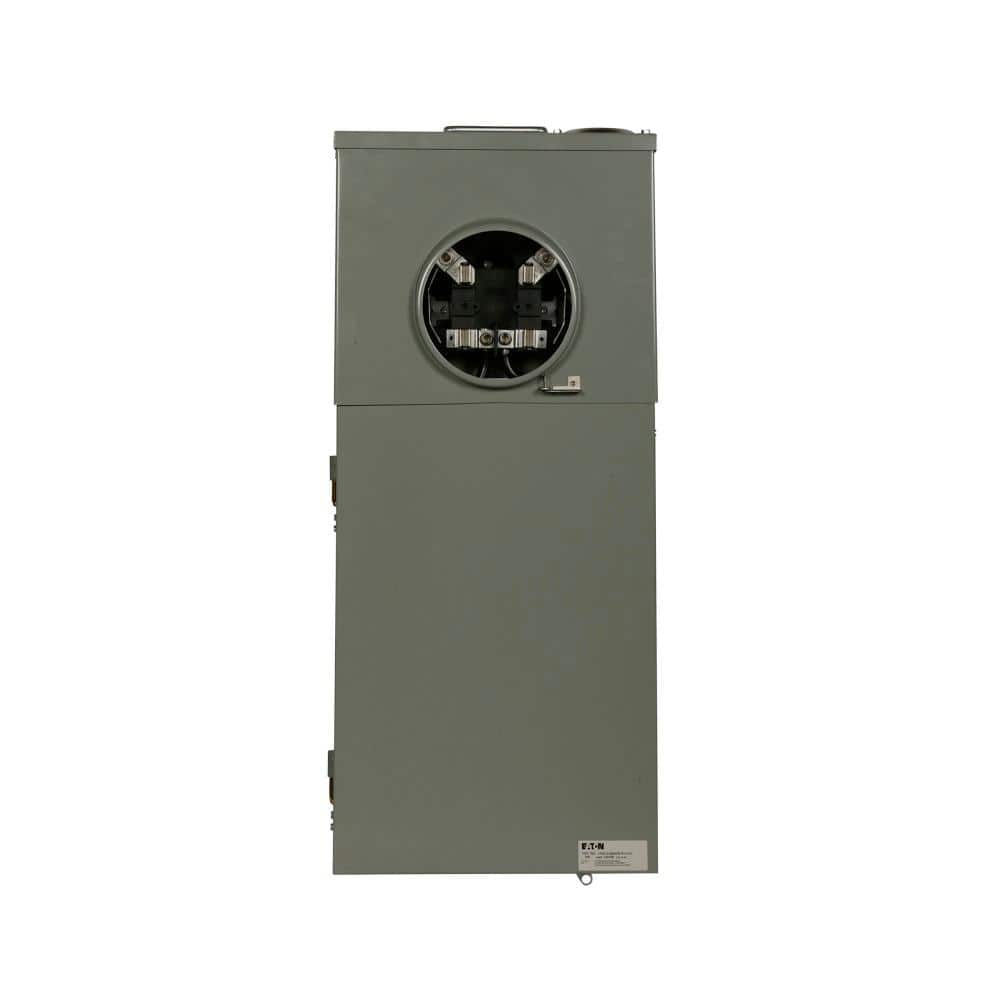
Eaton CH 200 Amp 12-Space 12-Circuit Non-EUSERC Meter Breaker Panel CMB1212B200BTS
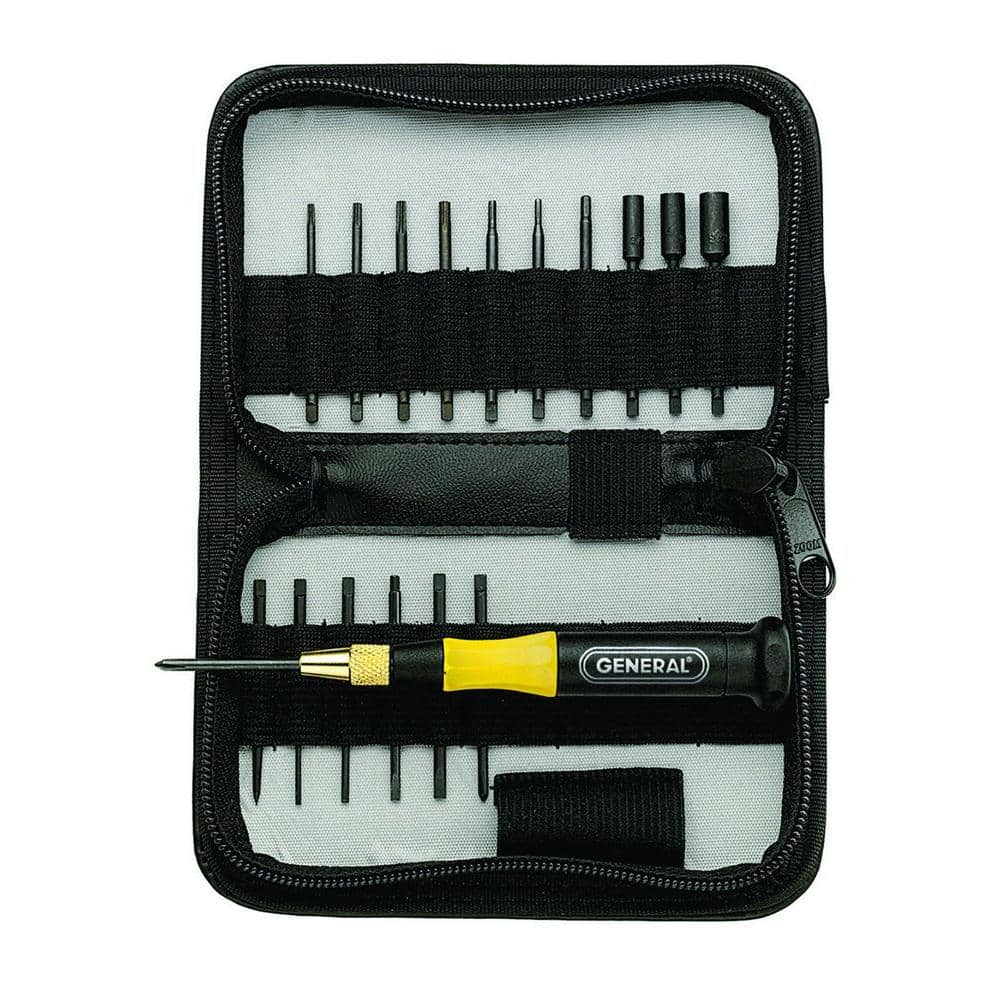
General Tools Screwdriver Set (18-Piece) 63518
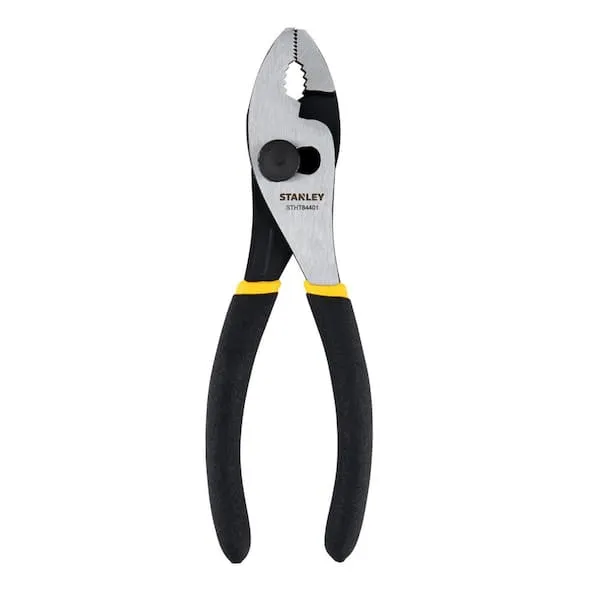
Pliers
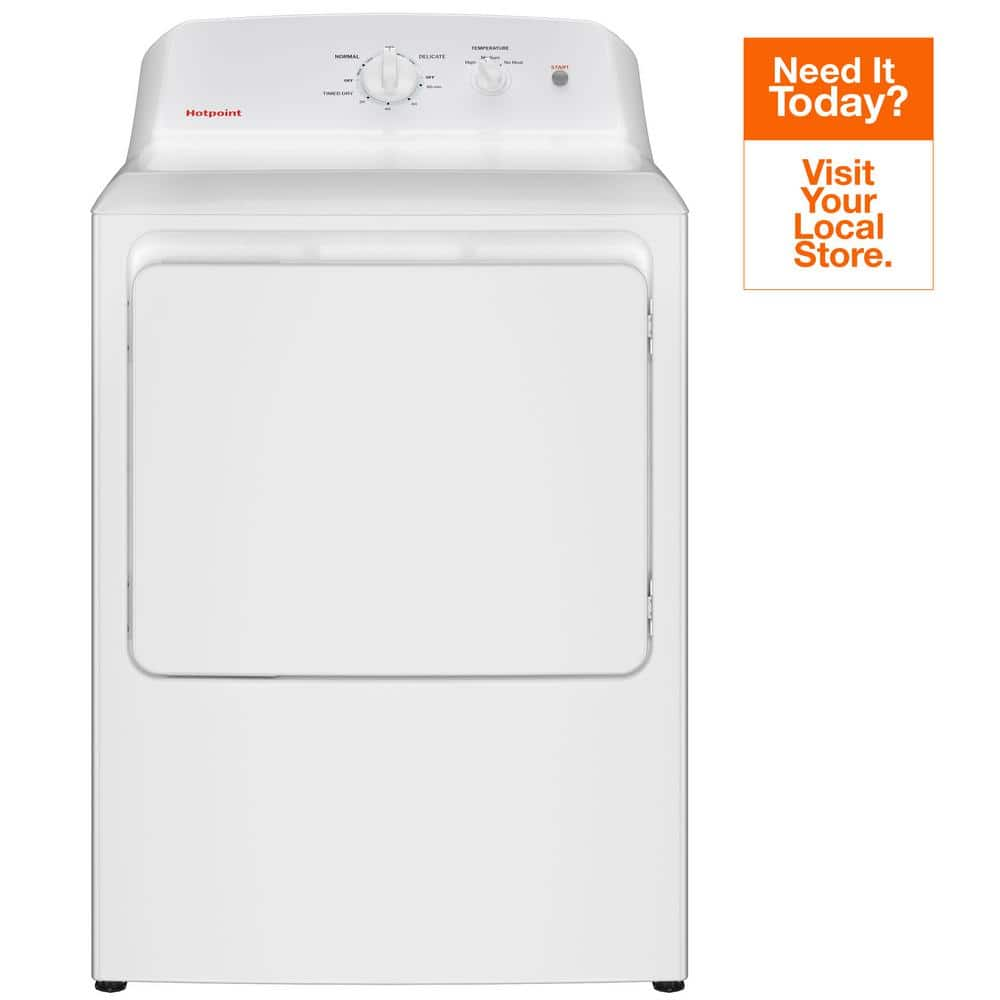
Hotpoint 6.2 cu. ft. vented Gas Dryer in White with Auto Dry HTX26GASWWW
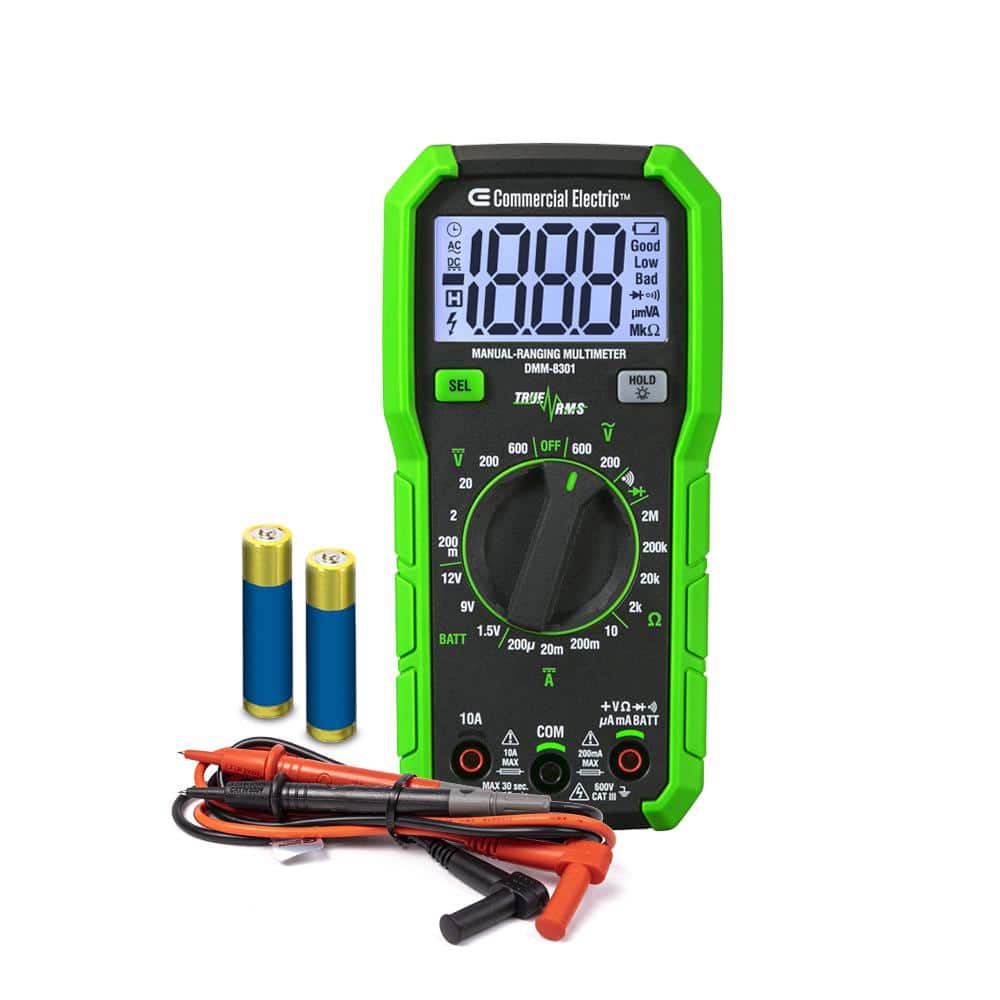
Commercial Electric 600-Volt True RMS Manual-Ranging Digital Multimeter DMM-8301
Deco 3 cu. ft Compact Electric Dryer with High Speed Turbo Fan and Automatic Wrinkle Guard DD 850
This super capacity 13 lbs. Deco dryer is packed with features to help save you time and get your laundry cleaner than ever. The dry option energy-saving option reduces dry temperatures on select cycles
Eaton CH 200 Amp 12-Space 12-Circuit Non-EUSERC Meter Breaker Panel CMB1212B200BTS
Eaton's residential meter breakers are service entrance equipment systems that consist of a single meter socket and load center distribution section. This type of configuration is also known as All-in
General Tools Screwdriver Set (18-Piece) 63518
General Tools has grown to become the recognized industry leader for specialty hand tools and instruments. The General Tools 18-Piece Screwdriver Set features a diversified assortment of extended-shaft
Pliers
Grips and manipulates objects.
Hotpoint 6.2 cu. ft. vented Gas Dryer in White with Auto Dry HTX26GASWWW
Hotpoint combines sensible solutions with unbelievable durability to complement any kitchen and keep your family going for years to come. Our appliances have been created to affordably meet the needs of busy lives, and to stand up to any challenge. As a century-old brand, Hotpoint prides itself on value and never compromising on reliability.
Commercial Electric 600-Volt True RMS Manual-Ranging Digital Multimeter DMM-8301
The Commercial Electric 600-Volt True RMS Manual-Ranging Digital Multimeter (DMM-8301) is a True RMS manual-ranging multimeter known for its durable construction and rubberized shell, ensuring both reliability
Steps

Disconnect Power
5 minutesBefore performing any work on the dryer, it is crucial to disconnect the power supply. For electric dryers, this involves unplugging the unit from the wall outlet. For gas dryers, which also use electricity for the motor and controls, unplugging is sufficient. If the dryer is hardwired, turn off the corresponding circuit breaker in your home's electrical panel. Always double-check that the power is off by trying to turn on the dryer.
Watch: Disconnect Power
Access Dryer Drum and Components
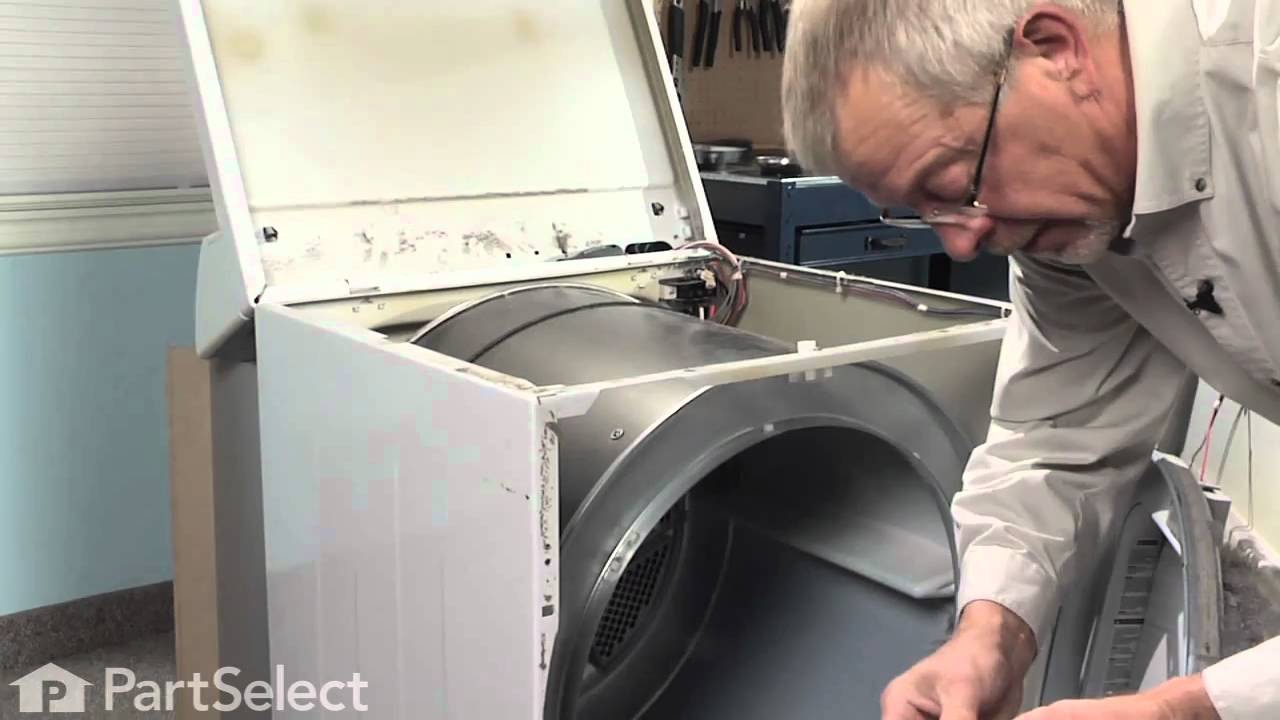
20 minutesThe method for accessing the dryer's internal components varies by model. Typically, this involves removing the top panel, the front panel, or both. For most models, you'll need to unscrew and lift off the top panel first, which often provides access to screws holding the front panel. The front panel may then be carefully pulled away, or it might require disconnecting a moisture sensor wire. Consult your dryer's service manual for specific instructions for your model.
Watch: Remove the Top Panel
Diagnose No Heat Issue
45 minutesIf the dryer tumbles but doesn't heat, the issue could be the heating element, the thermal fuse, the high-limit thermostat, or the cycling thermostat. Visually inspect the heating element for breaks or burns. Check the thermal fuse (often located on the blower housing or near the heat element) for continuity using a multimeter; if it's blown, it needs replacement. Test the thermostats for continuity. A common cause of a dryer not heating is a clogged lint filter or vent, which can cause the thermal fuse to blow.
Watch: Diagnose Blown Thermal Fuse
Diagnose No Tumble Issue
30 minutesIf the dryer's heating element is working but the drum is not rotating, the problem likely lies with the drive system. Common culprits include a broken drive belt, a faulty drive motor, or a worn idler pulley. Inspect the drive belt for any signs of wear, cracks, or breakage. Check the idler pulley to ensure it spins freely and is not seized or excessively wobbly. Listen for unusual noises from the motor, which could indicate it's failing. A visual inspection and manual rotation of the drum can help isolate these issues.
Watch: Diagnose Broken Dryer Belt
Diagnose Unusual Noises
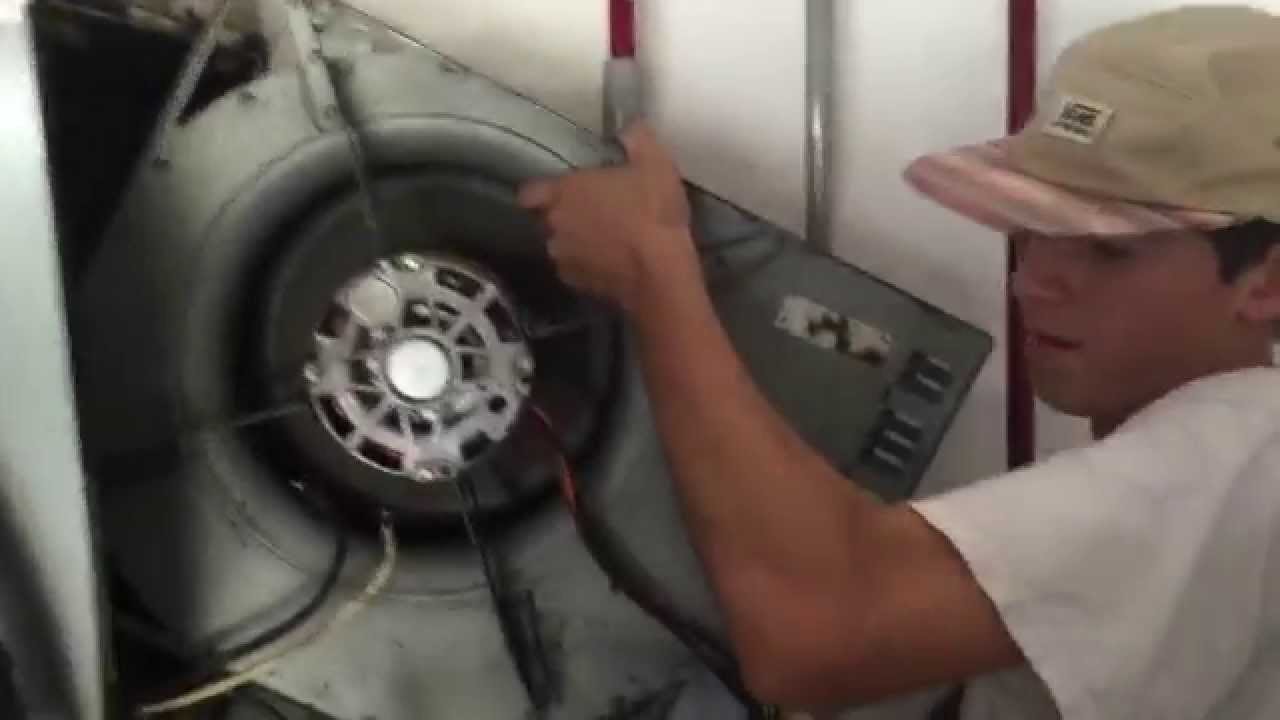
30 minutesUnusual noises can indicate several issues. A thumping or banging noise might mean the drum rollers or bearings are worn, or that the drum itself is damaged. A squealing noise typically points to a worn idler pulley or a motor bearing issue. Grinding sounds often suggest problems with the blower wheel or motor bearings. Try to isolate the location and type of noise by running the dryer briefly (with power reconnected temporarily and safely). Check components like the drum rollers, idler pulley, blower wheel, and motor for wear, damage, or looseness.
Watch: Identify Unusual Dryer Noises
Replace Faulty Component
45 minutesOnce a faulty component has been identified (e.g., heating element, thermal fuse, drive belt, idler pulley, thermostat, motor), it needs to be replaced. Ensure you have the correct replacement part for your specific dryer model. Disconnect the power again before proceeding. Carefully remove the old part, noting how it was connected. Install the new part, ensuring all connections are secure and wires are reattached correctly. Refer to your service manual for detailed instructions on component replacement.
Watch: Replace Defective Heating Element
Reassemble Dryer
15 minutesAfter replacing the faulty component, carefully reassemble the dryer. This involves reattaching the front panel, ensuring all clips and screws are in place and secured. Then, replace the top panel and fasten it. Make sure all wiring harnesses that were disconnected are reconnected properly. Double-check that no tools or loose parts are left inside the dryer cabinet. If you took pictures during disassembly, refer to them to ensure correct reassembly.
Watch: Reassemble the Dryer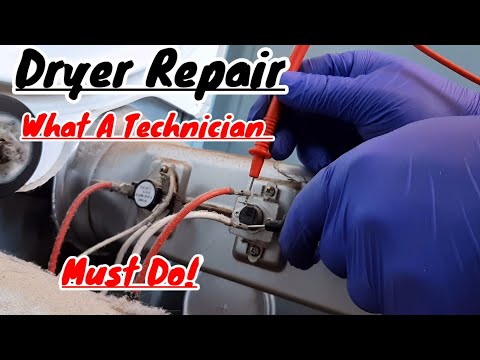
Test Dryer Operation
15 minutesOnce the dryer is fully reassembled, reconnect the power supply. For electric dryers, plug it back into the outlet. For gas dryers, ensure the gas supply is turned back on and then plug in the unit. For hardwired units, turn the circuit breaker back on. Run the dryer through a complete cycle or a timed dry cycle to check if it heats properly, tumbles smoothly, and operates without unusual noises or error codes. Monitor for any signs of malfunction.
Watch: Reassemble and Test DryerCommon Problems
You feel a jolt or get shocked when touching the dryer, or the dryer still has power even after you think it's off.
Solution: Immediately stop work. Go back to your electrical panel (breaker box) and double-check that the correct circuit breaker for the dryer is flipped OFF. For gas dryers, also turn off the gas supply valve. Use your multimeter to test for voltage at the dryer's power cord outlet or directly on the terminals if accessible, ensuring it reads 0 volts before proceeding.
Prevention: ALWAYS turn off the circuit breaker for the dryer at your home's main electrical panel before starting any disassembly. Tag the breaker so no one accidentally turns it on. Test with a multimeter to confirm no power is present before touching any internal components.
The head of a screw gets rounded out or damaged, so your screwdriver can't get a grip, making it impossible to remove.
Solution: Try using a pair of pliers to grip the screw head if it sticks out enough and turn it. If not, you might need a screw extractor kit (available at hardware stores) or carefully use a metal file or rotary tool (like a Dremel) to cut a new slot in the screw head for a flathead screwdriver.
Prevention: Always use the exact correct size and type of screwdriver (e.g., Phillips #2, flathead) for each screw. Apply firm, steady downward pressure while turning to prevent the driver from slipping and damaging the screw head.
After replacing a component, you have screws or small parts left over, or you can't figure out where wires connect when putting the dryer back together.
Solution: Stop and review. If you took photos, check them for clues. Try to logically trace where the remaining parts might go based on nearby empty holes or connections. For wires, look for matching connectors, color codes, or any labels you might have made. If you're unsure about wiring, consult the dryer's service manual or an online diagram for your specific model.
Prevention: Before taking anything apart, take clear photos with your phone at every stage. Place removed screws and small parts into separate labeled containers or tape them onto a piece of cardboard in the order they were removed. Note wire colors and their corresponding terminals.
The new replacement part you bought doesn't physically fit into the dryer, or you replaced it and the original problem (e.g., no heat, no tumbling) is still present.
Solution: Double-check the exact model number of your dryer (usually found on a sticker inside the door or on the back). Compare this to the part number you ordered. If it's incorrect, you'll need to exchange it for the right one. If the part is correct but the issue persists, it likely means your initial diagnosis was wrong, and another component is actually faulty. Re-diagnose systematically, testing all related components with your multimeter.
Prevention: Before purchasing any replacement part, always write down your dryer's full model and serial number. Double-check part compatibility with the seller or manufacturer's website. When diagnosing, use your multimeter to thoroughly test *all* suspected components in the circuit before buying parts.
While reaching into tight spaces or disconnecting components, you accidentally cut a wire, bend a terminal, or break a plastic clip/housing.
Solution: If a wire is cut, carefully strip back the insulation on both ends and rejoin them securely with a wire nut or crimp connector, ensuring good electrical contact and insulation. If a terminal is bent, gently straighten it with needle-nose pliers. For broken plastic clips, you might be able to secure the component with a zip tie or electrical tape temporarily, but it's best to find a replacement if integral to safety or function.
Prevention: Work slowly and deliberately, especially in cramped areas. Use appropriate tools (e.g., needle-nose pliers for connectors, plastic pry tools instead of screwdrivers for plastic tabs). Avoid pulling on wires; instead, grasp the connector itself.
After working on a gas dryer, you smell gas, or hear a hiss when the gas supply is turned back on.
Solution: IMMEDIATELY turn off the gas supply valve to the dryer. Open windows and doors to ventilate the area. Do not operate any electrical switches or create any sparks. Do *not* try to light the dryer. Once the area is ventilated, carefully check all gas line connections you touched during the repair. Apply a solution of soapy water (dish soap and water) to the connections; if bubbles appear, there's a leak. Tighten connections gently until bubbles stop. If you can't stop the leak or are unsure, call a certified gas technician.
Prevention: When disconnecting and reconnecting gas lines, ensure all threads are clean and use new Teflon tape or pipe thread sealant specifically rated for gas lines. After reconnecting and turning the gas back on, always perform the soapy water test on all connections to check for leaks *before* reassembling the dryer completely or turning it on.
The dryer gets excessively hot, smells like burning, or heats continuously even when it shouldn't, potentially causing a fire hazard (for electric or gas). This can happen if thermostats or thermal cutoffs are bypassed or incorrectly installed.
Solution: Immediately unplug the electric dryer or shut off the gas and power to a gas dryer. Do not use it. Re-open the dryer and carefully inspect all temperature-sensitive components (thermostats, thermal cutoffs, heating element boundaries) that you might have touched or replaced. Ensure they are correctly wired and mounted in their intended locations and that venting is clear. Check if any wires are pinched or shorting out, and ensure all internal air ducts are properly reassembled.
Prevention: Always use genuine replacement parts or manufacturer-approved equivalents. Never bypass safety thermostats or thermal cutoffs, even for testing. Ensure all internal air ducts are clear and correctly reassembled, and that the dryer's exhaust vent to the outside is clean and unobstructed. Double-check all wiring connections for tightness and proper insulation.
Frequently Asked Questions
What essential tools will I need for diagnosing and repairing common dryer issues?
You'll primarily need a screwdriver set (various sizes and types), a pair of pliers, and a digital multimeter. The multimeter is crucial for testing electrical continuity in components like heating elements and thermal fuses to accurately diagnose problems.
My electric dryer isn't heating; what are the most common components to check?
If your dryer isn't heating, the most common culprits are a faulty heating element or a blown thermal fuse. You can use a multimeter to test both for continuity; a lack of continuity indicates a bad component that needs replacement. Less common issues include a faulty thermistor or cycling thermostat.
The dryer motor runs, but the drum isn't tumbling. What should I inspect first?
A non-tumbling drum with a running motor usually points to a broken drive belt. Open the dryer to visually inspect if the belt is snapped or has slipped off the motor pulley or idler pulley. A worn idler pulley or motor can also prevent proper tumbling.
Is DIY dryer repair suitable for a beginner, and what's the typical time commitment?
Many common dryer repairs, like replacing a heating element or drive belt, are quite beginner-friendly with proper guidance. While the estimated time is about 4 hours for diagnosis and repair, your first time might take longer as you familiarize yourself with the process and components.
What are some common mistakes beginners make during dryer repair, and how can I avoid them?
A common mistake is failing to fully disconnect power, leading to shock risk. Another is misdiagnosing the problem, which can lead to replacing the wrong part. Always use your multimeter for accurate testing, refer to your specific dryer model's service manual if available, and carefully document disassembly steps.
How much money can I expect to save by repairing my dryer myself instead of hiring a professional?
DIY dryer repair can offer significant cost savings, as you're primarily paying for parts rather than expensive labor. While a professional repair might cost $150-$400+, parts for common issues often range from $20-$100, making it a budget-friendly option if you're comfortable with the work.