Toilet Flapper Replacement
About This Project
This project involves replacing the flapper valve in a toilet tank, which is a common cause of leaks and inefficient flushing. The process includes shutting off the water supply, draining the tank, removing the old flapper, installing a new one, and then testing the flush.
Tools & Materials

The Plumber's Choice 1/2 in. Full Port PEX Barb Ball Valve Water Shut Off with Drain 12405PV
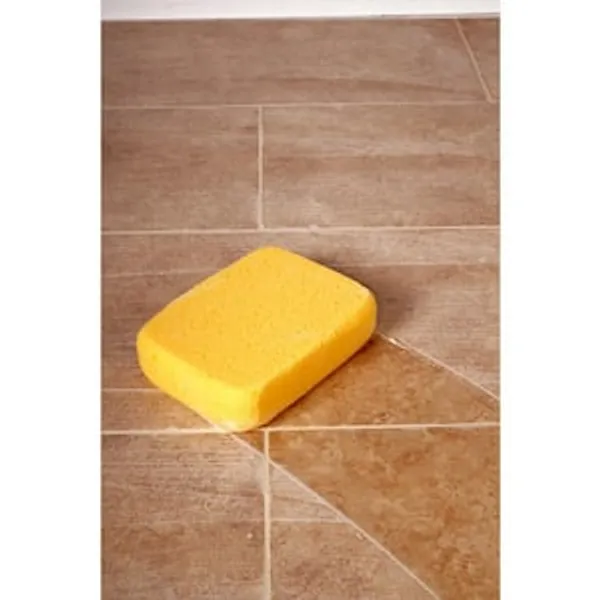
Sponge
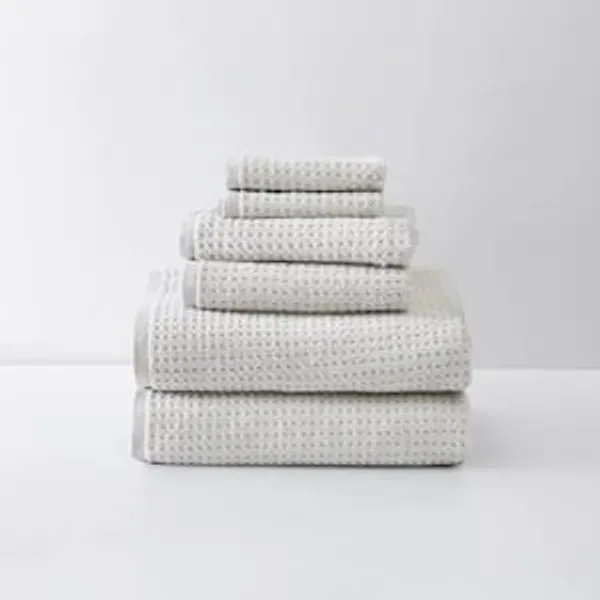
Towel
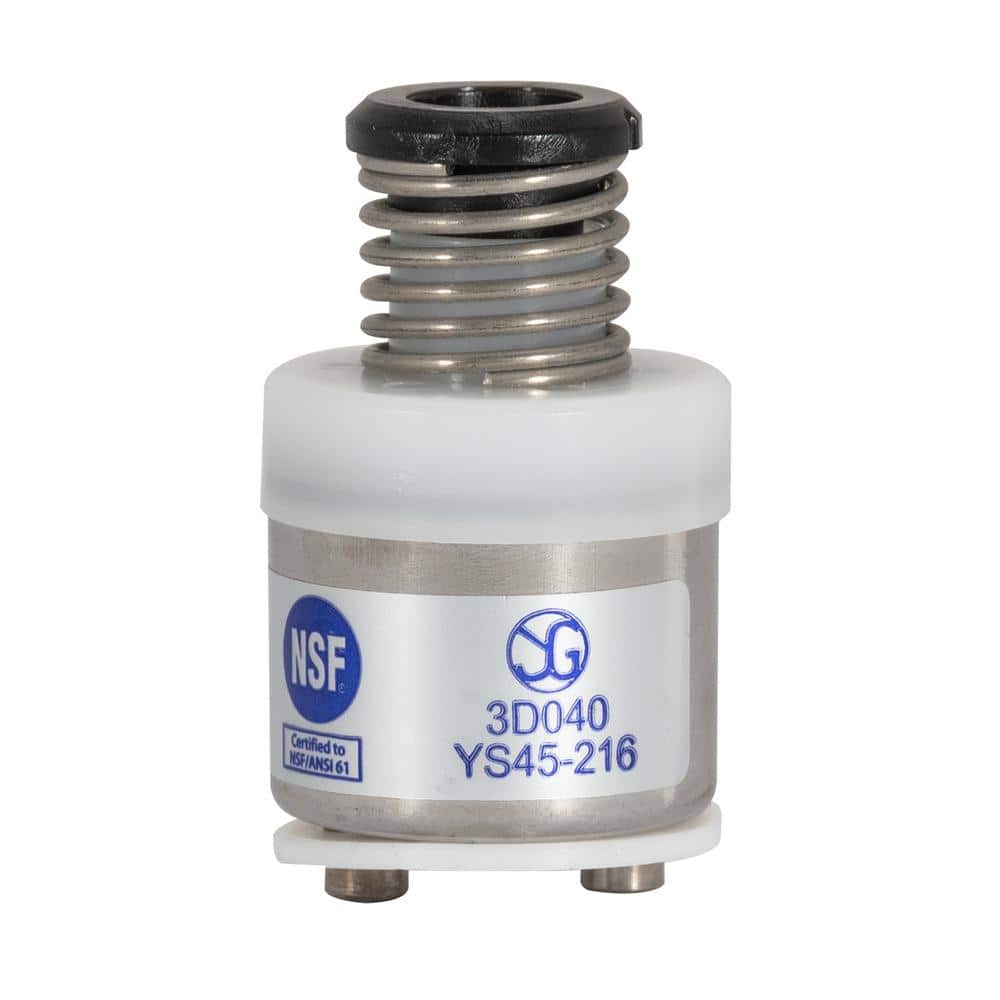
EZ-FLO Drinking Fountain Universal Bubbler Faucet Cartridge 10345LF
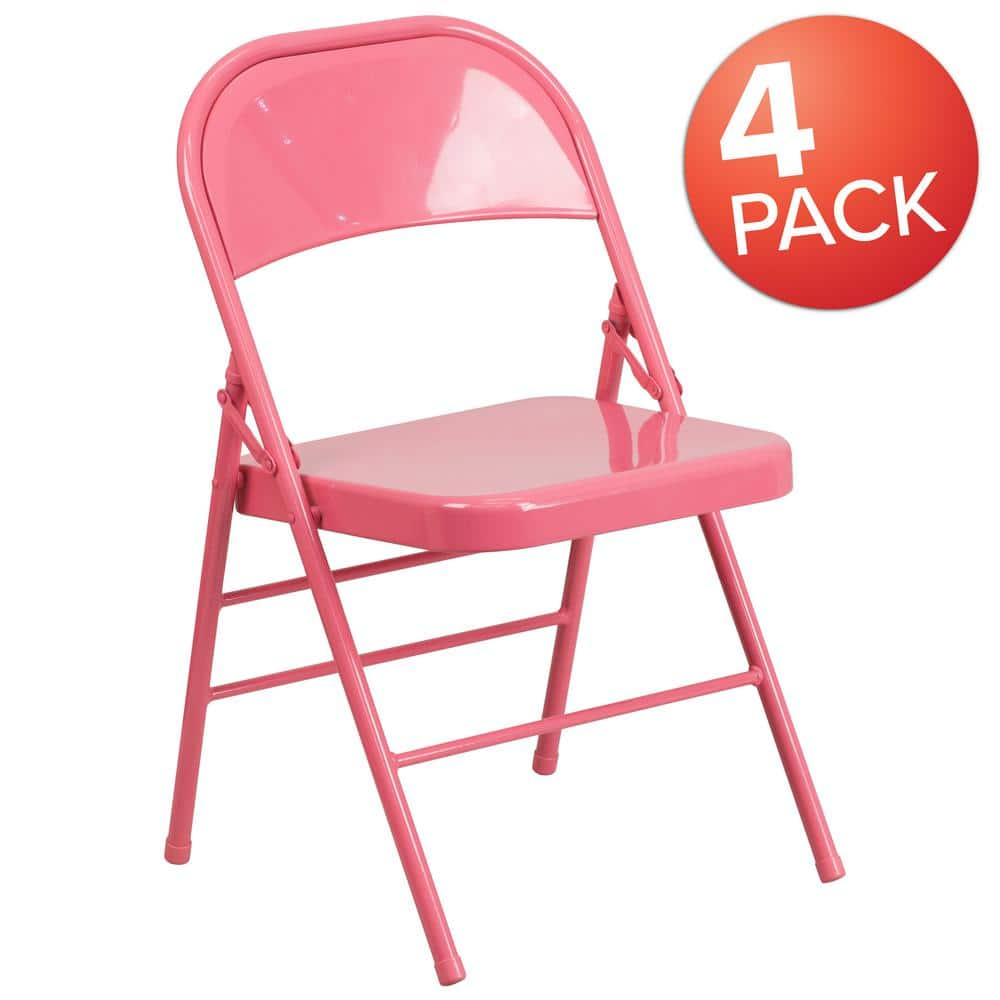
Flash Furniture Bubblegum Pink Metal Folding Chair (4-Pack) CGA-RB-172761-BU-HD
The Plumber's Choice 1/2 in. Full Port PEX Barb Ball Valve Water Shut Off with Drain 12405PV
The lead free full port PEX ball valve with Drain features PEX connections on both ends and is useful for heavy duty commercial and residential applications. Typical uses include domestic hot cold water
Sponge
Absorbs and cleans effectively.
Towel
Absorbs moisture and dries surfaces.
EZ-FLO Drinking Fountain Universal Bubbler Faucet Cartridge 10345LF
The EZ-FLO Universal Bubbler Cartridge is one of the most commonly replaced parts of a drinking fountain. This cartridge acts as an on/off valve. When pressed, the cartridge allows the water to flow, and when released, the self-closing action stops the water flow. It has a universal fit and replaces Hawes & Central Brass. The universal cartridge is lead-free certified and compliant with the NSF for product safety.
Flash Furniture Bubblegum Pink Metal Folding Chair (4-Pack) CGA-RB-172761-BU-HD
This metal folding chair is a colorful option for everyday use or when you need extra seating in a residential or commercial location. It features a premium 18-Gauge, curved steel frame. Though lightweight
Steps


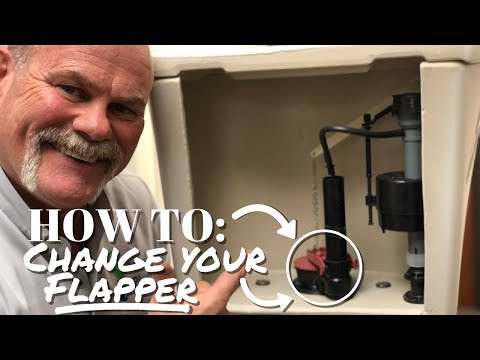
Remove the Old Flapper
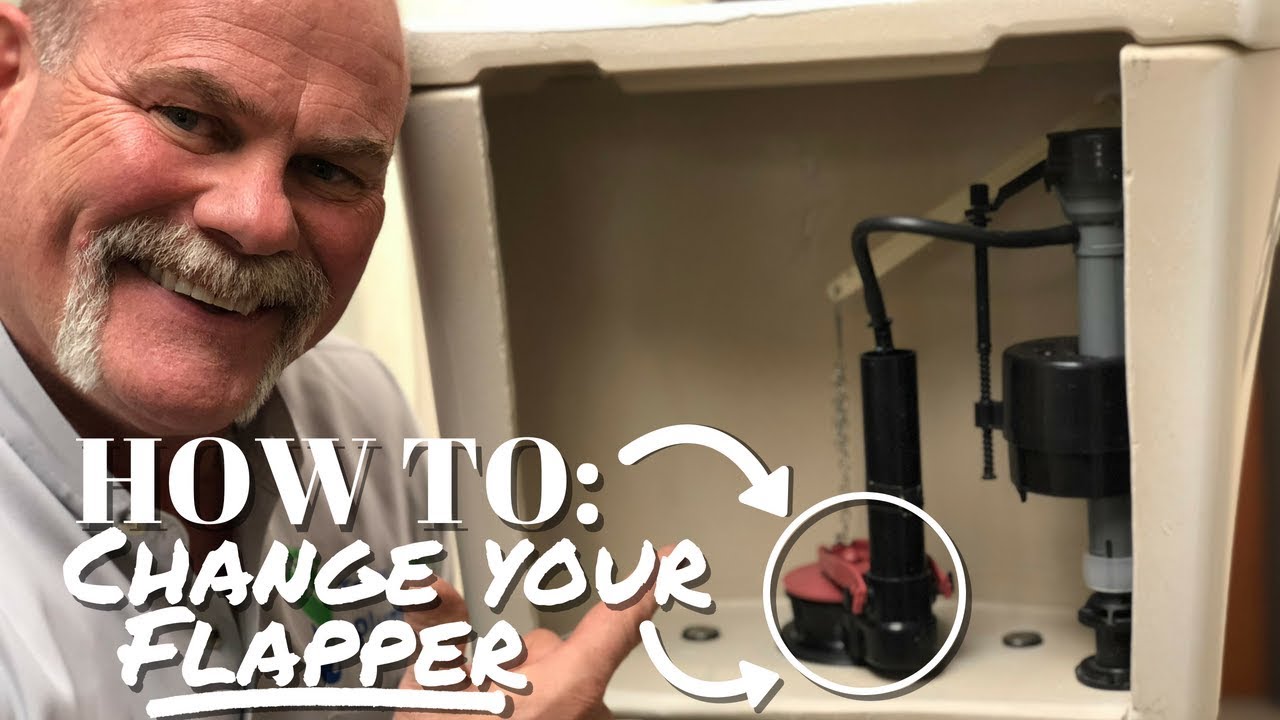
3 minutesThe flapper is usually attached to the overflow tube by two or more small ears or tabs. Gently pull these ears off the posts on the overflow tube. The chain connecting the flapper to the flush lever may also need to be unhooked from the lever.
Watch: Remove the Old Flapper
Install the New Flapper
5 minutesAlign the ears or tabs of the new flapper with the posts on the overflow tube and press them into place. Ensure the flapper sits flat against the opening of the flush valve. Reconnect the chain to the flush lever, ensuring it has a slight amount of slack.
Watch: Install the New Flapper Valve

Test the Flush
5 minutesFlush the toilet and observe. Check that the tank fills properly and the water level is correct. Listen for any continuous running water, which indicates a leak. You may need to adjust the flapper chain or ensure the flapper is seating correctly if the toilet continues to run.
Watch: Test the flushCommon Problems
You've purchased the wrong replacement part for your toilet flapper (e.g., a faucet cartridge or an unrelated item).
Solution: First, identify your toilet's brand and model (often found inside the tank lid or on the bowl). Next, remove your old flapper and take it to a hardware store, or take a clear photo of it from different angles. Look for a 'universal' flapper or one specifically designed for your toilet model. Return the incorrect part and purchase the correct 'toilet flapper' designed to stop water from leaving the tank.
Prevention: Before buying, always check your toilet's brand and model, or remove the old flapper first and bring it to the store for a direct comparison. Many flappers look similar but have different attachment points or designs. Make sure the packaging clearly states 'toilet flapper'.
The water shut-off valve for your toilet is stuck, or it doesn't completely stop the water flow, causing a slow trickle into the tank.
Solution: Gently try turning the valve with a wrench or pliers if it's stiff. If it still won't close completely or leaks, you'll need to turn off the main water supply to your house. This is usually located in your basement, garage, or outside near the water meter. Once the main supply is off, you can safely continue with the flapper replacement. If the toilet valve itself is leaking, it may need to be repaired or replaced by a professional.
Prevention: Periodically (e.g., once a year) gently turn your toilet's shut-off valve on and off a few times to prevent it from seizing up. Always know where your main house water shut-off valve is located before starting any plumbing project.
After installing the new flapper, the toilet constantly runs or 'ghost flushes' (runs for a short time every so often without being flushed).
Solution: First, turn off the water supply. Check that the flapper is sitting squarely and evenly on the flush valve opening at the bottom of the tank. Remove any debris (like mineral build-up or old flapper pieces) from the rim where the flapper rests. Ensure the flapper chain has a small amount of slack (about half an inch) when the flapper is closed; if it's too tight, it pulls the flapper open. If too loose, it might not lift enough.
Prevention: Thoroughly clean the flush valve seat (the round opening where the flapper sits) before installing the new flapper. Use a non-abrasive scrubber to remove any grime or mineral deposits that could prevent a good seal. Pay careful attention to the chain length during installation.
The toilet either has a weak flush (the flapper doesn't open enough) or the flapper doesn't close properly after a flush (chain is too long).
Solution: If the flush is weak, shorten the chain by moving the clip to a lower link, allowing the flapper to open fully. If the flapper stays open or closes too slowly, lengthen the chain by moving the clip to a higher link, providing enough slack for it to drop and seal properly. Aim for about 1/2 inch of slack when the flapper is closed.
Prevention: When installing the new flapper, pay close attention to the chain's length. It should be long enough to allow the flapper to open fully for a strong flush but have just a slight amount of slack when closed, allowing it to drop quickly and seal.
After shutting off the water and flushing, there's still a significant amount of water remaining in the toilet tank, or water spills out onto the floor during the process.
Solution: Ensure the water supply valve is completely closed. Flush the toilet one or two more times to get out as much water as possible. Use your sponge and towel to soak up any remaining water in the tank and to quickly clean up any spills on the floor. A wet/dry vacuum can also be very useful for this.
Prevention: Always have a sponge and towel ready for inevitable drips and remaining water. Place an old towel or newspapers on the floor around the toilet before starting to catch any unexpected spills, preventing slippery surfaces and water damage.
When you try to remove the old flapper, it's so old and brittle that it breaks into small pieces, some of which might fall down into the flush valve or drain pipe.
Solution: Carefully retrieve all visible pieces from the tank using a sponge, wet vac, or even a gloved hand. You must get out as many pieces as possible to prevent future clogs. After installing the new flapper and turning the water back on, flush the toilet several times to try and clear any remaining smaller debris.
Prevention: If the old flapper looks very brittle before you touch it, be prepared. Have a wet/dry vacuum or plenty of absorbent materials ready. You can also try to remove it slowly and gently to minimize breakage.
After turning the water supply back on, water leaks from the water supply line connection to the toilet tank or from the shut-off valve itself.
Solution: Immediately turn off the water supply again. Gently but firmly tighten the nuts connecting the supply line to the tank and to the shut-off valve. Be careful not to over-tighten, as this can crack plastic parts or strip threads. If the leak persists, check if the rubber washer or gasket inside the connection is properly seated or if it's damaged and needs replacement.
Prevention: Before turning the water back on, double-check that all connections you may have loosened or touched (even accidentally) are snug. When reconnecting, hand-tighten first, then use a wrench for about a quarter to half a turn more. Avoid excessive force.
Frequently Asked Questions
What specific tools and materials are truly necessary for a toilet flapper replacement?
You will primarily need a new toilet flapper that is compatible with your toilet model, a sponge, and a towel for cleanup. While often not required, an adjustable wrench can be helpful if you need to disconnect or secure the water supply line to the fill valve. Always ensure your replacement flapper matches the size and style of your existing one for the best seal.
What are the most important safety precautions to take when replacing a toilet flapper?
The most crucial safety step is to completely shut off the water supply to the toilet before you begin to prevent accidental leaks or flooding. Be cautious when turning the water supply back on not to overtighten connections, as this can damage parts and create new leaks. Always work in a well-lit area to avoid slipping on any spilled water.
How difficult is it to replace a toilet flapper, and how long does it usually take?
Replacing a toilet flapper is considered a beginner-level DIY project and is generally very straightforward. It typically takes most people between 15 to 30 minutes from start to finish. The cost is usually just for the flapper itself, which is an inexpensive part.
What are common mistakes to avoid during a toilet flapper replacement, and how can I troubleshoot them?
A common mistake is selecting the wrong size or type of flapper for your toilet, which will prevent a proper seal. Ensure the flapper chain has the correct amount of slack; too tight, and it won't seal, too loose, and it can get caught. If your toilet is still running after replacement, check that the flapper is seated correctly on the flush valve and that the chain isn't obstructing it.
How do I ensure I purchase the correct replacement flapper for my toilet?
To get the right flapper, first try to identify your toilet's brand and model number, often found stamped inside the tank or on the back of the bowl. If that's not possible, remove the old flapper and measure its diameter or take it to a hardware store to find an exact match. Universal flappers are available but may not provide the optimal seal for all toilet models.
My toilet is still leaking or running continuously after installing a new flapper. What should I check next?
First, re-inspect the flapper's seating on the flush valve to ensure there are no obstructions and that it's positioned correctly. Check the chain's length again; it should have slight slack but not be long enough to interfere with the flapper's seal. If the problem persists, the issue might stem from a worn flush valve seat, which may need cleaning or a repair kit, or potentially a faulty fill valve.