Painting
About This Project
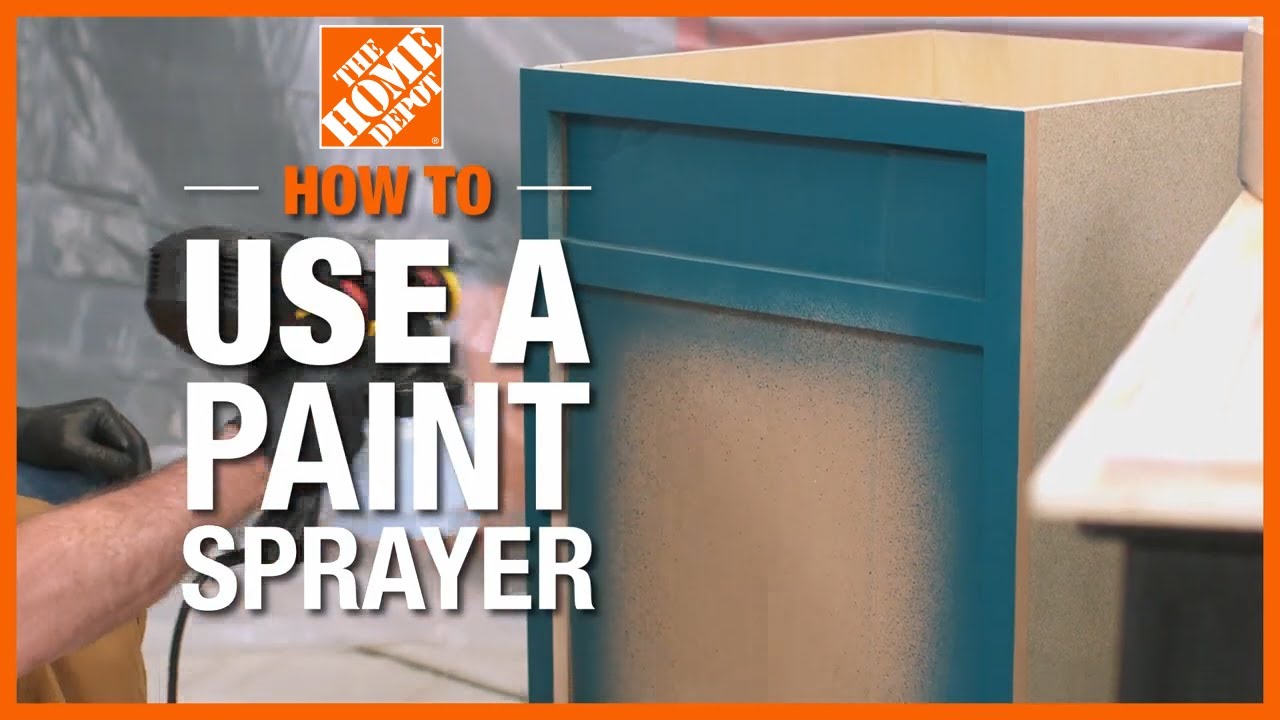
A high-level outline for a DIY project on how to prepare and use a paint sprayer for various surfaces.
Tools & Materials
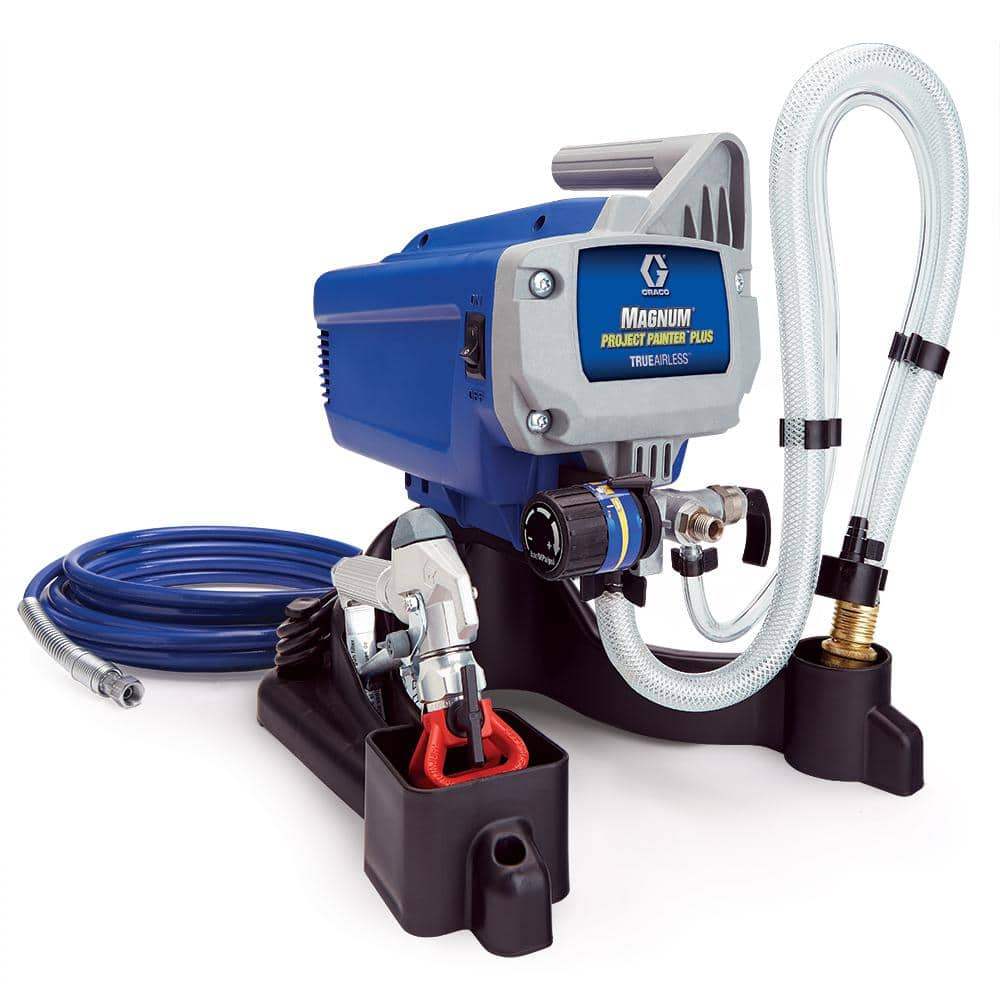
Graco Magnum Airless 2800 PSI Project Painter Plus Stand Paint Sprayer 257025
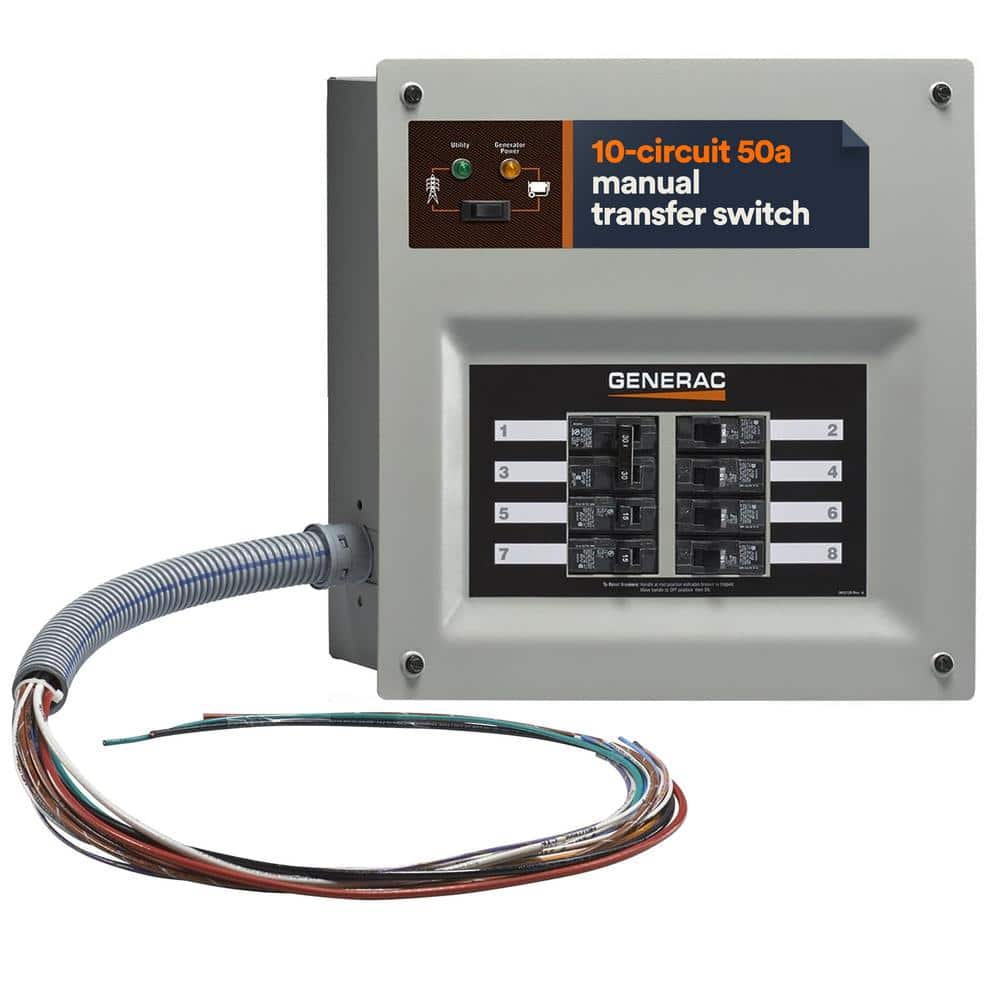
Generac Homelink 50 Amp Upgrade-Able Manual Transfer Switch Kit 9855
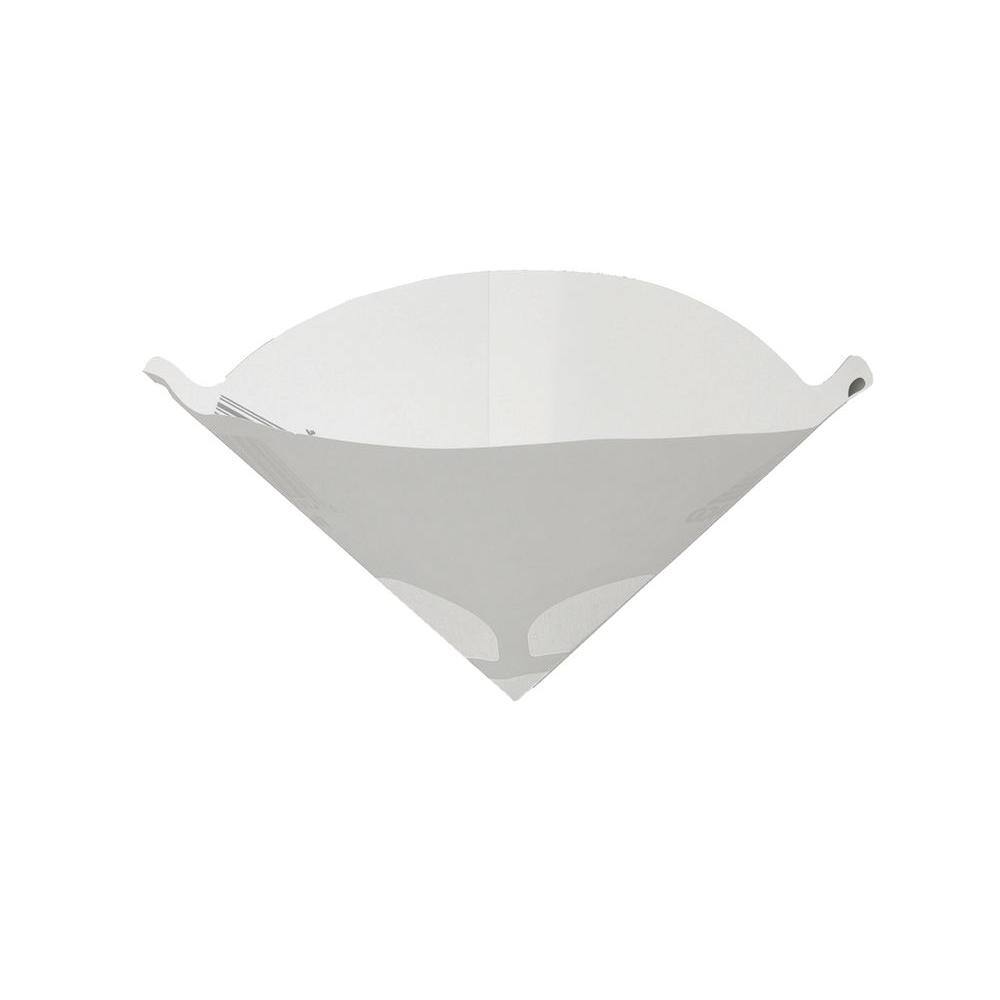
TRIMACO 5-3/4 in. Cone Strainers (4-Pack) 11101

Mixing Spoon
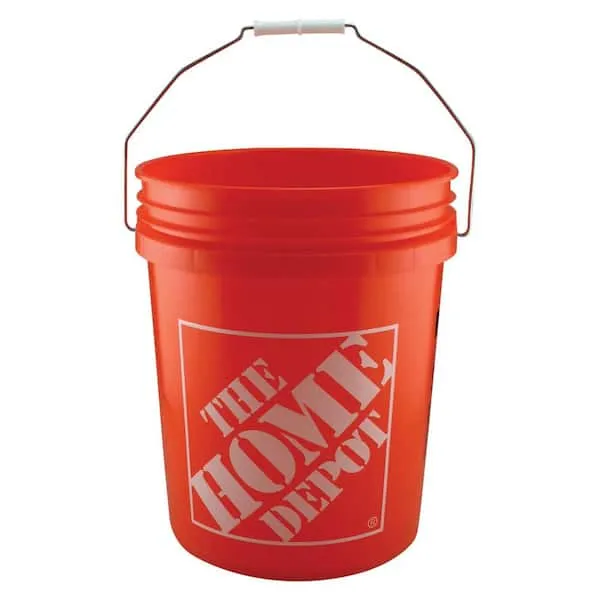
Bucket
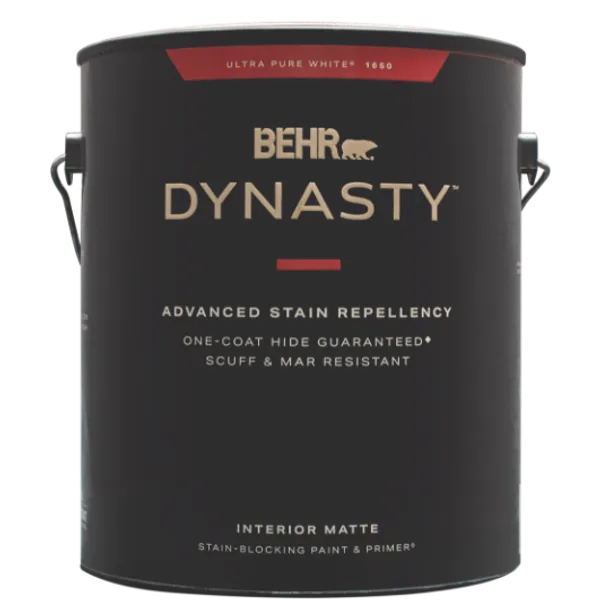
Paint
Graco Magnum Airless 2800 PSI Project Painter Plus Stand Paint Sprayer 257025
The Project Painter Plus Airless Sprayer is part of Graco's DIY Series of sprayers. Designed for the DIY'er taking on projects up to 5 gallons in size allowing you to tackle a range of projects every year. This sprayer has fully adjustable pressure so you can get a professional finish on decks, fences, sheds, walls or furniture. With the powerful stainless steel piston pump you will be able to spray a wide range of stains or paints unthinned. It can support up to 50 ft of hose so you can easily reach second stories. The SG2 Metal Spray Gun has a filter integrated into the handle to catch debris and prevent tip clogging and the flexible Suction Tube easily adapts to a 1 or 5 gallon bucket of paint or stain When it's time to clean the sprayer, the PowerFlush adapter connects to your garden hose. Only Graco TrueAirless Paint Sprayers offer TRUEQUALITY; pro-grade technology in a user-friendly design, TRUESPEED; the fastest way to finish with one-pass coverage and TRUECONTROL; the ability to spray coatings unthinned with less overspray. Nothing beats the TrueAirless experience.
Generac Homelink 50 Amp Upgrade-Able Manual Transfer Switch Kit 9855
Easier than ever before - Generac's 9855 HomeLink Upgradeable Manual Transfer Switches are now easier to install, expand and maintain than ever before. To meet the requirements of 2017 National Electric
TRIMACO 5-3/4 in. Cone Strainers (4-Pack) 11101
Add to your paint tool assortment with the TRIMACO SuperTuff 5-3/4 in. Cone Strainers (4-Pack). Ideal for removing unwanted dust or other impurities in latex or oil based paints and varnishes. Easy to
Mixing Spoon
Mixers and garnishes are essential components in the world of cocktail making and bartending. Mixers are non-alcoholic ingredients that are used to dilute or enhance the flavor of a cocktail, while garnishes are decorative elements that add visual appeal and sometimes flavor to a drink. Mixers can include a wide range of ingredients such as fruit juices, soda, tonic water, bitters, syrups, and more. They are used to balance the flavors of the spirits in a cocktail and create a well-rounded and delicious drink. For example, a classic gin and tonic would not be complete without the addition of tonic water, which adds a refreshing and slightly bitter flavor to the cocktail. Garnishes, on the other hand, are used to enhance the presentation of a cocktail and can also add a subtle hint of flavor. Common garnishes include citrus twists, fruit wedges, herbs, and even edible flowers. For example, a margarita is often garnished with a salt rim and a lime wedge, which not only adds a pop of color but also complements the flavors of the tequila and citrus in the drink. In the context of bartending, mixers and garnishes play a crucial role in creating well-balanced and visually appealing cocktails. Bartenders must have a good understanding of how different mixers and garnishes can complement the spirits in a drink and enhance the overall drinking experience for their customers. One important tool that bartenders use when working with mixers and garnishes is a mixing spoon. A mixing spoon is a long-handled spoon with a twisted handle that is used to stir cocktails in a mixing glass or shaker. This tool allows bartenders to gently mix the ingredients together without over-diluting the drink or causing it to become cloudy. Overall, mixers and garnishes are key components in the art of cocktail making and bartending. They add depth of flavor, visual appeal, and creativity to drinks, making them an essential part of any bartender's toolkit.
Bucket
Ideal for carrying or storing liquids.
Paint
Beautifies and protects surfaces.
Steps

Select and Prepare Paint Sprayer
60 minutesSelect the appropriate paint sprayer for the type of paint and surface you are working with. Airless sprayers are best for large areas, HVLP (High Volume Low Pressure) sprayers are good for finer finishes and smaller projects, and compressed air sprayers require an air compressor. Assemble the sprayer, making sure all connections are secure and that the intake tube, spray gun, and nozzle are clean. Prime the pump if required by the manufacturer's instructions.
Watch: Choose the Right Paint Sprayer
Prepare the Paint
30 minutesOpen the paint can and stir the paint thoroughly. Use a paint strainer to filter the paint into a clean bucket, removing any skin, lumps, or debris that could clog the sprayer. If necessary, thin the paint according to the paint manufacturer's specifications for spray application. Over-thinning can affect the paint's adhesion and finish.
Watch: Paint Preparation (Straining and Thinning)
Load the Sprayer
15 minutesPlace the intake tube into the bucket of strained and thinned paint. Engage the sprayer's priming mechanism to draw paint into the system. Continue priming until paint flows smoothly from the sprayer's return line or hose, indicating the system is full and purged of air.
Watch: Prime the Sprayer Unit (Purge Air from Machine)
Test Spray Pattern
10 minutesPoint the spray gun at a piece of cardboard or scrap wood in a well-ventilated area. Squeeze the trigger and observe the spray pattern. It should be consistent and fan-shaped, with no sputtering, dripping, or unevenness. Adjust the pressure, tip size, or paint thinning as needed based on the test results.
Watch: Testing Spray Pattern and Adjusting Pressure
Mask and Protect Surfaces
45 minutesApply painter's tape along edges of trim, windows, doors, and any areas you do not want to paint. Lay down drop cloths to cover floors and furniture completely. Ensure all protected areas are secure and that there are no gaps for paint to seep through.
Watch: Mask Off Areas for Overspray Protection
Apply Paint
120 minutesBegin spraying away from the surface, then smoothly trigger the gun as you move across the surface, stopping the trigger at the end of the stroke and releasing it after you move past the surface. Maintain a consistent distance of about 10-12 inches from the surface. Overlap each pass by about 50% to ensure even coverage and no holidays (missed spots). Work in sections, moving systematically to cover the entire area.
Watch: Apply Paint with Proper Technique
Apply Second Coat (if needed)
120 minutesWait for the recommended drying time between coats. Check the paint can for specific instructions. Once the first coat is dry to the touch, apply the second coat in the same manner as the first, ensuring even coverage and proper overlap.
Watch: Apply a Second Coat
Clean the Sprayer
60 minutesFlush the intake tube and spray gun with the appropriate cleaning solvent (water for latex paints, mineral spirits for oil-based paints). Run the solvent through the sprayer until it dispenses clear. Disassemble the spray gun and clean all parts meticulously with a brush and solvent. Reassemble the sprayer once all components are clean and dry.
Watch: Clean the Paint Sprayer
Remove Masking and Inspect
20 minutesSlowly and carefully peel away the masking tape, pulling it at a 45-degree angle away from the painted surface. Remove drop cloths. Inspect the painted area for any drips, runs, uneven coverage, or missed spots. Address any imperfections with a brush or by re-spraying small areas.
Watch: Unmasking and Final CleanupCommon Problems
The paint sprayer stops spraying or sputters unevenly, like it's blocked, or paint comes out in an inconsistent pattern.
Solution: First, turn off the sprayer and engage the trigger lock. Relieve pressure according to your sprayer's manual. If your spray tip is reversible, turn it 180 degrees and spray onto a scrap surface to clear the clog. If it's still clogged, remove the tip and clean it with water (for latex) or paint thinner (for oil-based) using a soft brush, ensuring the tiny hole is clear. Also, check and clean any filters in the gun or main manifold.
Prevention: Always strain your paint through a paint strainer (like the TRIMACO Cone Strainers) before loading it into the sprayer to remove lumps and debris. Clean your sprayer thoroughly immediately after each use, following the manufacturer's instructions.
The paint isn't going on smoothly; it's either too thick in the middle and thin on the edges (like a 'dumbbell' shape), or it's splattering and looks streaky.
Solution: This often means your paint is too thick for the sprayer, or the pressure setting is too low. Try increasing the pressure slightly on your sprayer. If the problem persists, you might need to thin your paint. Check the paint can and sprayer manual for specific thinning instructions; usually, this involves adding a small amount of water for latex paints or mineral spirits for oil-based paints. Also, ensure your spray tip is clean and not worn out.
Prevention: Always do a test spray on scrap wood or cardboard before painting your actual surface. Adjust your pressure and paint consistency until you achieve a consistent, even oval spray pattern. Use the recommended tip size for your paint and project.
You notice drips or thick, wavy lines forming on your freshly painted surface, indicating too much paint was applied.
Solution: If the paint is still wet, you can sometimes gently brush out the run with a clean brush, carefully blending it into the surrounding area. If the paint has dried, you'll need to sand down the run until the surface is smooth and even, then reapply a lighter, even coat of paint over that area. Always ensure the paint is fully cured before sanding.
Prevention: The most common cause is applying too much paint at once or holding the sprayer too close. Keep the sprayer moving at a consistent speed, maintain a consistent distance (typically 10-12 inches) from the surface, and apply several thin, even coats rather than one thick coat.
You find paint mist or small droplets on surfaces you didn't intend to paint, such as adjacent walls, floors, or windows.
Solution: If the paint is still wet, quickly wipe it off with a damp rag (for latex paint) or a rag with the appropriate solvent (for oil-based). If it's dry, you can try gently scraping it off with a plastic scraper or a razor blade (exercise extreme caution on glass to avoid scratches). For larger or stubborn areas, you might need to use a paint remover or specialty cleaner, always following the product instructions carefully.
Prevention: Thorough masking is critical. Use painter's tape to meticulously cover all trim, switch plates, and edges. Utilize plastic sheeting or drop cloths to completely cover floors, furniture, and any nearby surfaces. Ensure there are no gaps in your masking, and consider extending your masking perimeter further than you think you need, especially in outdoor or breezy conditions.
The sprayer motor turns on, but it's not pulling paint from the bucket, or it makes a gurgling noise without spraying, failing to prime.
Solution: First, ensure the siphon tube (the long tube that goes into the paint bucket) is fully submerged in the paint and not sucking air. Check that all hose connections are tight. Make sure any filters on the siphon tube are clean and clear. Sometimes, air gets trapped in the system; try pushing down on the prime/spray valve lever a few times or gently tapping the manifold to help release air bubbles. If your sprayer has a specific priming procedure, consult and follow its manual.
Prevention: Always ensure the siphon tube is securely attached and deeply submerged in the paint. Before starting, fill the bucket with enough paint so the tube's opening is always covered. Clean the siphon tube and inlet filter thoroughly after each use to prevent dried paint from obstructing future flow.
You start to feel light-headed, nauseous, have a headache, or experience burning in your throat or lungs while or after painting.
Solution: Immediately stop painting and move to a well-ventilated area with plenty of fresh air. If symptoms persist or are severe, seek medical attention. Open all windows and doors in the work area, and use fans to help create a strong cross-breeze to clear the air.
Prevention: Always wear an appropriate respirator mask (not just a dust mask, but one designed for paint fumes, typically with organic vapor cartridges) when using a paint sprayer, even with low-VOC paints. Ensure the work area is extremely well-ventilated by opening windows and doors, and using fans to create a cross-breeze. Take frequent breaks outside of the painted area to breathe fresh air.
You accidentally touch the spray tip or a leak with your finger or hand while the sprayer is pressurized, resulting in paint being injected under your skin. Even a small pin-prick can be very serious.
Solution: This is a severe medical emergency. Do NOT delay. Immediately seek emergency medical attention, even if the injury seems minor or painless at first. Inform medical personnel that it is a high-pressure paint injection injury. Delay in treatment can lead to severe tissue damage, infection, and potential amputation.
Prevention: Safety first! ALWAYS engage the trigger lock on the spray gun when you are not actively spraying. NEVER point the spray gun at yourself or others. NEVER place your hand or fingers near the spray tip to clear a clog or for any reason. ALWAYS relieve all pressure from the sprayer system (following your sprayer's manual) before attempting to clean the tip, gun, or perform any maintenance.
Frequently Asked Questions
How difficult is paint spraying for a beginner, and is two days a realistic timeframe for this project?
While operating a paint sprayer is generally beginner-friendly, proper preparation, masking, and especially thorough cleaning are crucial and time-consuming. Two days is a realistic estimate, allowing ample time for meticulous masking, paint application, and the critical post-project sprayer cleaning, which can take an hour or more itself to prevent damage.
What type of paint sprayer is best for a general painting project, considering the tools listed?
The project lists both airless (Graco Magnum, VEVOR) and siphon feed (Husky) sprayers. For large areas and thicker paints like those used for walls, an airless sprayer is generally preferred due to its efficiency, speed, and ability to deliver a fine, even finish. Siphon feed guns are often better for smaller, more detailed work or thinner materials and require an air compressor.
What are the most important safety precautions to take when using a paint sprayer?
Always wear appropriate personal protective equipment (PPE), including a respirator mask rated for paint fumes and fine particulates, safety glasses, and gloves. Ensure your work area is well-ventilated to prevent inhalation of fumes. Before cleaning or maintenance, always disconnect the sprayer from power and release any built-up pressure according to the manufacturer's instructions.
How can I avoid common mistakes like an uneven finish or drips when spray painting?
A common beginner mistake is inconsistent spray distance and speed, leading to an uneven finish or drips. Always practice on scrap material like the wood blocks to refine your technique. Maintain a consistent distance from the surface, move at an even pace, and overlap each pass by about 50% to ensure a smooth, uniform coating.
Why is thorough cleaning of the paint sprayer so critical after each use, and what's involved?
Thorough cleaning is paramount to prevent paint from drying inside the sprayer, which can clog lines, damage internal components, and render the equipment unusable. It ensures consistent performance and extends the lifespan of your sprayer. Follow the manufacturer's specific cleaning instructions precisely, which typically involves flushing with water or solvent until clear.
How should I prepare the paint before loading it into the sprayer to ensure a smooth application?
Most paints need to be thinned to the manufacturer's specifications for optimal spraying performance; always check the paint can label for guidance. After thinning, use paint strainers, such as the TRIMACO cone strainers, to remove any lumps, debris, or dried bits from the paint. This prevents clogs in the sprayer's nozzle and ensures a smooth, consistent finish.